Data Mapping
Data mapping establishes the relationship between customer information and activity from all stores related to your Magento website and specific contact fields in the dotdigital database. Data fields can be mapped manually or automatically.
The configuration settings in the Data Mapping section are used to map fields manually. The Data Mapping section displays a list of the available dotdigital contact data fields for each Magento data item. Initially there are only a few contact database fields as examples that can be mapped to Magento. You can create additional dotdigital contact data fields and also include mapping to Magento custom attributes. After mapping the data fields, each component of your Magento database can be synchronized for import into dotdigital. To learn more, see Data syncing: Data mapping - Magento 2.
Map data fields automatically
-
On the Admin sidebar, go to Stores > Settings > Configuration.
-
In the left panel, expand the DOTDIGITAL section and choose Developer.
-
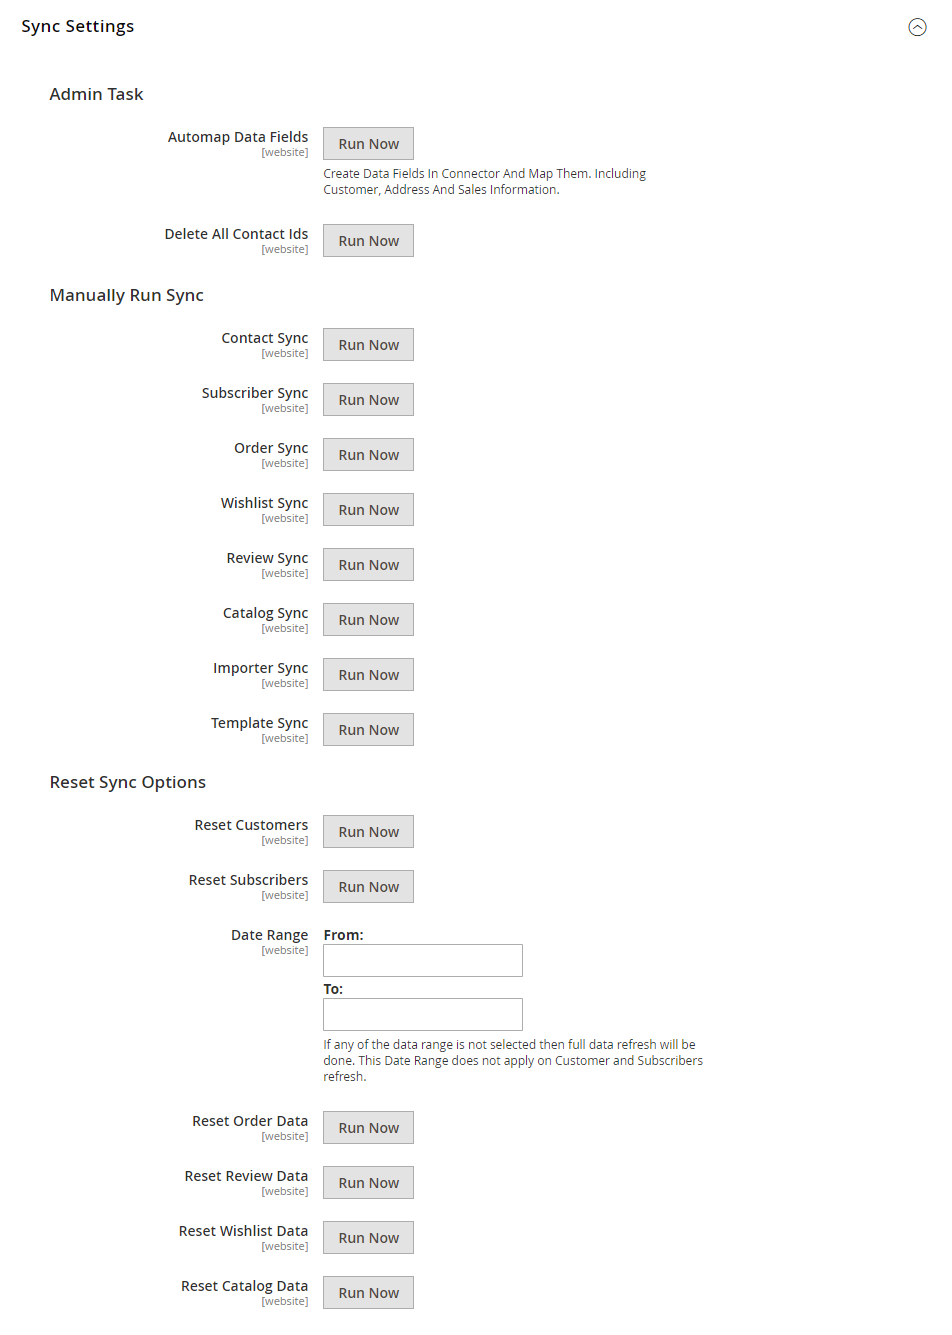
In the Sync Settings section under Admin Task, click Automap Data Fields Run Now.
Map data fields manually
-
On the Admin sidebar, go to Stores > Settings > Configuration.
-
In the left panel, expand the DOTDIGITAL section and choose Data Mapping.
-
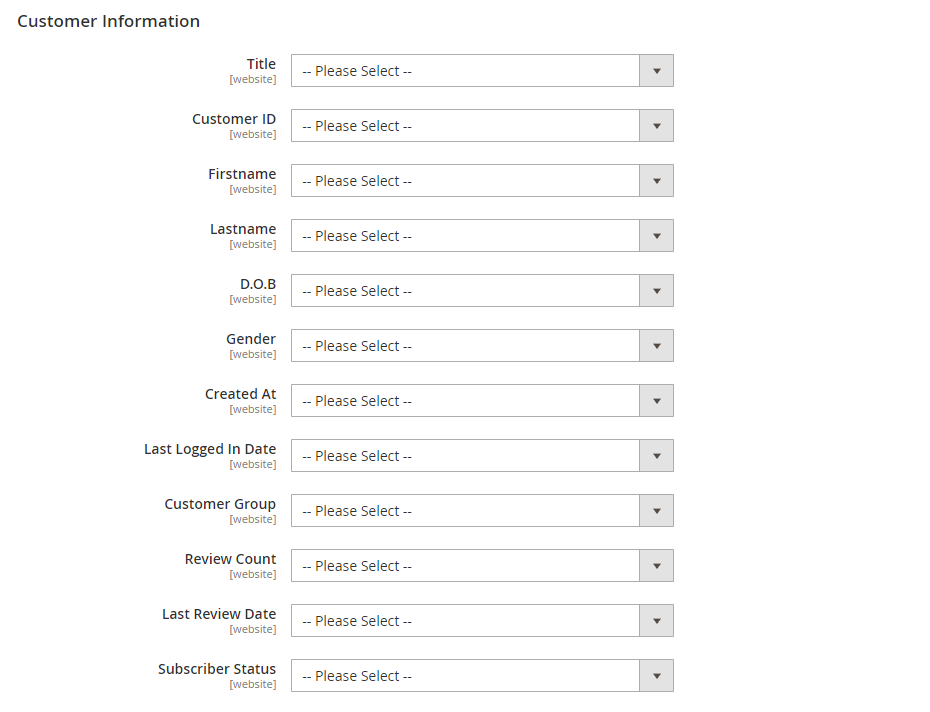
For each field in the following sections, choose the corresponding data field from your dotdigital dotdigital account.
- Customer Information
- Address
- Sales
- System Values
- B2B Data
- Enterprise Data
Sync data mappings
-
In the Magento configuration, go to DOTDIGITAL > Sync Settings.
-
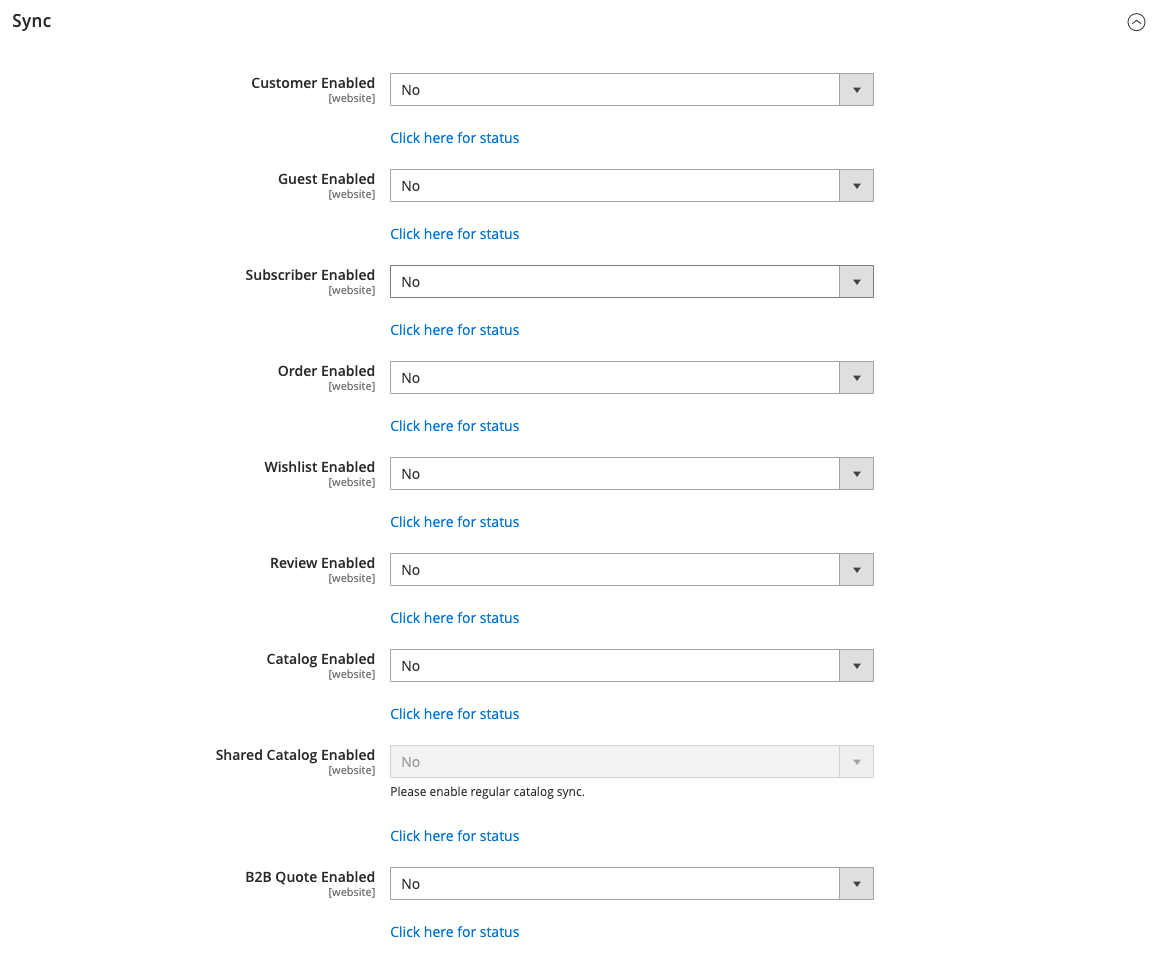
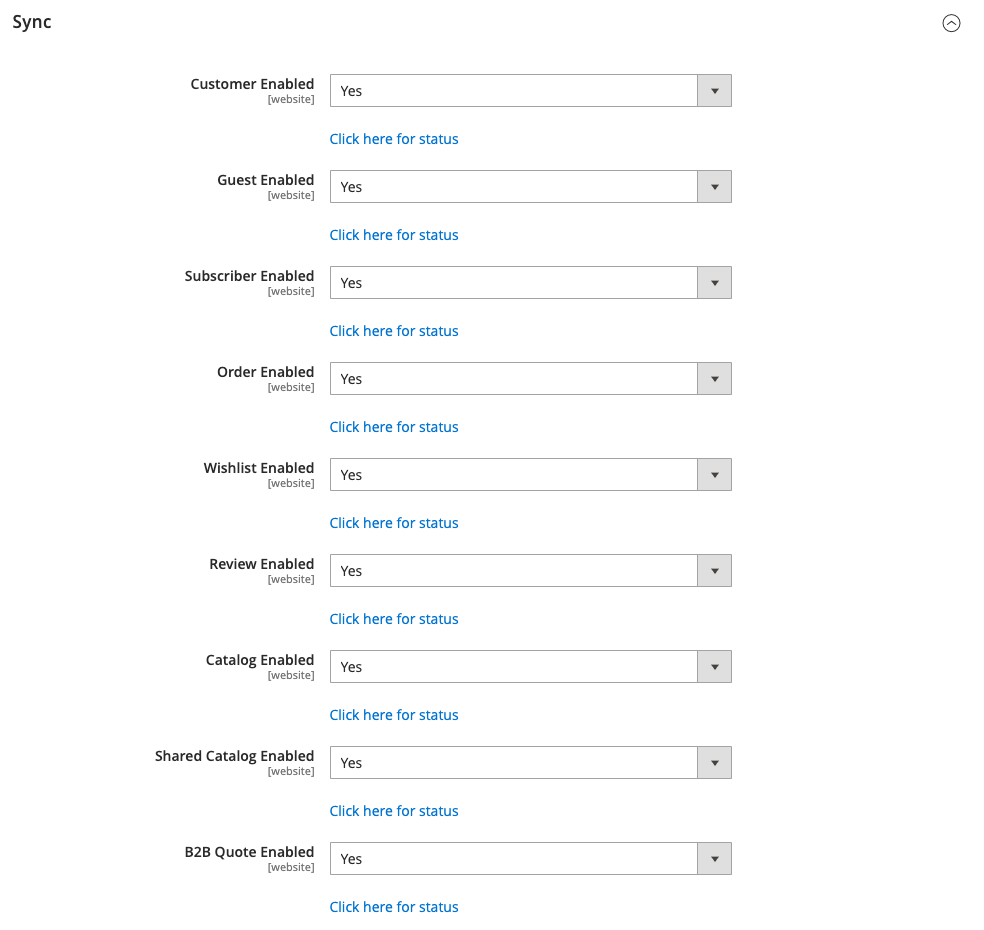
In the Sync section, set each database component that you want to enable to
Yes.- Customer Enabled
- Guest Enabled
- Subscriber Enabled
- Order Enabled
- Wishlist Enabled
- Review Enabled
- Catalog Enabled
- Shared Catalog Enabled
- B2B Quote Enabled
-
Click Save Config.
-
Go to System > Tools > Cache Management and clear any invalid cache.
-
Wait an hour to ensure that all contact data is imported into your dotdigital account.
Sync B2B Company Details
-
Automap the data fields needed, as described previously.
-
After approving a new company request, sync the customer data type, as described previously.
-
In your dotdigital account, verify that the customer data is correctly synced with the company data.
To learn more, see Sync company data in the dotdigital Help Centre.
Sync B2B shared catalog
-
In the Magento configuration, verify that Shared Catalog is enabled.
-
If necessary, set up your shared catalog and pricing.
-
On the Admin sidebar, go to Stores > Settings > Configuration.
-
In the left panel, expand DOTDIGITAL and choose Sync Settings.
-
Scroll down to the bottom of the Sync section and verify that Catalog Enabled is set to
Yes.If you changed the setting, click Save Config before continuing to the next step.
-
Set Shared Catalog Enabled to
Yes. -
Click Save Config.
-
On the Admin sidebar, go to System > Tools > Cache Management and refresh any invalid cache.
-
Do one of the following:
-
Wait for the next cron run.
-
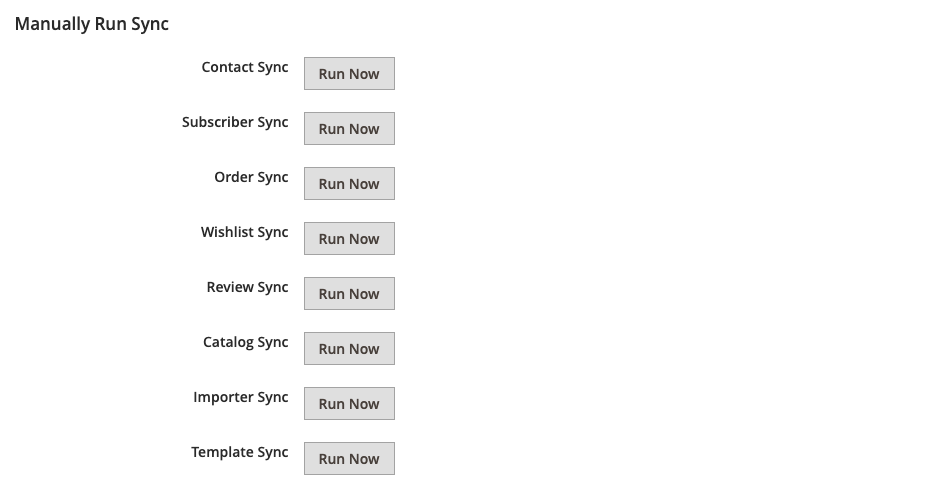
In the Magento configuration, go to DOTDIGITAL > Developer > Sync Settings. Under Manually Run Sync, click Catalog Sync Run Now.
-
-
In your dotdigital account, go to Ecommerce > Catalogs.
-
Verify that the Catalog_[Level]_[Shared catalog name] data is correct.
To learn more, see Sync shared catalogs in the dotdigital Help Centre.
Sync B2B Quotes
-
In the Magento configuration, verify that B2B Quotes is enabled.
-
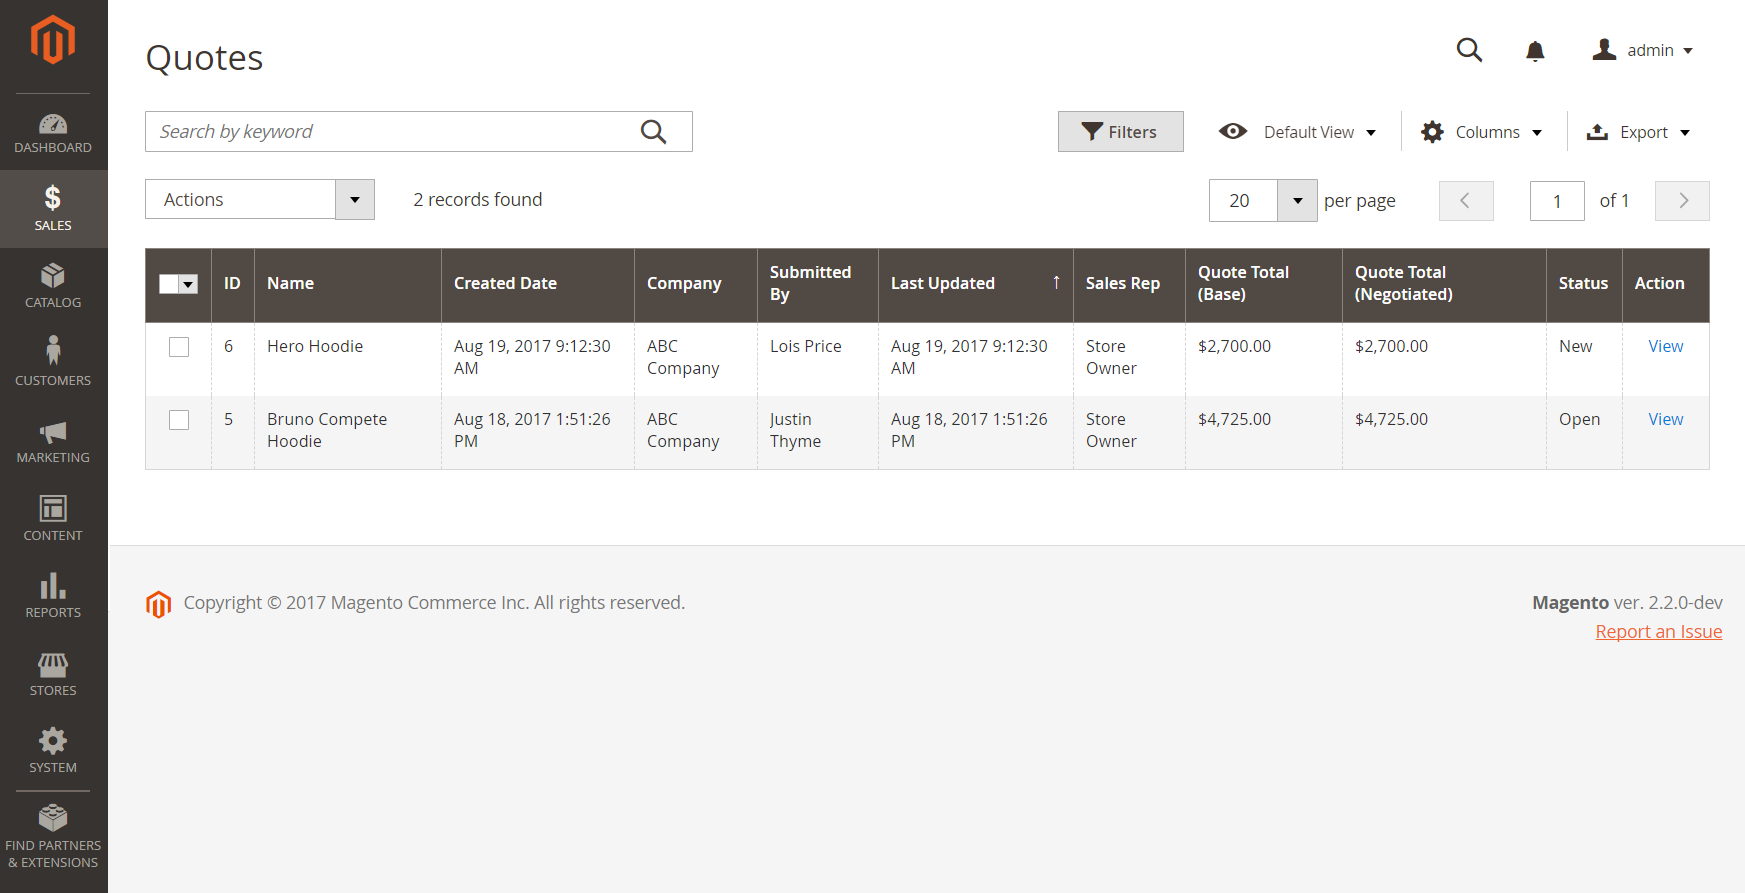
Before continuing, verify that you have Quote data available to sync with dotdigital. If not, wait until there are quotes available.
-
In the Magento configuration, go to DOTDIGITAL > Sync Settings.
-
Set B2B Quote Enabled to
Yesand click Save Config. -
On the Admin sidebar, go to System > Tools > Cache Management and refresh any invalid cache.
-
Wait for the next cron run.
-
In your dotdigital account, verify that the imported quote data is correct.
To learn more, see Sync B2B quotes in the dotdigital Help Centre.
