Configuring Invitations
The invitation configuration enables invitations for the store, and determines how they are sent.
Configure Invitations
-
On the Admin sidebar, go to Stores > Settings > Configuration.
-
In the left panel, expand Customers and choose Invitations.
-
Expand
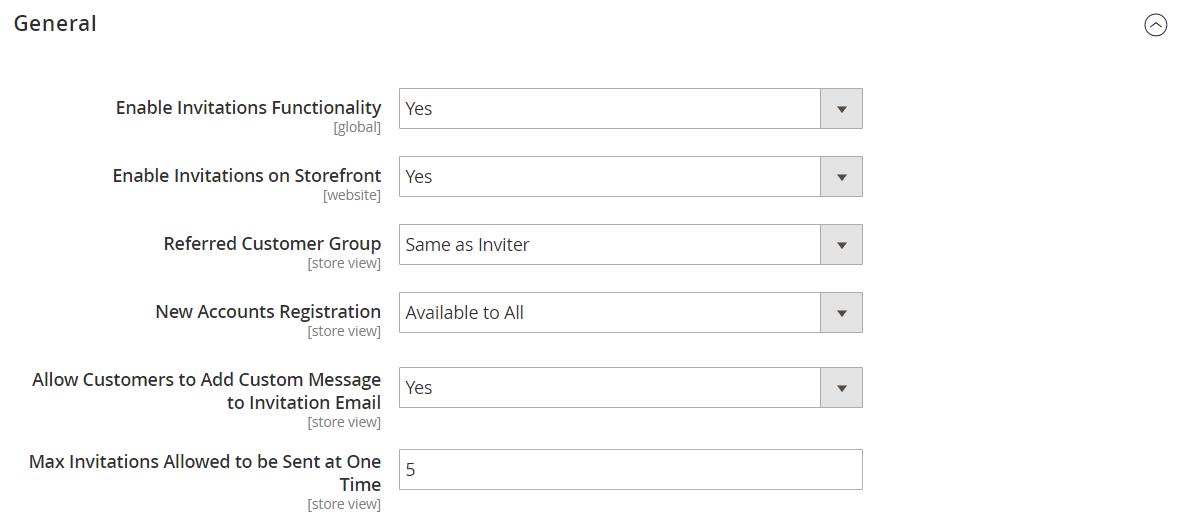
 the General section and do the following:
-
Set Enable Invitations Functionality to
Yes. -
To allow customers to manage invitations from the storefront, set Enable Invitations on Storefront to
Yes. -
Set Referred Customer Group to one of the following:
Same as InviterDefault Customer Group from Configuration
-
Set New Accounts Registration to one of the following:
By Invitation OnlyAvailable to All
-
To Allow Customers to Add Custom Message to Invitation Email, select
Yes. -
To limit the number of invitations that can be sent at one time, enter the number in the Max Invitations Allowed to be Sent at One Time field.
-
-
Expand
 the Email section and do the following:
-
Select the store identity to be used as the Customer Invitation Email Sender.
-
Select the Customer Invitation Email Template used for invitations sent.
-
-
When complete, click Save Config.

