Using a Site Map
A site map improves the way your store is indexed by search engines, and is specifically designed to find pages that might be overlooked by web crawlers. A site map can be configured to index all pages and images.
When enabled, Magento creates a file called sitemap.xml that is saved to your installation in the location that you specify. The configuration gives you the ability to set the frequency of the updates, and the priority for each type of content. Your site map should be updated as frequently as the content on your site changes, which might be daily, weekly, or monthly.
While your site is in development, you might include instructions in the robots.txt file for webcrawlers to avoid indexing the site. Then before the launch, you can change the instructions to allow the site to be indexed.
For technical information, see Add sitemap and robots.txt in the developer documentation.
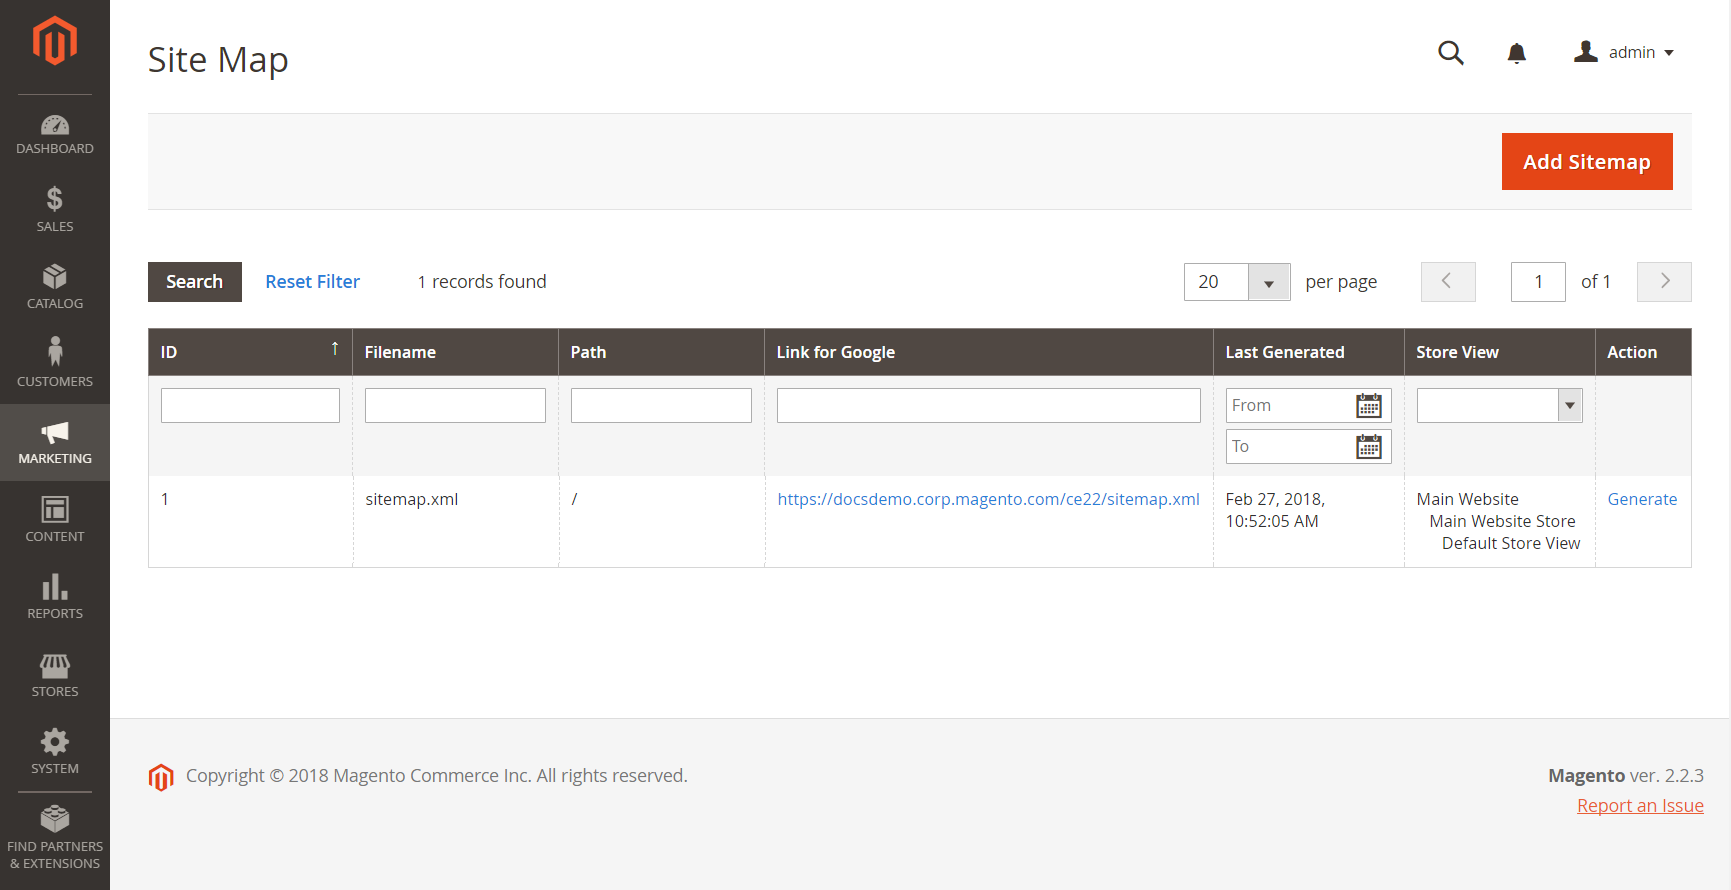
 Site Map in Grid
Step 1. Configure the Site Map
Complete the XML Sitemap configuration to determine what is included, and how frequently the site map is updated.
Step 2. Generate the Site Map
-
On the Admin menu, go to Marketing > SEO & Search > Site Map.
-
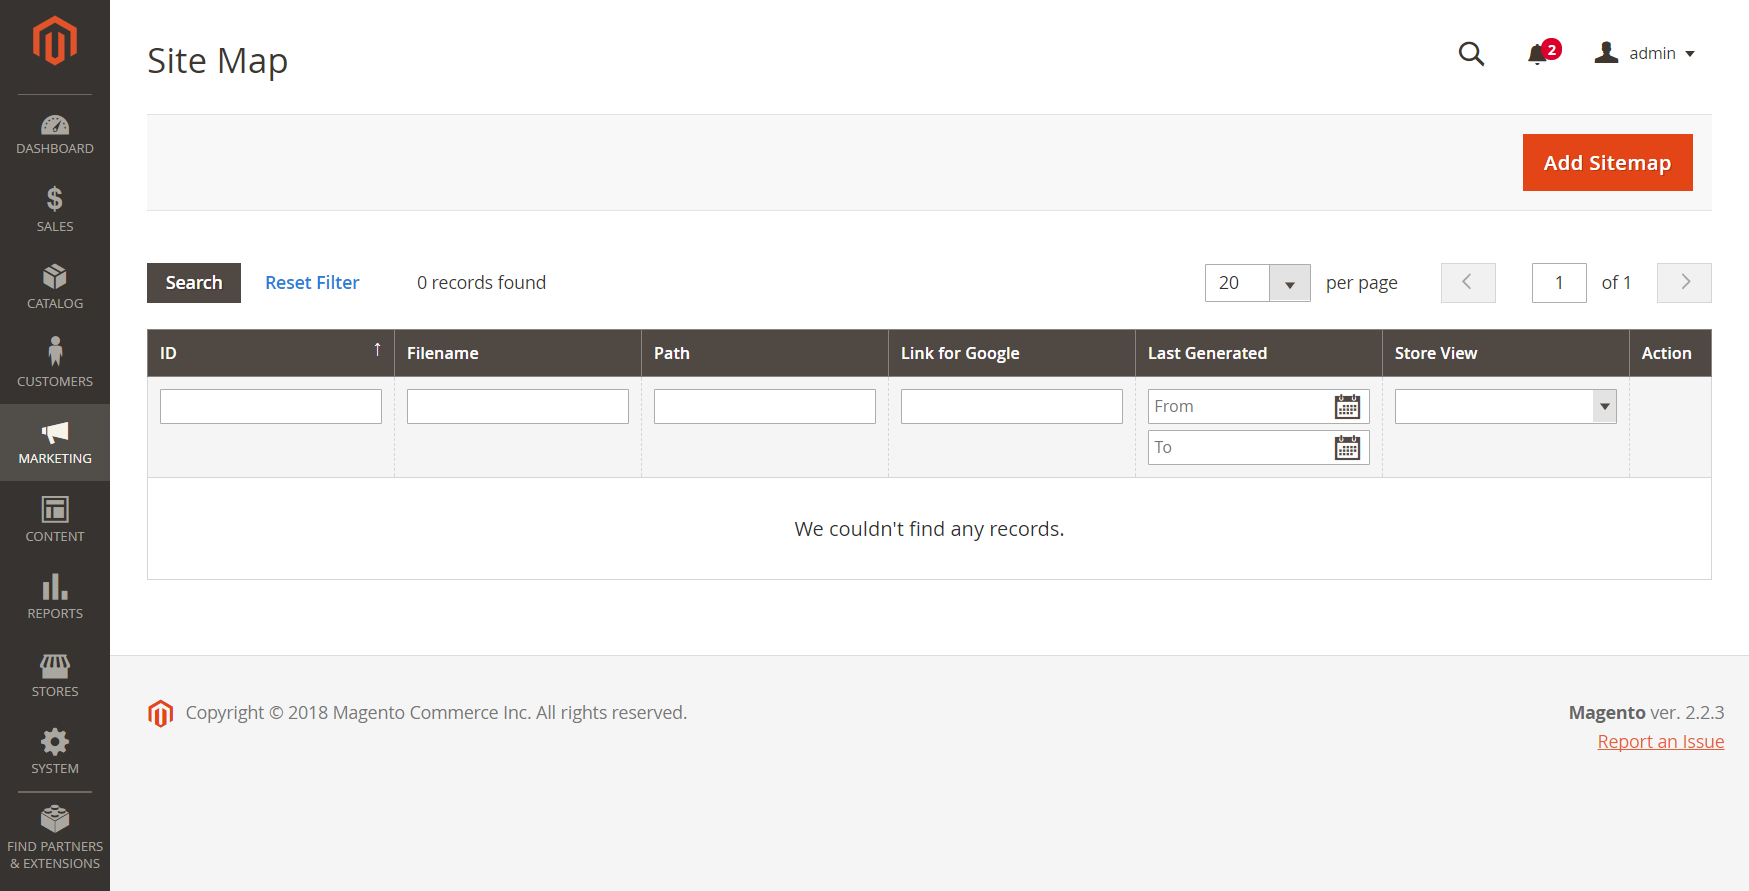
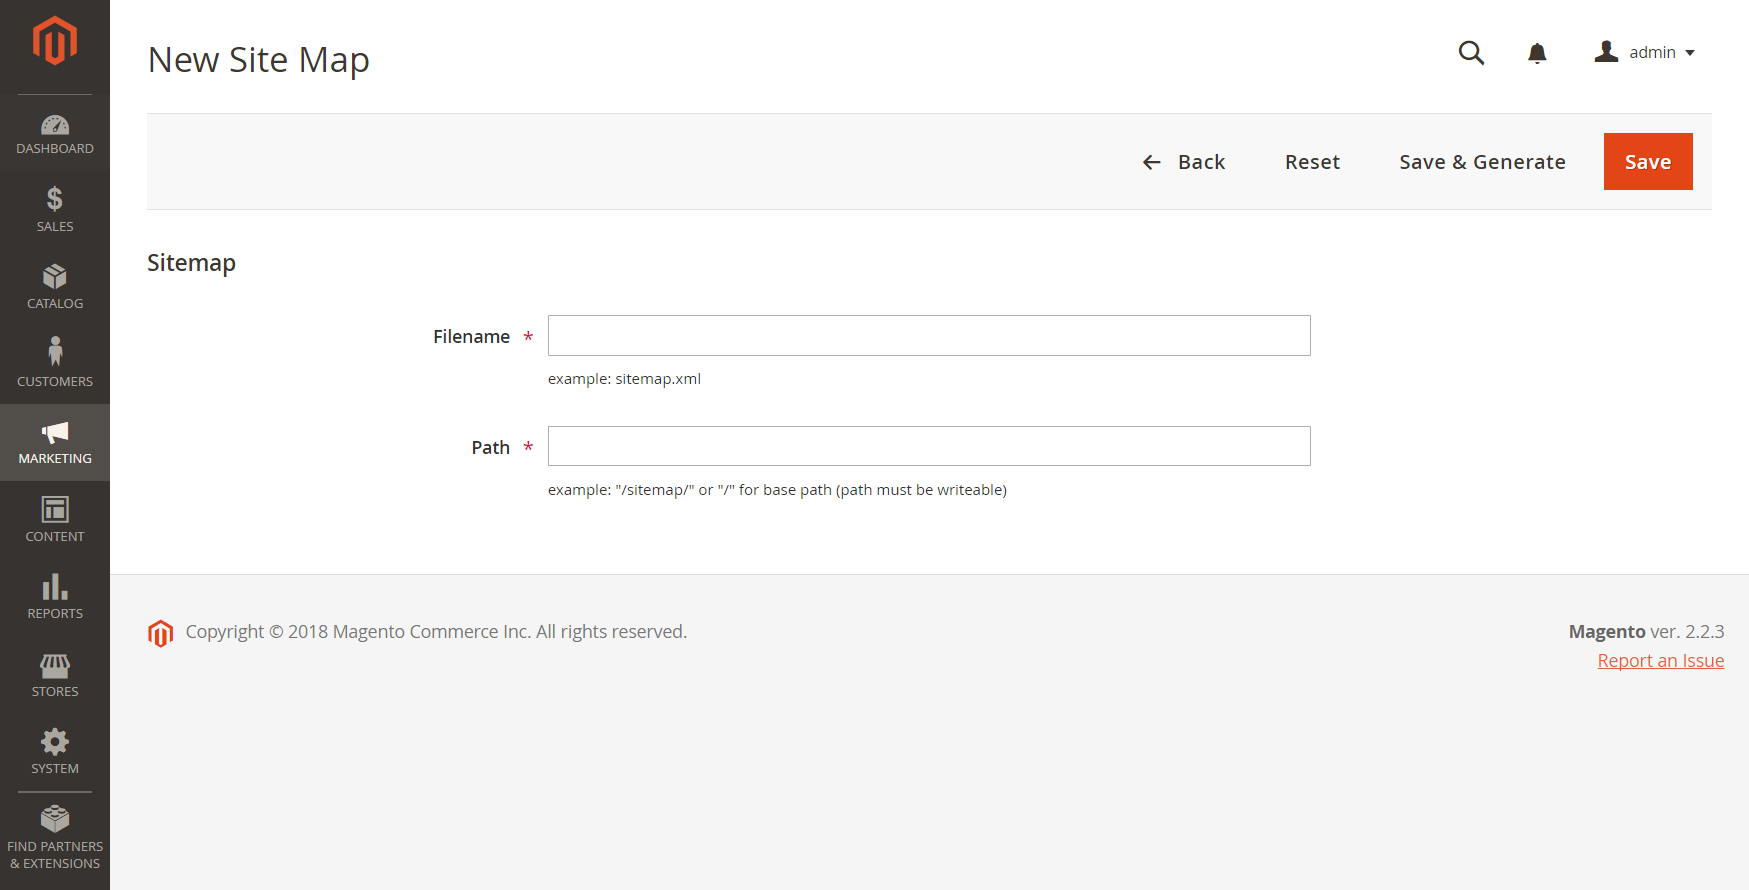
Click Add Site Map and do the following:
 Site Map
-
Enter the site map Filename. For example:
sitemap.xml -
Enter the Path to determine where the site map file is to reside on the server. Make sure that the path is writeable.
/sitemap/ Places the site map file in a directory called sitemap. / Places the site map file at the base path, or root of your Magento installation.
 New Site Map
 -
-
When complete, click Save & Generate.
It might take a few minutes for the site map to appear in the grid.
Step 3. Configure and Enable robots.txt (Optional)
Complete the Search Engine Robots configuration with instructions that direct search engines to crawl the parts of your site that you want to be indexed.
Step 4. Submit Your Site Map to Search Engines
You can submit your site map to different search engines by providing them the link to the sitemap.xml file in your Magento installation. To copy the link, do the following:
-
In the Site Map grid, right-click the URL in the Link for Google column.
-
On the menu, choose Copy Link Address.
For more information, see the instructions for the specific search engine. Here are links to instructions for two top search engines:
Step 5: Restore Previous Robot Instructions (Optional)
You can now restore either the original (default) restrictions.
Column Descriptions
| Column | Description |
| ID | The sequential record number of the current site map. |
| Filename | The file name of the site map. |
| Path | The location where the site map resides on the server. For example: /sitemap/ - Places the site map file in a directory called sitemap, one level below the root of the Magento installation. / - Places the site map file at the base path, or root of the Magento installation. |
| Link for Google | The URL of the site map that is to be submitted to Google and other search engines. |
| Last Generated | Indicates the date and time the site map was last generated. |
| Store View | The store view where the site map applies. |
| Generate | Regenerates the site map. |