Integrate Magento with Yotpo
With just a few steps, you can put Yotpo to work for you.
- Create a Yotpo account
- Enable Yotpo and Connect your Magento Store
Create a Yotpo Account
See Yotpo Plan Information. You can create free account and upgrade your account at any time.
-
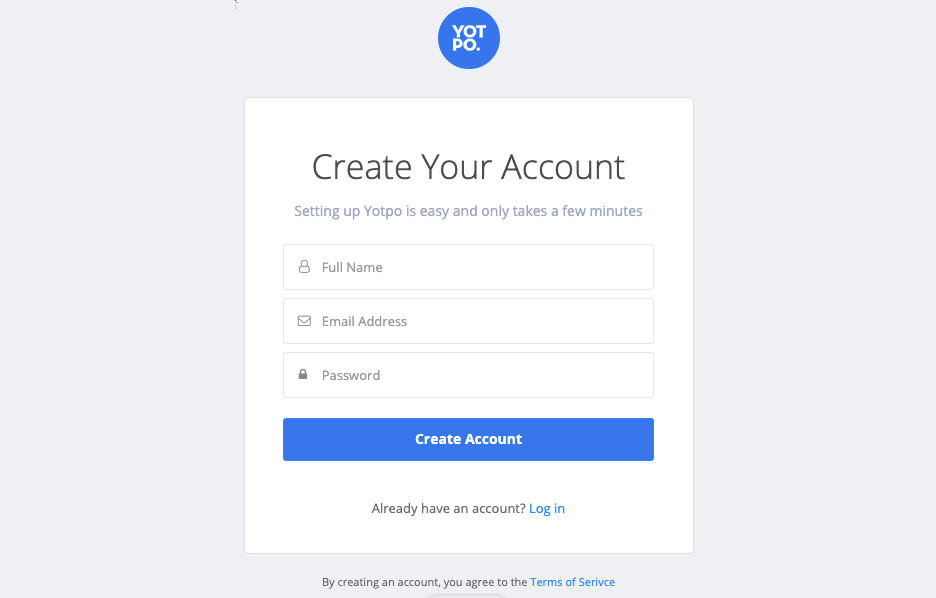
Go to Yotpo to create your account.
-
Complete the account information.

- For Full Name, enter the name you want to use for your Yotpo account.
- For Email Address, enter the email address you want to use for your Yotpo account.
- For Password, enter the password you want to use for your Yotpo account.
- Click Create Account.
-
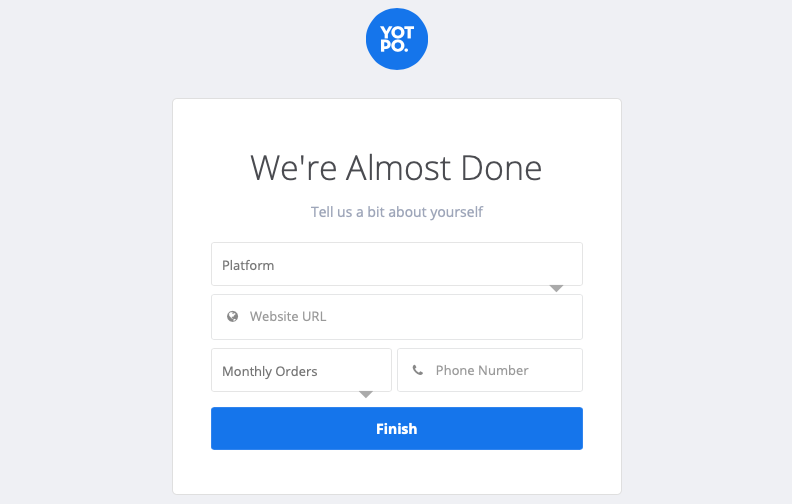
On the We’re Almost Done screen, complete the additional account information:

- Set Platform to
Magento 2. - For Website URL, enter your store URL.
- For Monthly Orders, choose a quantity range in the drop-down menu.
- For Phone Number, enter the phone number you want to associate with your Yotpo account.
- Click Finish.
- Set Platform to
Your account is created. Follow the Yotpo Wizard to enable Yotpo with your Magento Store.
Enable Yotpo and Connect your Magento Store
If you have an existing Yotpo account, you can enable Yotpo inside the Magento Admin.
-
On the Admin sidebar, go to Stores > Settings > Configuration.
-
In the left panel, expand Yotpo and choose Reviews and Visual Marketing.
-
For Store View in the header, click Default Config and choose Default Store View. Click OK to confirm.
-
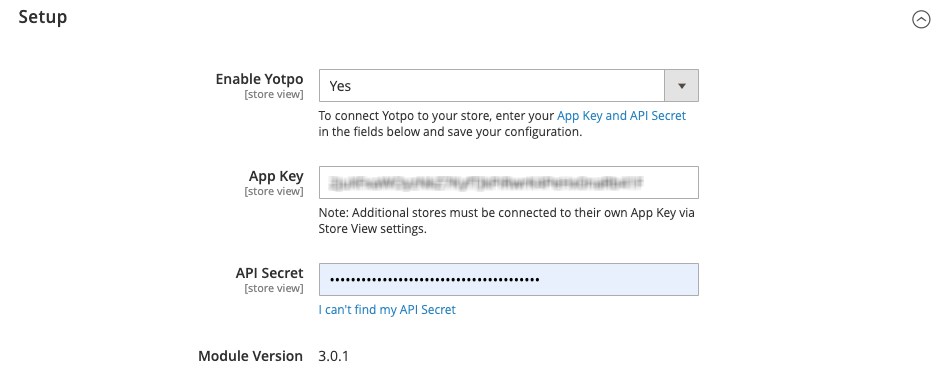
In the Setup section, enable your Yoypo account connection:
-
Set Enable Yotpo to
Yes. -
For App Key, enter the App Key value from your Yotpo account.
-
For API Secret, enter the API Secret value from your Yotpo account.
-
-
When complete, click Save Config.
 Yotpo Setup settings
After you connect your Magento store to your Yotpo account, Magento sets the default values for your Widget and Sync settings.
Additional customization options, tasks, and features are dependent on your Yotpo plan and are available in your Yotpo account.