Schedule Your Campaign
You now have a campaign and a list of customers. The next step is to schedule the campaign and send it on its way.
Schedule a Campaign
-
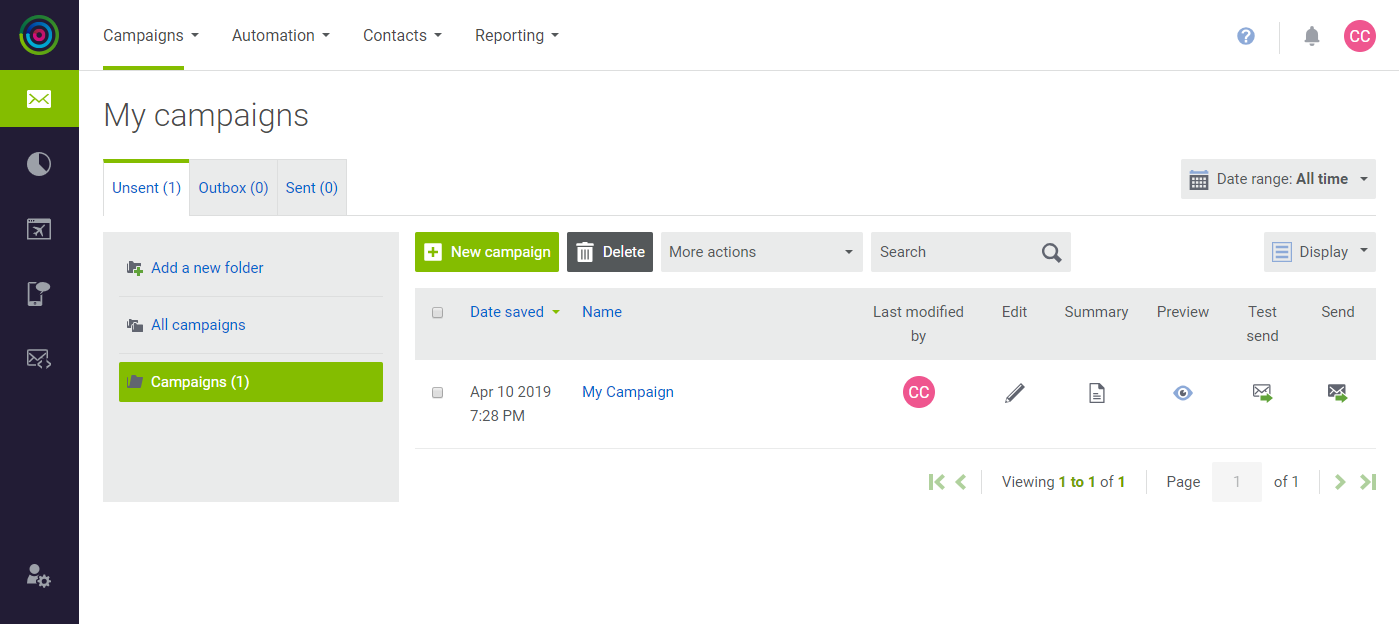
On the main menu under Campaigns, choose My Campaigns.
 Send Your Campaign
 -
Find your test campaign in the list and click Send (
 ) in the last column. Then, do the following:
-
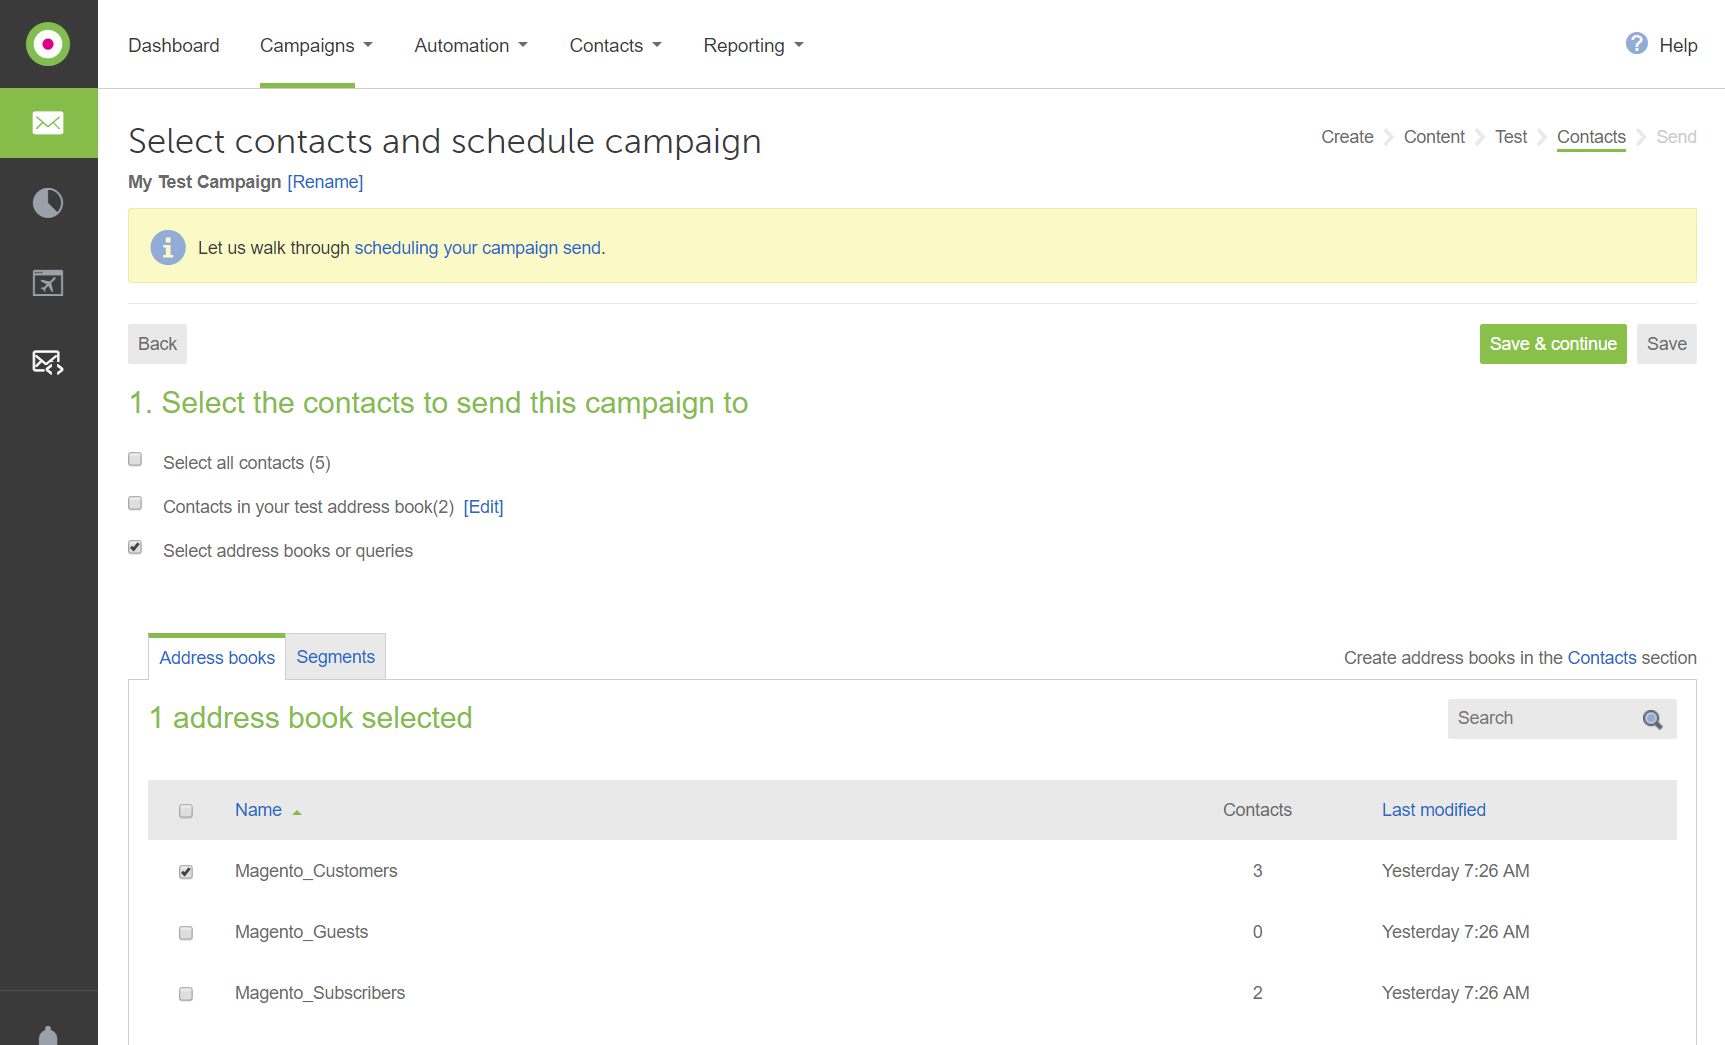
Under Step 1, select the checkbox of each address book that contains contacts to be targeted by the campaign.
 Choose the Address Book
 -
Under Step 2, choose the Scheduled option. Then, click the Calendar (
 ) to choose the Date and enter Time that the campaign will be sent.
 Schedule the Campaign
 -
Under Step 3, select
Yesif you want to automatically resend the campaign to anyone who has not opened it after a specific number of days.You can also change the subject line of the message. By default, campaigns are not sent a second time.
 Remail Options
-
-
Click Save & continue.
-
Take one last look at the report before you send the campaign. Then, scroll down to the bottom and click Send campaign immediately. When prompted to confirm, click Send.
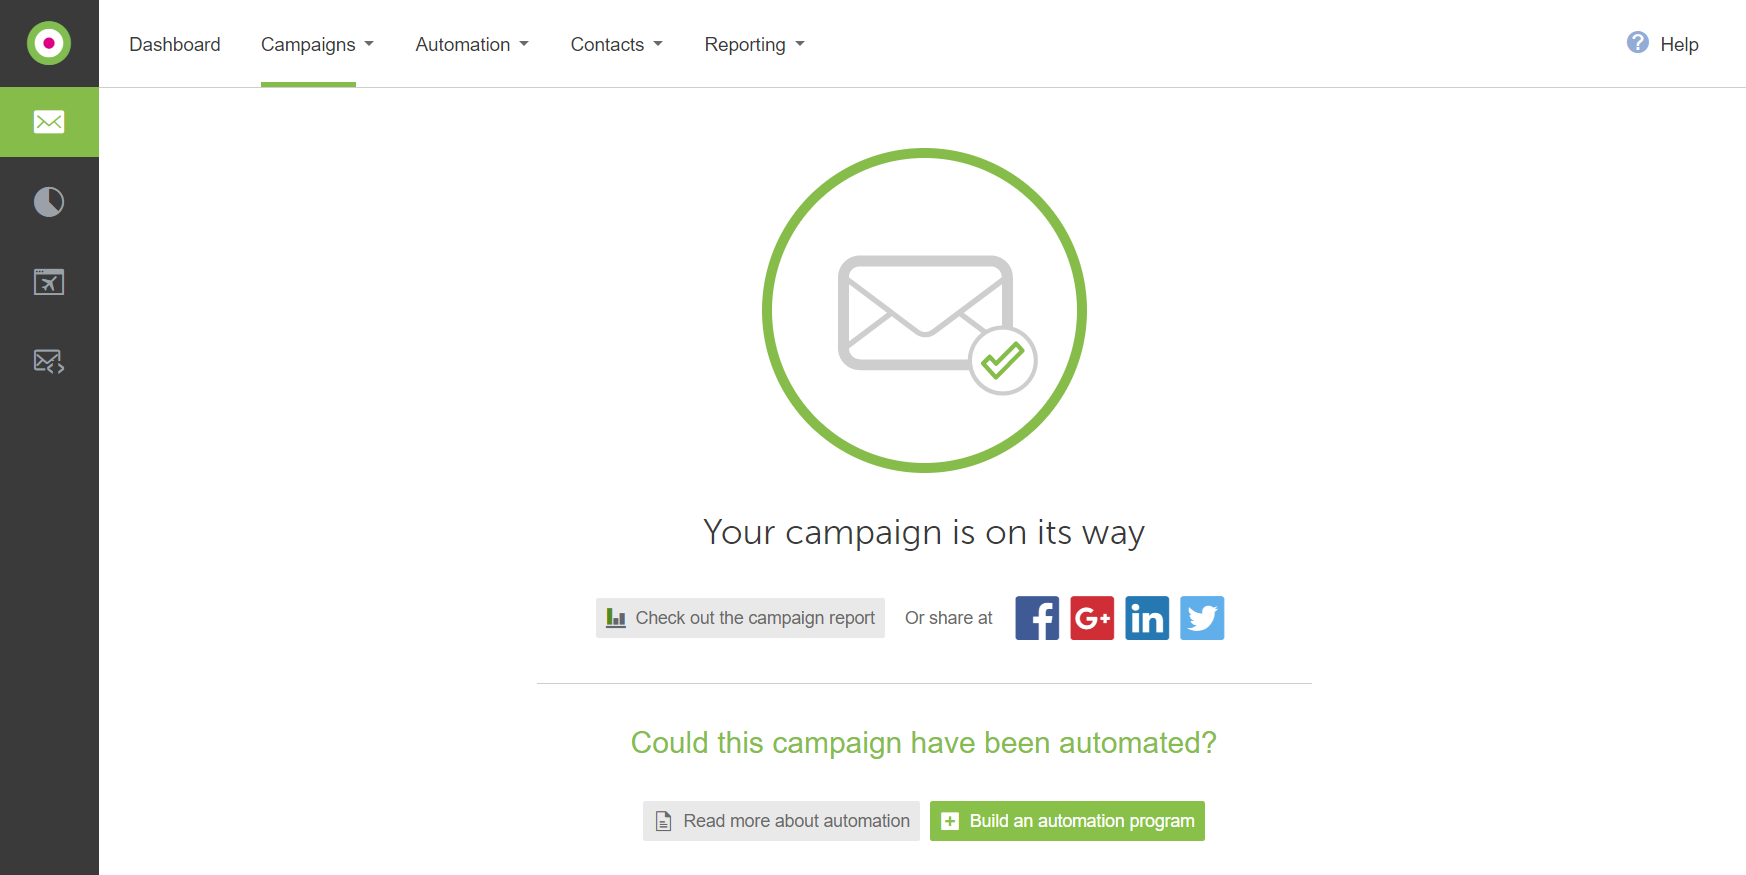
Your campaign is now on its way.
 Your Campaign Is On Its Way
 -
To see the results, click Check out the campaign report.
-
On the menu, choose Dashboard to see your progress.
You have completed the first four tasks, and a notification is waiting for you in the upper-right corner.