Using a Flat Catalog
Magento no longer recommends the use of a flat catalog as a best practice. Continued use of this feature is known to cause performance degradation and other indexing issues. A detailed description and solution is available in the Help Center.
Affected versions include:
-Adobe Commerce on Cloud 2.1.x and above
- Adobe Commerce (On-Premise) 2.1.x and above
- Magento Open Source 2.1.x and above
On any Commerce version, some extensions only work with flat tables, thus creating a risk if you disable flat tables. If you know that you have some extensions that use Flat Catalog indexers, you need to be aware of this risk when setting those values to No.
Commerce typically stores catalog data in multiple tables, based on the Entity-Attribute-Value (EAV) model. Because product attributes are stored in many tables, SQL queries are sometimes long and complex.
In contrast, a flat catalog creates new tables on the fly, where each row contains all the necessary data about a product or category. A flat catalog is updated automatically—either every minute, or according to your cron job. Flat catalog indexing can also speed up the processing of catalog and cart price rules. A catalog with as many as 500,000 SKUs can be indexed quickly as a flat catalog.
Before you enable a flat catalog for a live store, make sure to test the configuration in a development environment.
Step 1: Enable the Flat Catalog
-
On the Admin sidebar, go to Stores > Settings > Configuration.
-
In the left panel, expand Catalog and choose Catalog underneath.
-
Expand the Storefront section and do the following:
-
Set Use Flat Catalog Category to
Yes. (If necessary, deselect the Use system value checkbox.) -
Set Use Flat Catalog Product to
Yes.
 Flat Catalog Configuration
 -
-
When complete, click Save Config.
-
When prompted to update the cache, click Cache Management in the system message and follow the instructions to refresh the cache.
Step 2: Verify the results
There are two methods you can use to verify the results.
Method 1: Verify the results for a single product
-
On the Admin sidebar, go to Catalog > Products.
-
Open a product in edit mode.
-
For Name, add the text
_TESTto the end of the product name. -
Click Save.
-
On a new browser tab, navigate to the home page of your store and do the following:
-
Search for the product you edited.
-
Use the navigation to browse to the product under its assigned category.
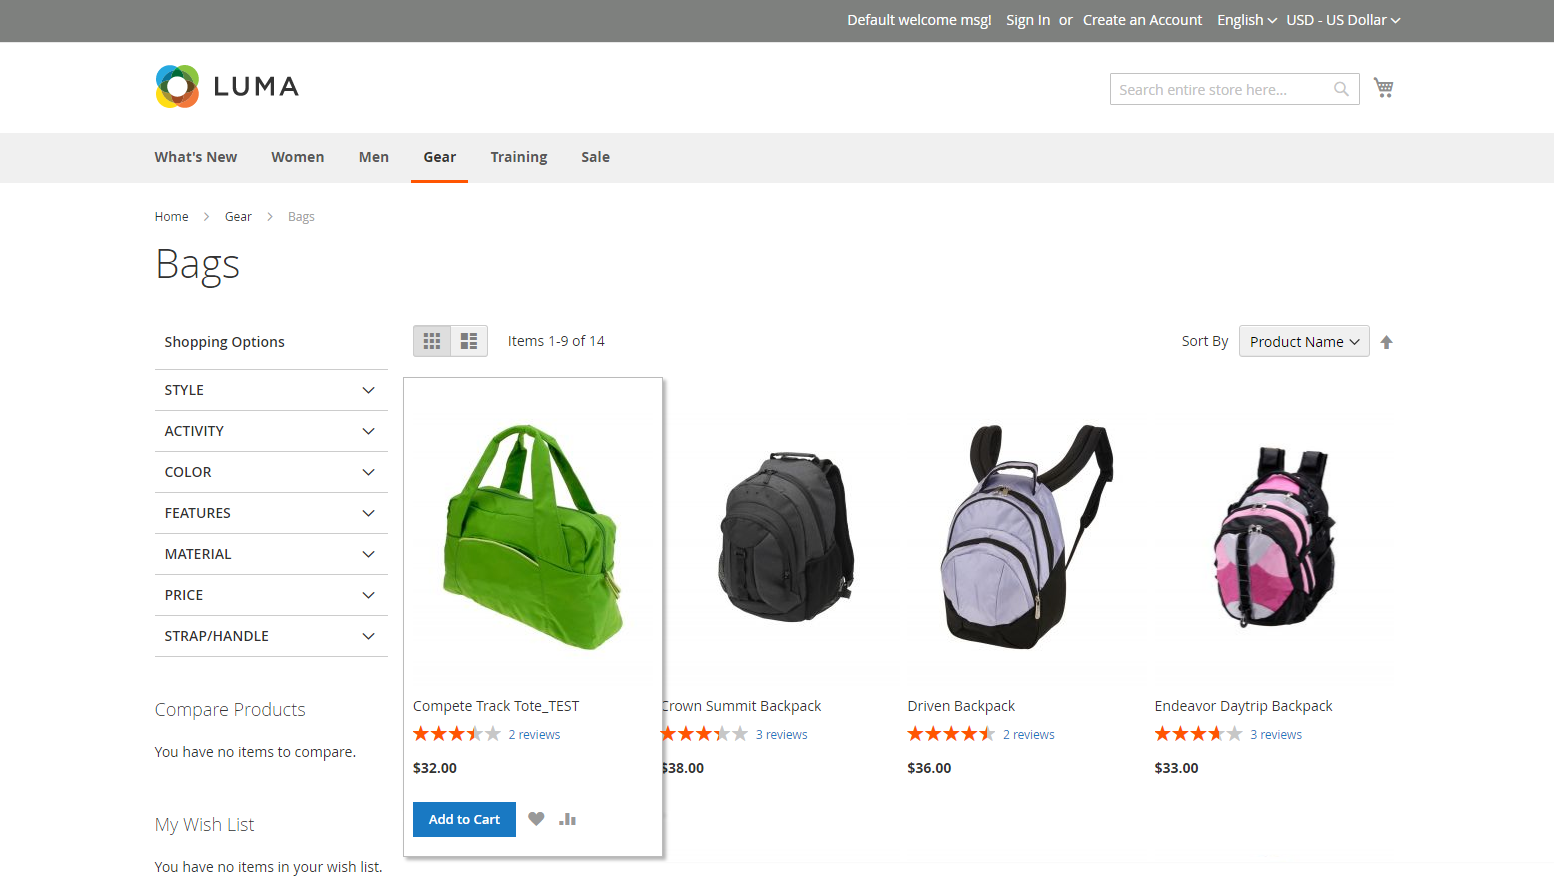
If necessary, refresh the page to see the results. The change will appear within the minute or according to your Cron schedule.
 Storefront with Flat Catalog
-
Method 2: Verify the results for a category
-
On the Admin sidebar, go to Catalog > Categories.
-
In the upper-left corner, verify that Store View is set to
All Store Views.If prompted, click OK to confirm.
-
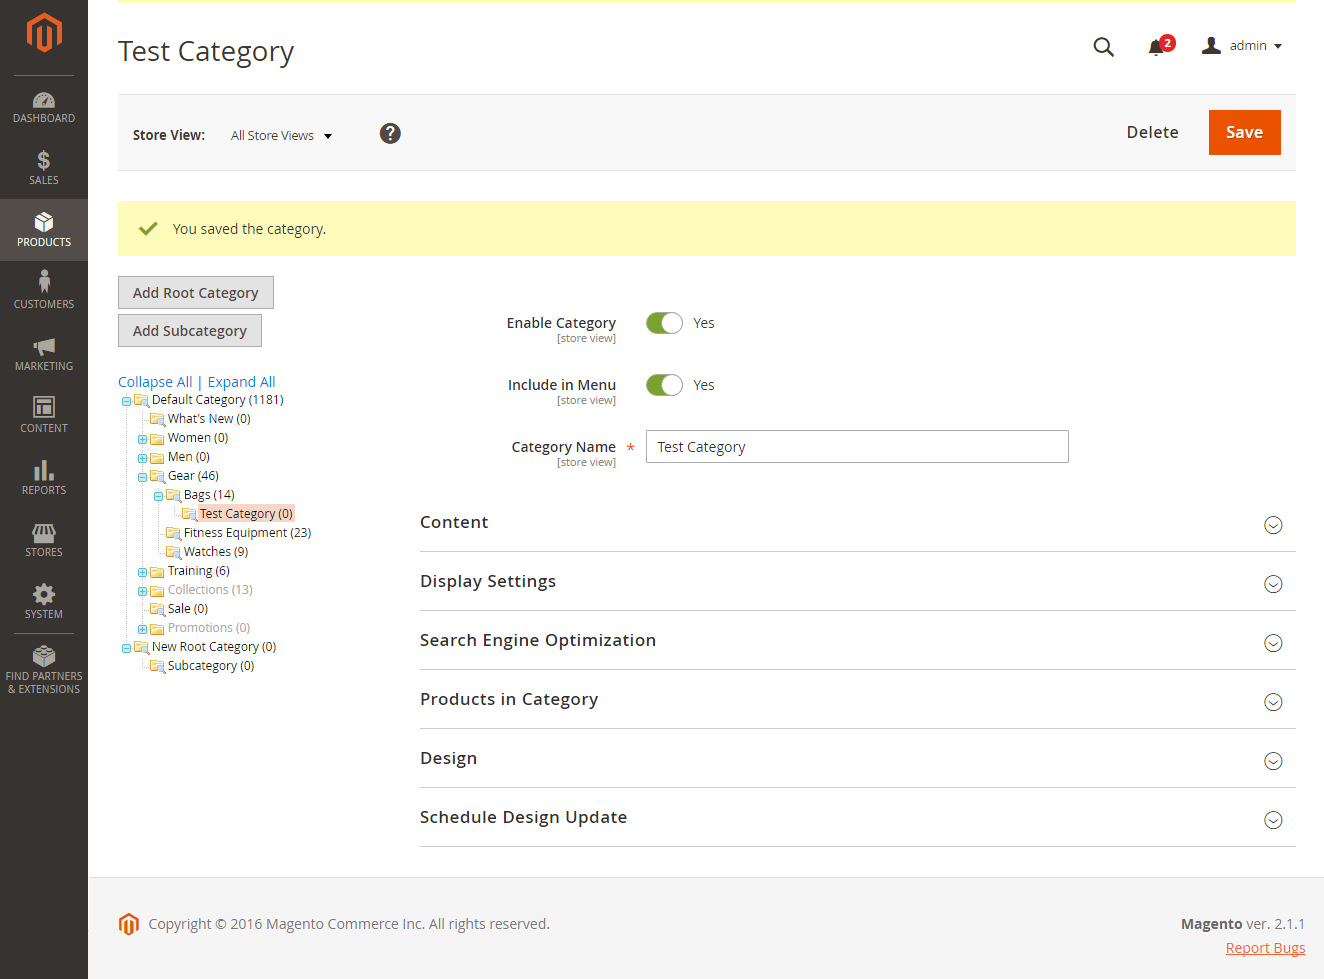
In the category tree, select an existing category, click Add Subcategory, and do the following:
-
For Category Name, enter
Test Category. -
When complete, click Save.
 Test Subcategory
 -
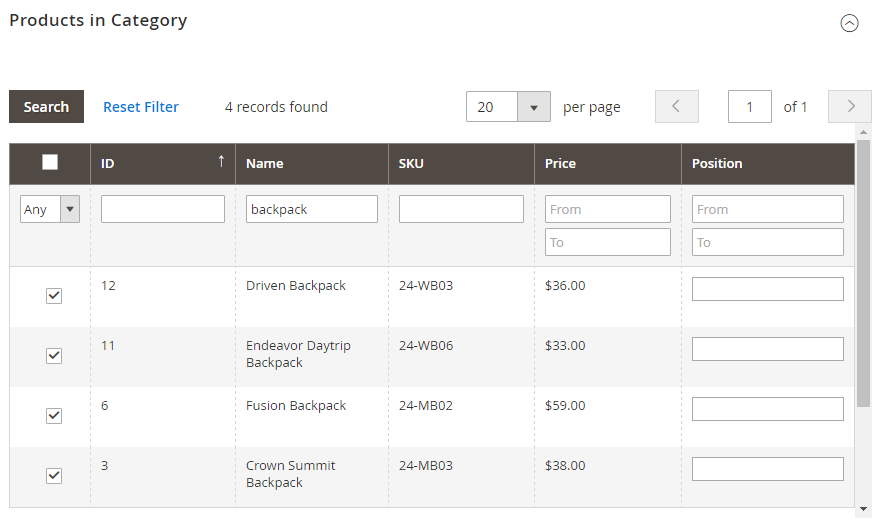
Expand
 the Products in Category section and click Reset Filter to display all products.
 -
Select the checkbox of several products to add them to the new category.
-
Click Save.
 Test Category Products
-
-
On a new browser tab, navigate to the home page of your store and use the store navigation to browse to the category you created.
If necessary, refresh the page to see the results. The change will appear within the minute or according to your cron schedule.
Step 3: Remove the test data
Do the following to remove the test data and restore the original product name and catalog configuration.
Remove the test category
-
On the Admin sidebar, go to Catalog > Categories.
-
In the category tree, select the test subcategory that you created.
-
In the upper-right corner, click Delete.
-
When prompted to confirm, click OK.
This will not remove the products that are assigned to the category.
Restore the original product name
-
On the Admin sidebar, go to Catalog > Categories.
-
Open the test product in edit mode.
-
Remove the
_TESTtext that you added to the Product Name. -
In the upper-right corner, click Save.
Restore the original catalog configuration
-
On the Admin sidebar, go to Stores > Settings > Configuration.
-
In the left panel, expand Catalog and choose Catalog underneath.
-
Expand the Storefront section and do the following:
-
Set Use Flat Catalog Category to
No. -
Set Use Flat Catalog Product to
No.
-
-
When complete, click Save Config.
-
When prompted, refresh the cache.