Refer to Amazon Sales Channel 4.0+ for updated documentation.
Creating and Editing Overrides
You can create and override for a listing or edit or remove an override that has been applied to a listing. Overrides set a defined value for a specific listing.
To Create an Override for a Single Listing
The Create Override action is available when viewing listings on the Inactive, Active, and Ineligible tabs.
-
View a listing on a Products Listings tab.
-
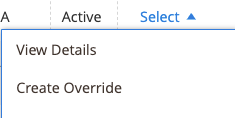
In the Action column, click Select and then click Create Override. The Product Listing Overrides screen displays.
-
Verify the Listing Details to ensure you are viewing the correct listing.
-
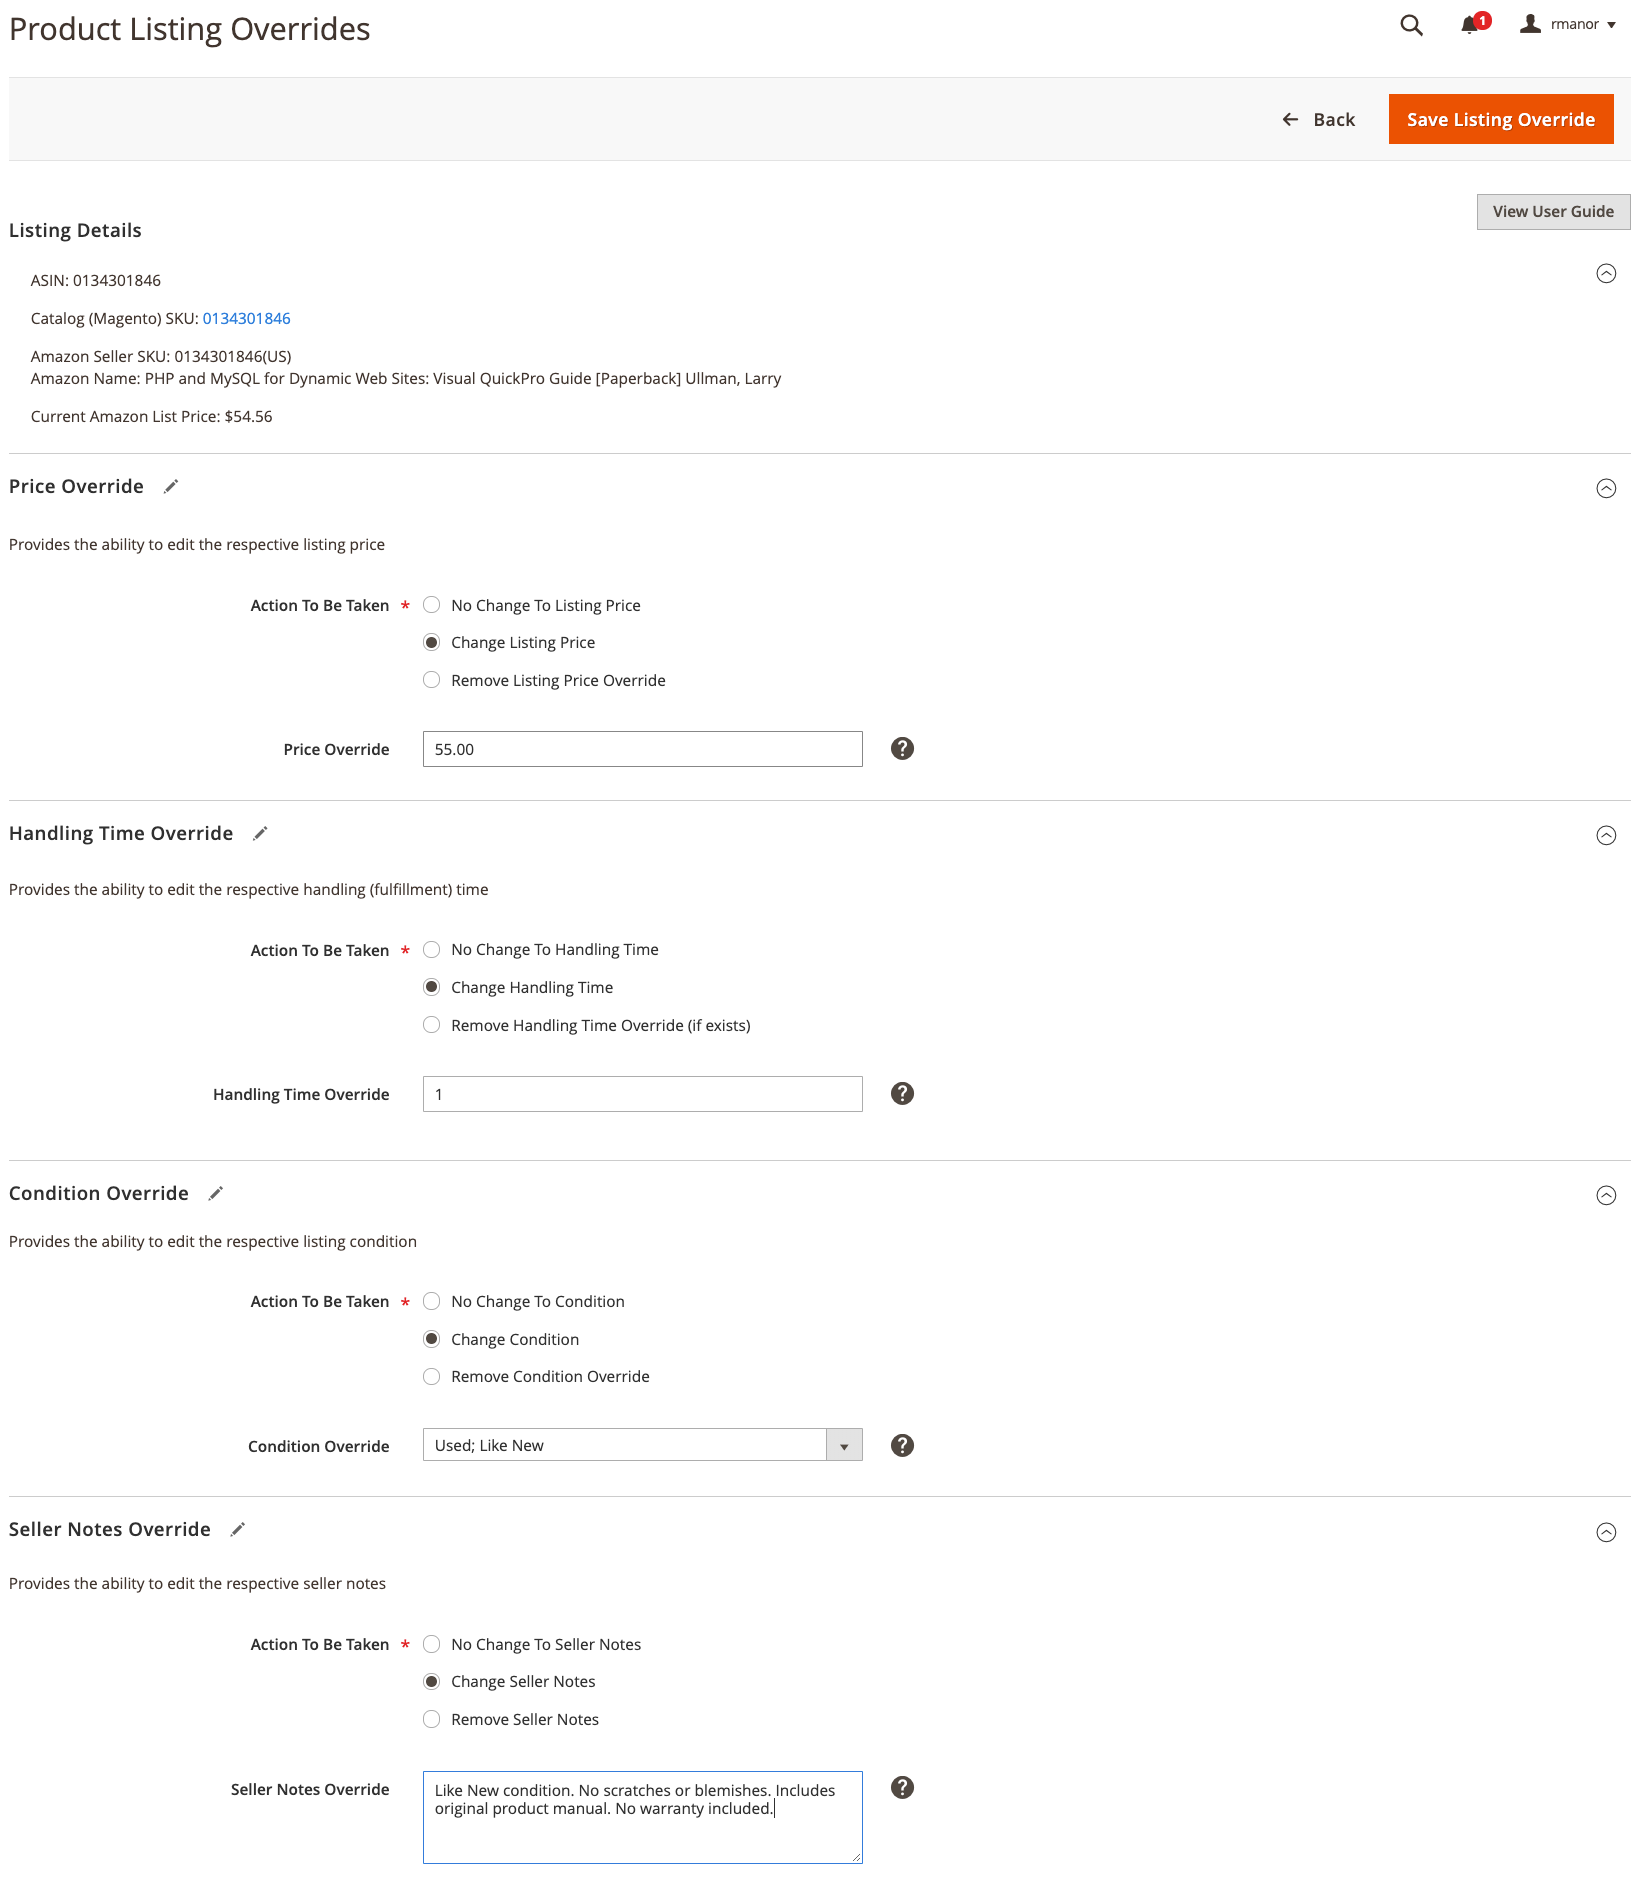
Determine the type of override you are creating. You can define a single override type or any combination of types for the listing (Price, Handling Time, Condition, Seller Notes).
- Price: Click the Change Listing Price option. Enter your defined price value in the Price Override field.
- Handling Time: Click the Change Handling Time option. Enter the defined time value (in days) in the Handling Time Override field.
- Condition: Click the Change Condition option. Select the correct option in the Condition Override drop-down.
- Seller Notes: Click the Change Seller Notes option. Enter your notes text in the Seller Notes Override field.
-
Click Save Listing Override.
The Product Listing Overrides screen closes. The status of the listing changes to “Relist in Progress.” The change will be published to Amazon with your next data sync (as configured in your cron settings). The listing is also added to the Overrides tab.
The following example screen shows an override that defines a new price of $55, a new handling time of 1 day, a new condition of “Used; Like New,” and new Seller Note text.
 Create an Override
To Edit or Remove an Override for a Single Listing
The Edit Overrides action is available when viewing listings on the Overrides tab.
-
View a listing on a Products Listings tab (Inactive, Active, Overrides, or Ineligible).
-
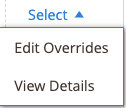
In the Action column, click Select and then click Edit Overrides. The Product Listing Overrides screen displays just as when creating an override.
-
Verify the Listing Details to ensure you are viewing the correct listing.
-
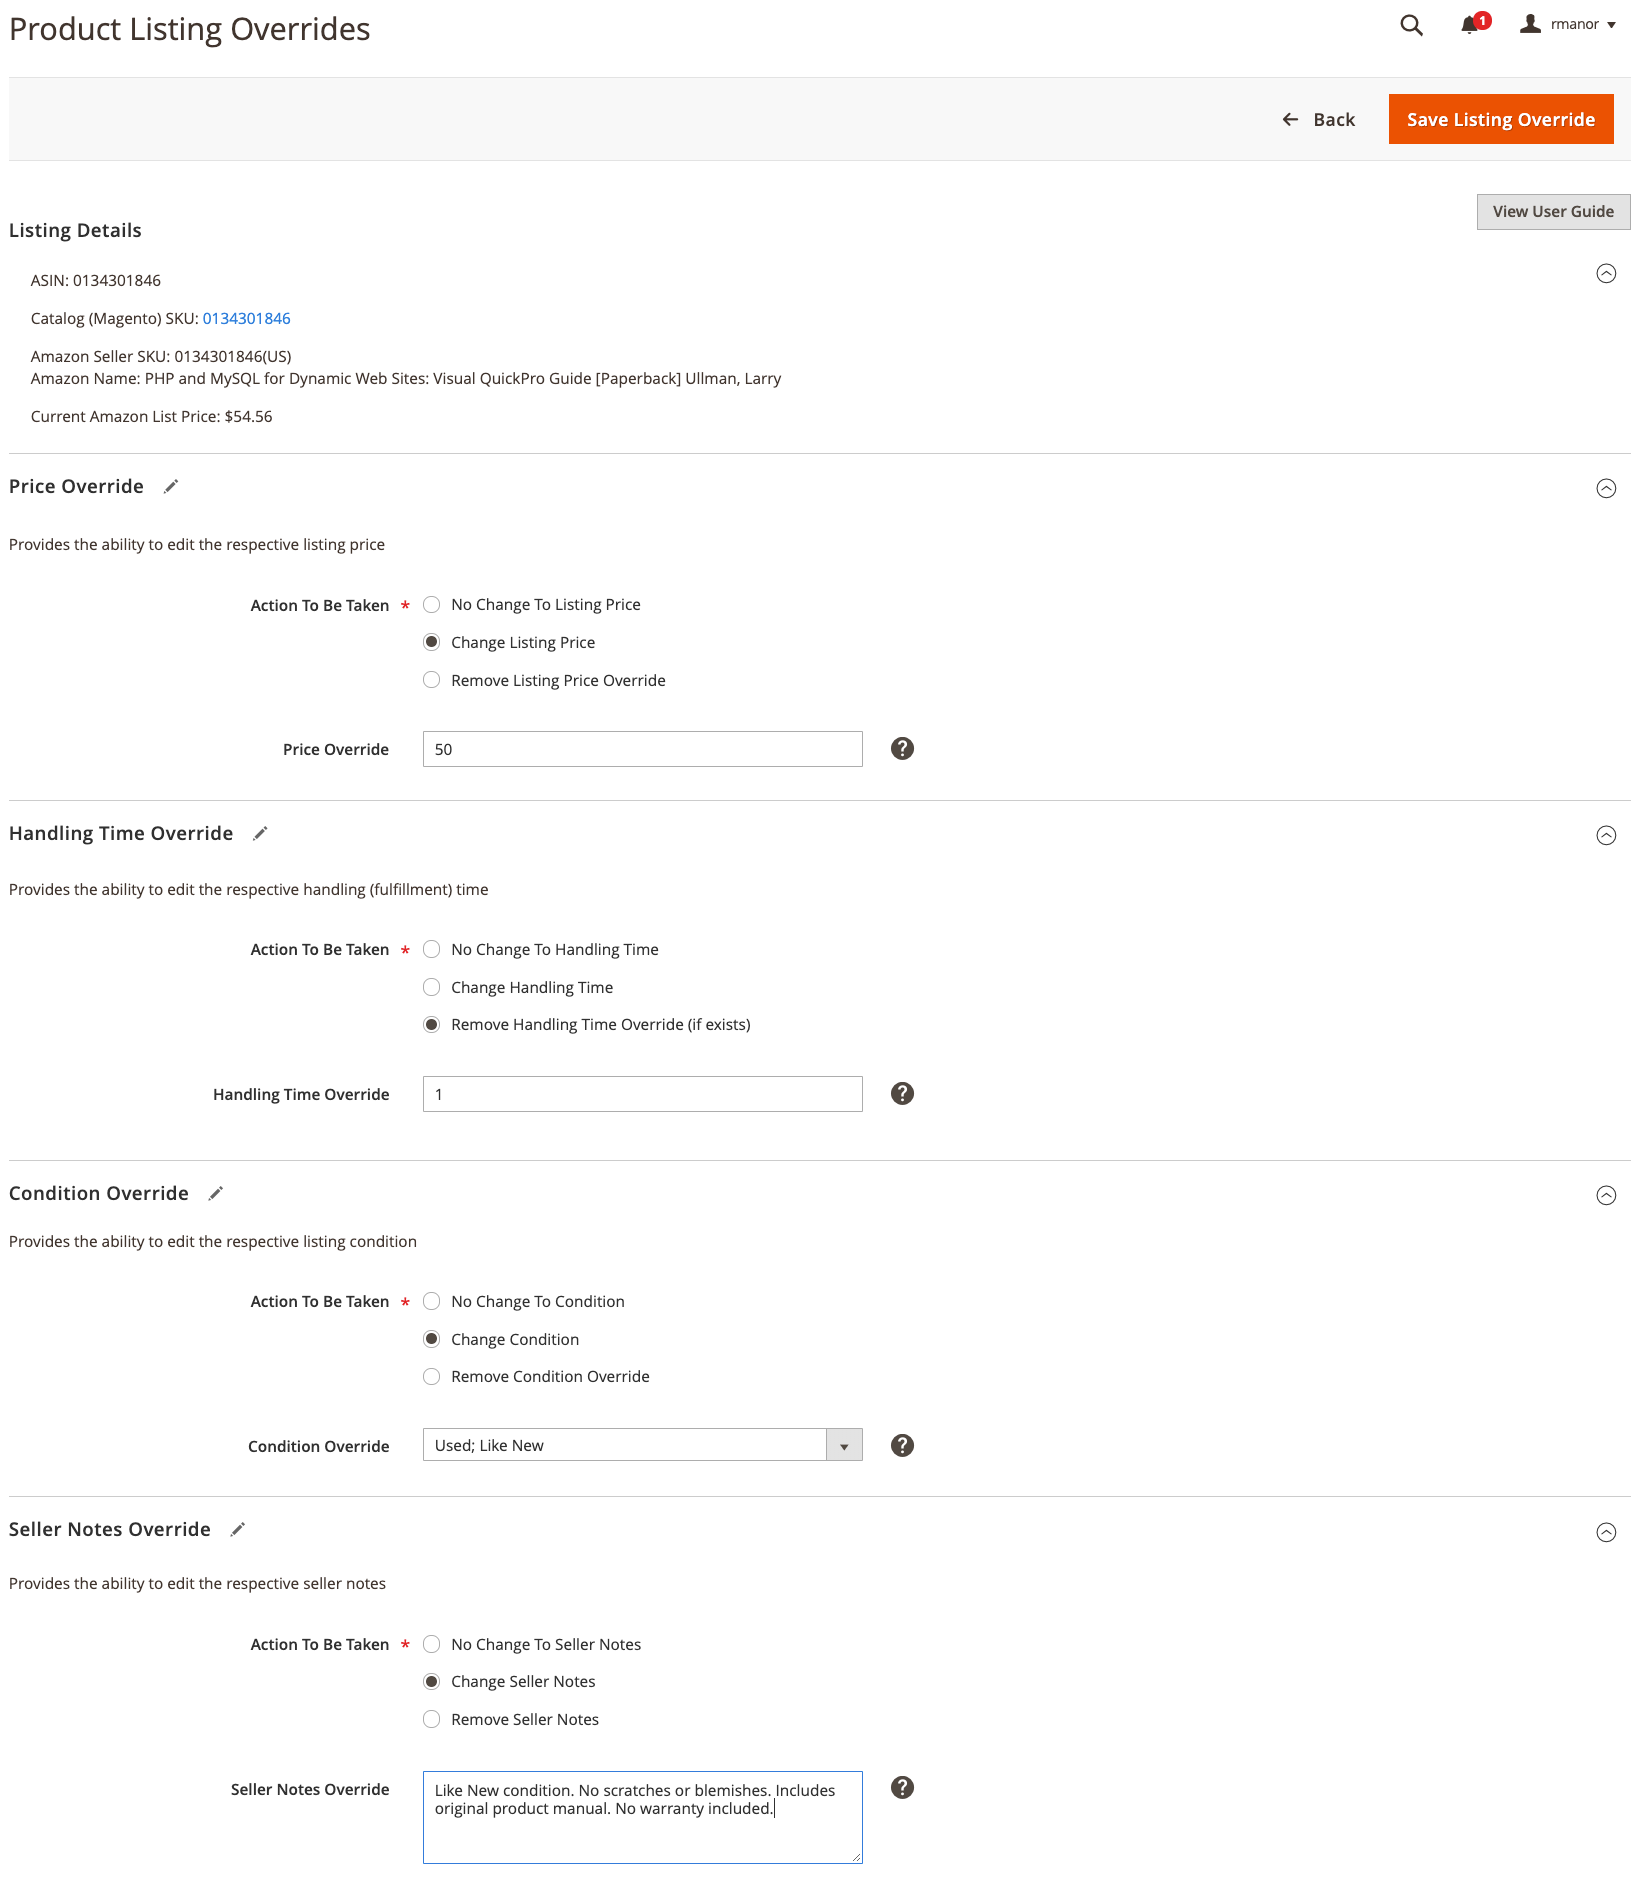
To edit your override settings, define the sections for the type you want to change (Price, Handling Time, Condition, Seller Notes).
To keep an override type the same, ensure the No Change To option selected for the type. This is the default setting. This leaves the previously defined override value unchanged.
- Price: Click the Change Listing Price option. Enter your defined price value for Price Override.
- Handling Time: Click the Change Handling Time option. Enter the defined time value (in days) for Handling Time Override.
- Condition: Click the Change Condition option. Select the correct option for Condition Override.
- Seller Notes: Click the Change Seller Notes option. Enter your notes text for Seller Notes Override.
-
To remove an override type, click the Remove option for each of the types you want to remove. If not removed, the previously defined value remains in the override.
-
Click Save Listing Override.
The Product Listing Overrides screen closes. The status of the listing changes to “Relist in Progress.” The change will be published to Amazon with your next data sync (as configured in your cron settings). If not already listed, the listings are also added to the Overrides tab.
Piggybacking on the Create an Override example. The following example screen shows an edit to the previously created override that defines a new price of $50, removes the Handling Time override, and keeps the previous Condition and Seller Notes overrides.
 Editing or Removing an Override
To Edit or Remove an Override for Multiple Listings
The Edit Listing Overrides action is available in the Actions drop-down when viewing listings on the Inactive, Active, Overrides, and Ineligible tabs.
Because you are modifying overrides for multiple listings, the Listing Details section does not display as it does when modifying a single listing.
-
View the listing on a Products Listings tab (Inactive, Active, Overrides, or Ineligible).
-
Click the checkbox in the left-side column to select each of the listings you want to modify.
-
In the Actions drop-down, click Edit Listing Overrides. The Product Listing Overrides screen displays just as when creating an override.
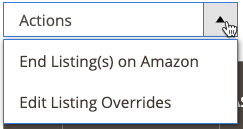
-
To edit your override settings, define the sections for the type you want to change (Price, Handling Time, Condition, Seller Notes).
To keep an override the same, ensure the No Change To option selected for the type. “No Change To” is the default setting. This leaves the previously defined override value unchanged.
- Price: Click the Change Listing Price option. Enter your defined price value for Price Override.
- Handling Time: Click the Change Handling Time option. Enter the defined time value (in days) for Handling Time Override.
- Condition: Click the Change Condition option. Select the correct option for Condition Override.
- Seller Notes: Click the Change Seller Notes option. Enter your notes text for Seller Notes Override.
-
To remove an override type, click the Remove option for each of the types you want to remove. If not removed, the previously defined value remains in the override.
-
Click Save Listing Override.
The Product Listing Overrides screen closes. The status of the listings changes to “Relist in Progress.” The change will be published to Amazon with your next data sync (as configured in your cron settings). If not already listed, the listings are also added to the Overrides tab.
Override Types
| Override | Description |
|---|---|
| Price Override | A price override defines the price for the listings. This override takes priority over all automated settings until the override is removed. To override the price of your product, select the Change Listing Price option and then enter the new price in the Price Override field. |
| Handling Time Override | A handling time override defines the time it takes (in days) to process and ship products. A handling time override takes priority over all automated and default handling time settings until the override is removed. The value that exists in the Handling Time Override box is either your default handling time defined in your listing settings or your defined override handling time. If you remove a handling time override, the listing will default to the handling time defined in your listing settings. To define a handling time override, select the Change Handling Time option, and then enter the new handling time (in days) in the Handling Time Override field. |
| Condition Override | To override the Listing Condition, select the Change Condition option and then select the new condition from the Condition Override drop-down. |
| Seller Notes Override | For products in your catalog that are defined with a condition other than “New,” a seller note can be added to further detail your product and its condition to potential buyers. You can enter a seller note override for a “New” condition product, but Amazon will not display the note. To override the Seller Notes, select the Change Seller Notes option and then enter the new note in the Seller Notes Override field. |