Customer Groups
Customer groups determine which discounts are available and the tax class that is associated with the group. The default customer groups are General, Not Logged In, and Wholesale.
- The selection of customer groups includes all regular customer groups, and shared catalogs, even if Shared Catalogs is not enabled in the configuration. Only one customer group or shared catalog can be assigned to a company at a time.
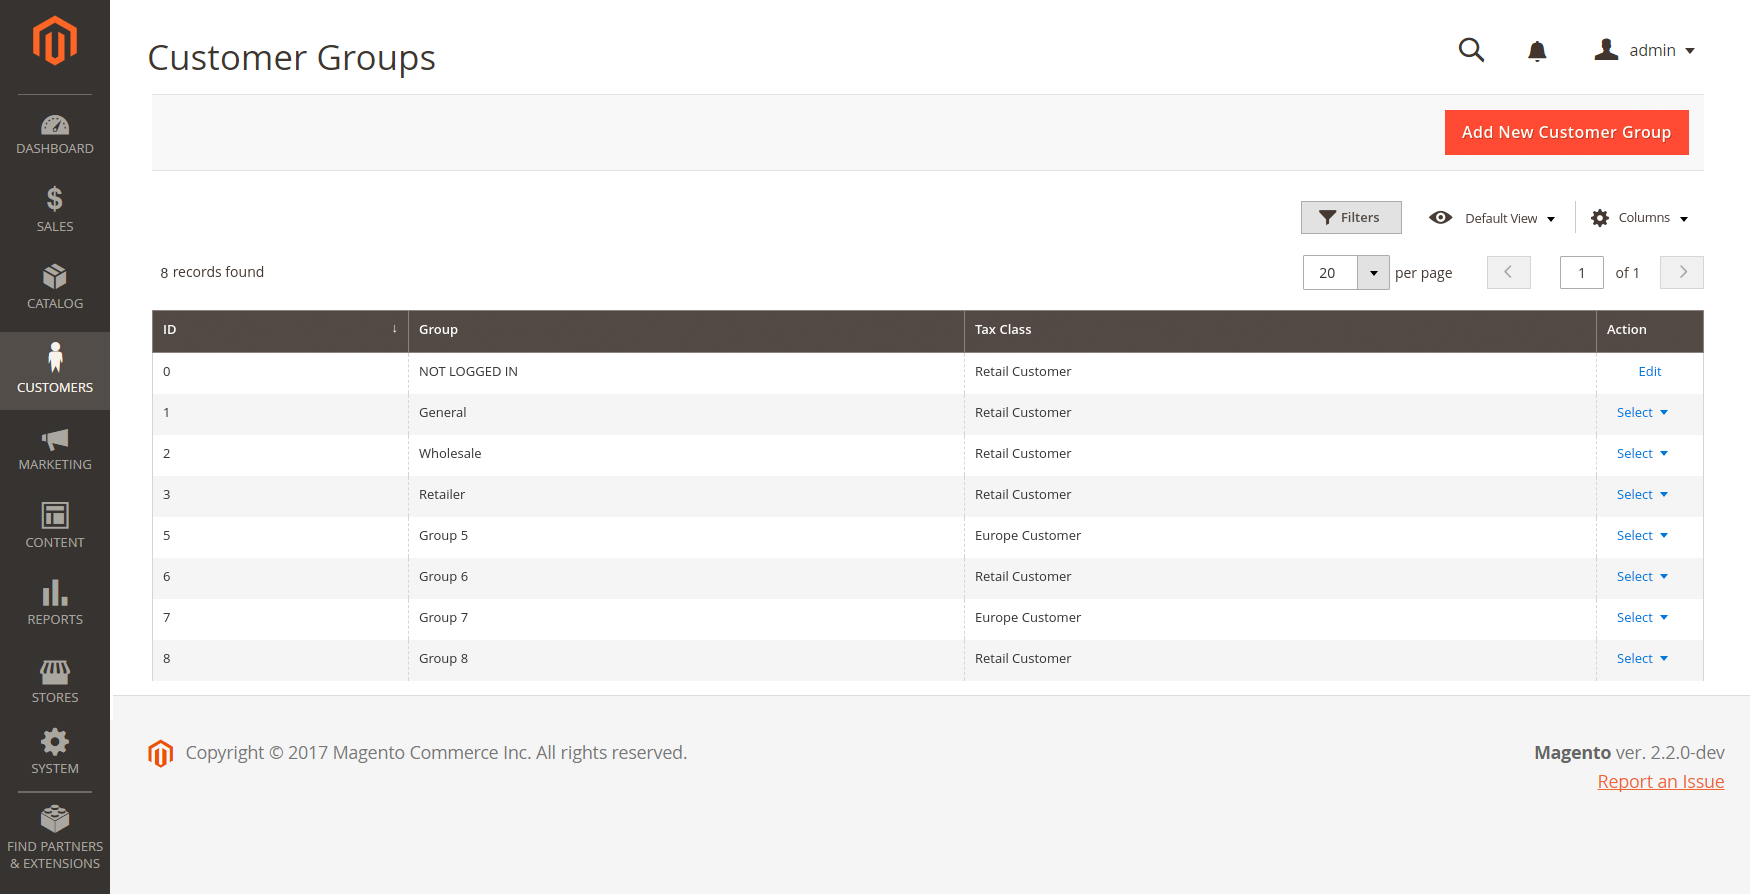 Customer Groups
Filter customer groups
-
On the Admin sidebar, go to Customers > Customer Groups.
-
Click Filters.
-
Enter criteria for searching groups, including a range of IDs, group, or tax class.
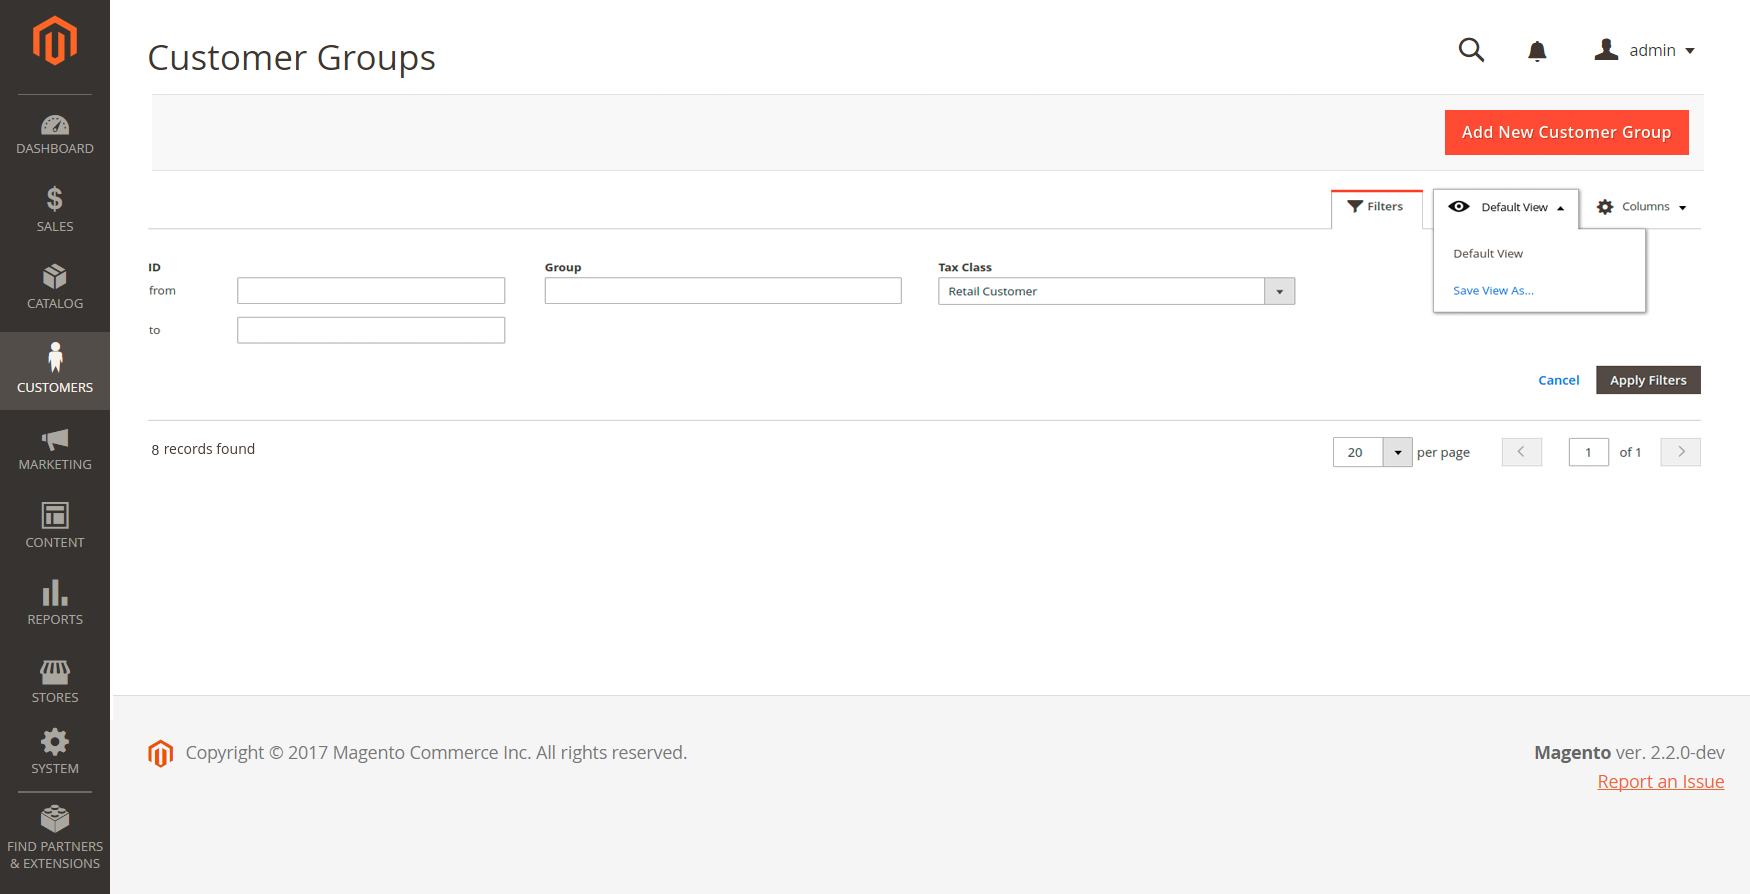 Filtering Options
 -
When complete, click Apply Filters.
The page displays the subset of filtered customer groups.
Create a customer group
-
On the Admin sidebar, go to Customers > Customer Groups.
-
Click Add New Customer Group.
-
Enter a unique Group Name less than 32 characters to identify the group.
-
Select the Tax Class that applies to the group.
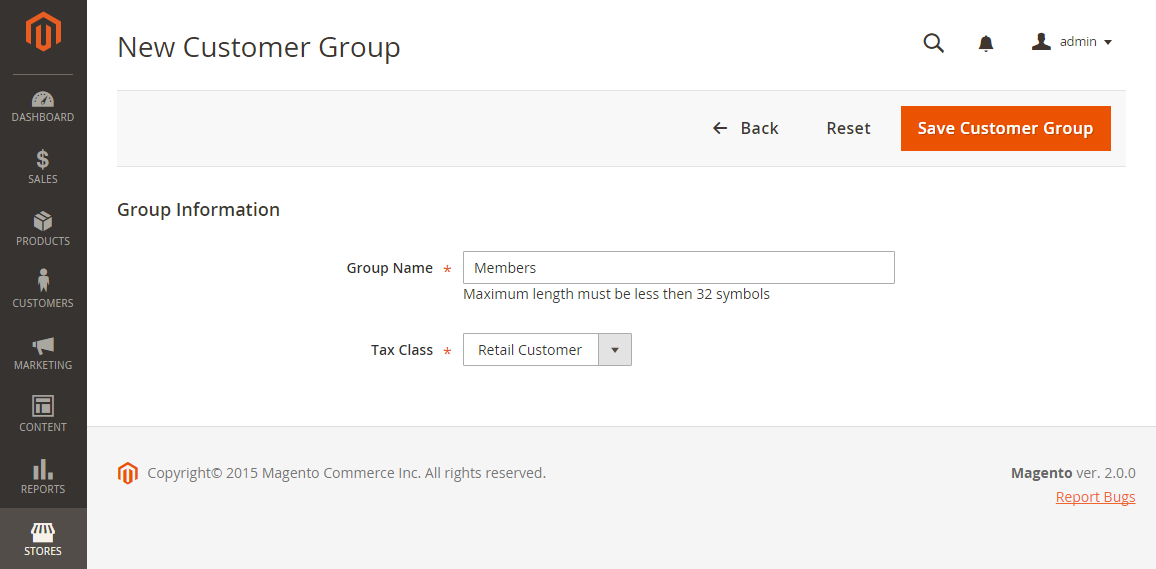 Group Information
 -
When complete, click Save Customer Group.
Edit a customer group
-
On the Admin sidebar, go to Customers > Customer Groups.
-
Open the record in edit mode.
-
Make the necessary changes.
-
When complete, click Save Customer Group.
Assign a customer to a different group
-
On the Admin sidebar, go to Customers > All Customers.
-
Find the customer in the list and select the checkbox in the first column.
-
Set the Actions control to
Assign a Customer Group. -
Set the Group control to the new group.
-
When prompted to confirm, click OK.
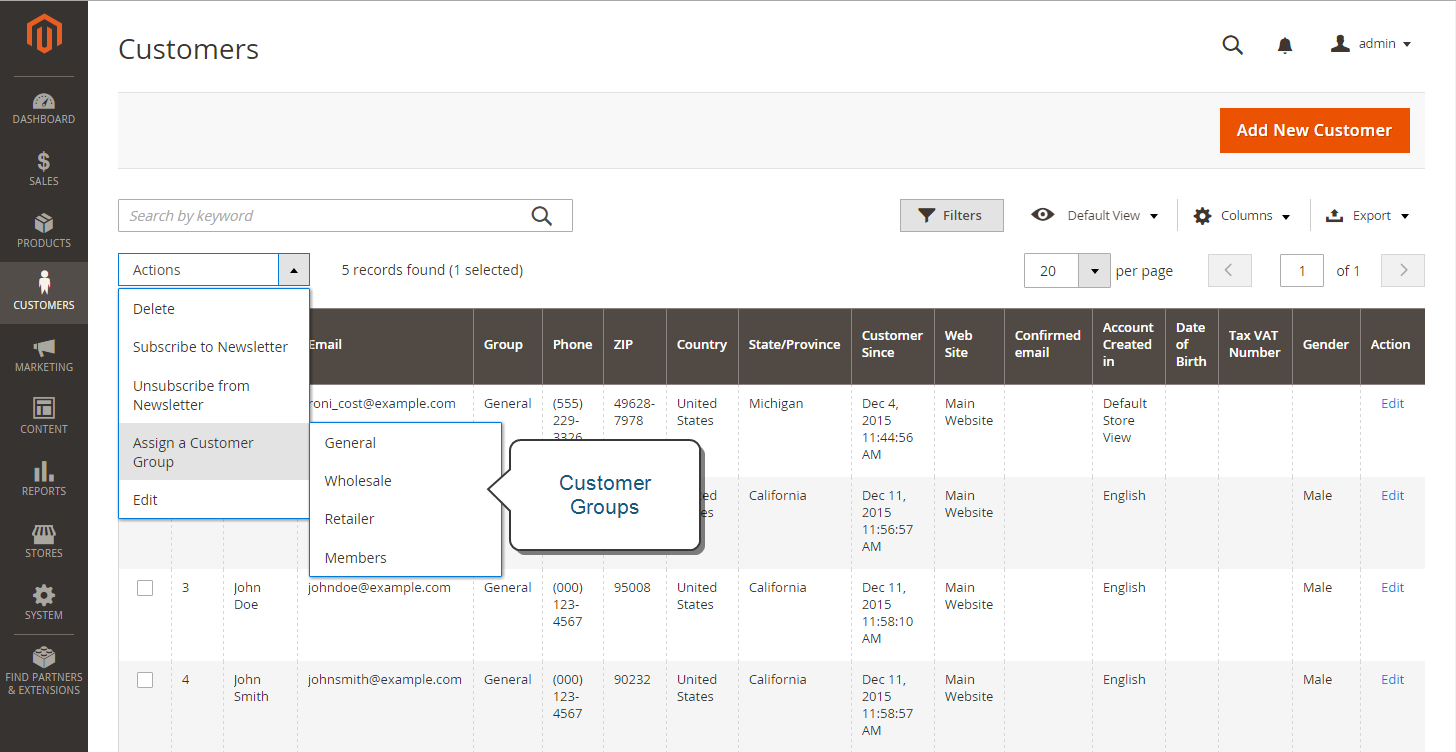 Assign a Customer Group
Associate a group of customers with specific discounts
-
On the Admin sidebar, go to Marketing > Promotions > Cart Price Rules.
-
Select the cart price rule with the discount to apply, or create a new price rule.
-
Select the customer groups the rule will apply to.
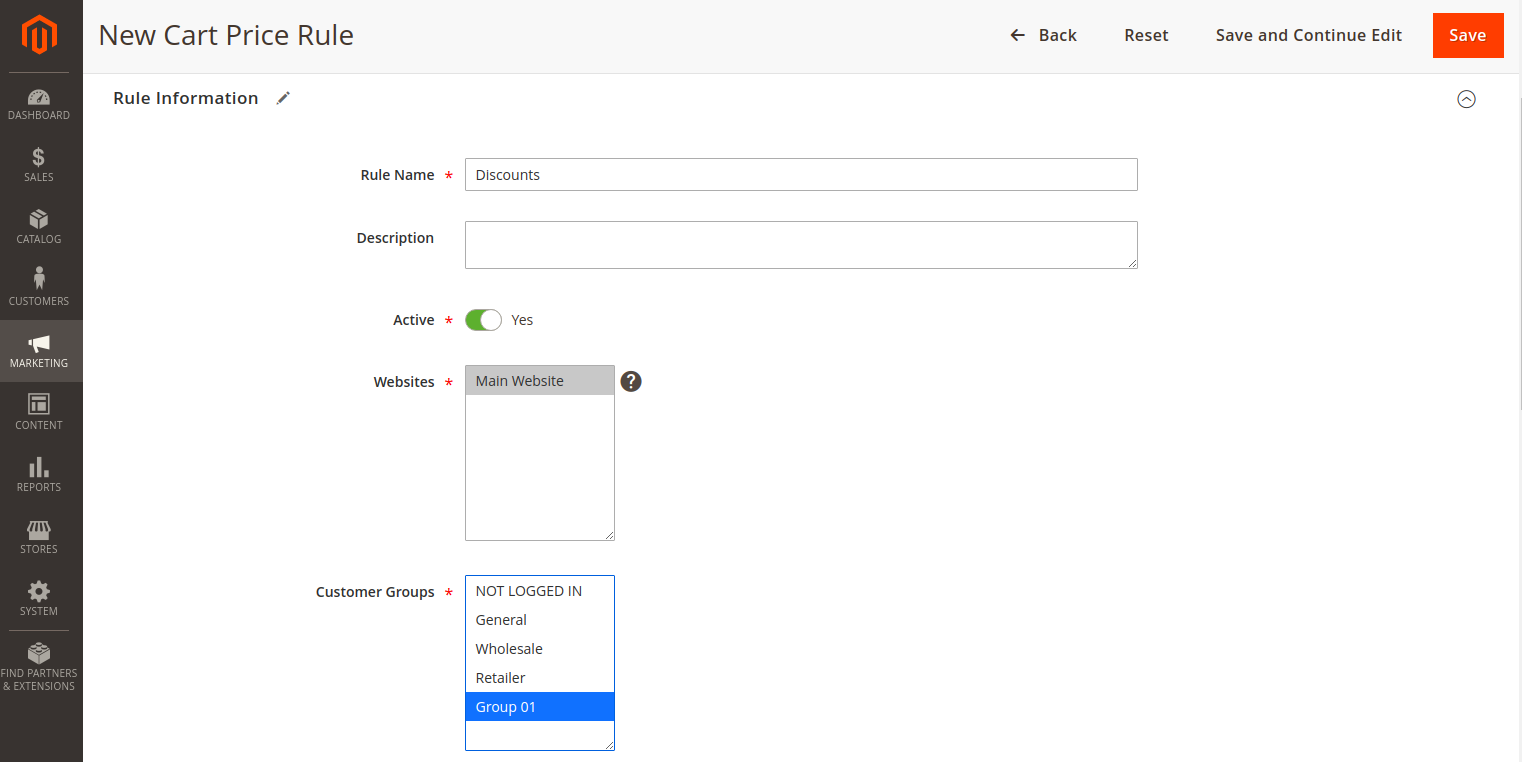 Customer Group to Specific Discounts
 -
Click Save.
You can also use Advance pricing to apply product discounts to customer groups. See Advanced pricing.
Delete a customer group
- A customer group that is associated with a shared catalog cannot be deleted.
-
On the Admin sidebar, go to Customers > Customer Groups.
-
Open the record in edit mode.
-
In the button bar, click Delete Customer Group.
-
When prompted to confirm, click OK.