Refer to Amazon Sales Channel 4.0+ for updated documentation.
Store Integration
Step 1 of 7 for Onboarding Amazon Sales Channel

To begin, create an Amazon Sales Channel store and connect it to your Amazon Seller Account. This integrates your Magento and Amazon accounts to share data, sync products, and more. You need your Amazon Seller Central account credentials to complete this step. You cannot continue with onboarding until you connect your stores.
After integrating your Amazon account, you will be prompted annually to renew your Amazon Sales Channel connection to Amazon by granting access again.
To integrate with Amazon:
-
In the Admin sidebar, go to Marketing > Channels > Amazon.
-
Click Setup Amazon Store.
A list of Pre-Setup Tasks is displayed with an overview of prerequisites. When ready, click Begin Setup.
-
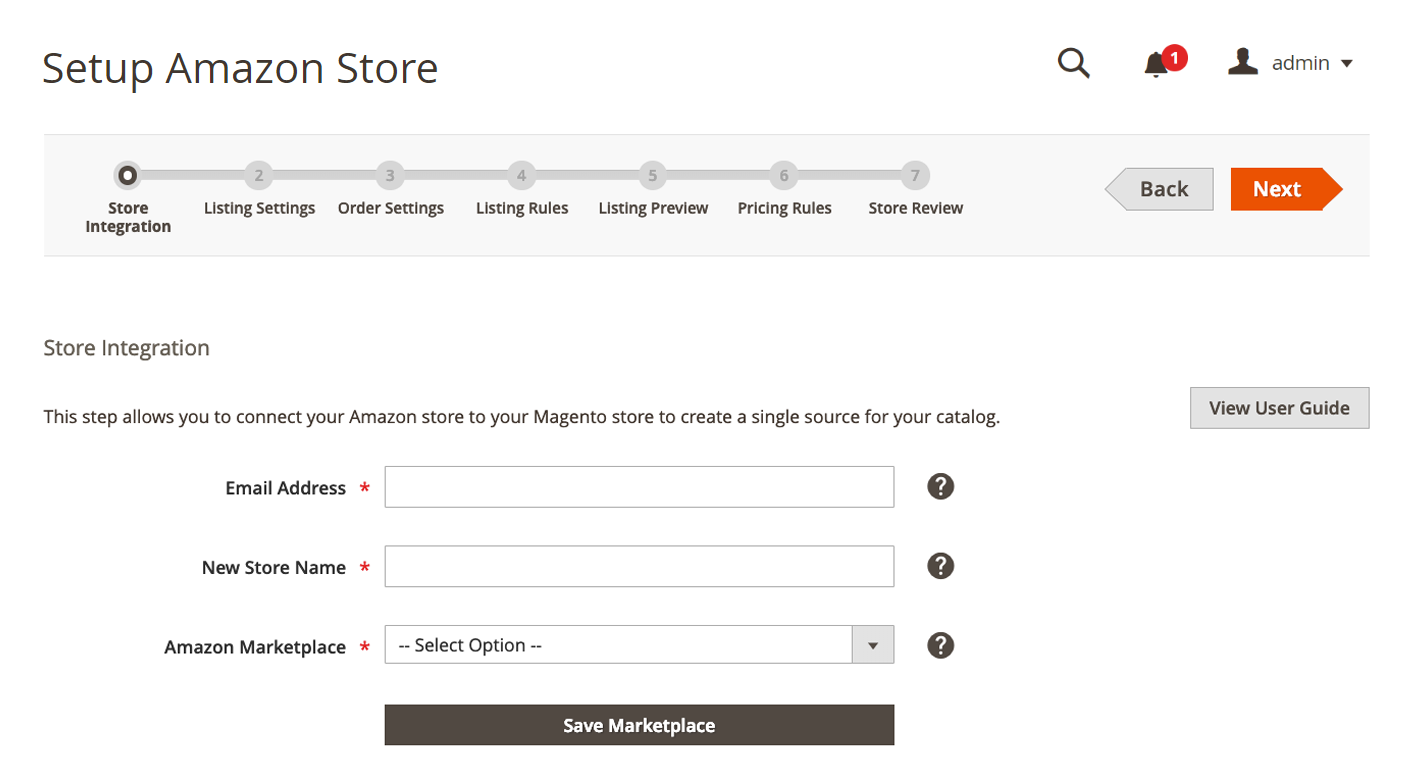
For Email Address, enter your preferred contact email address.
-
For New Store Name, enter a descriptive name for your new Amazon Sales Channel store.
This name is used as a Magento reference only and will identify the store in the list on the Amazon Sales Channel Home page. You will want to make it something your team can easily identify. For example, your Amazon store that sells in the United States region might be named “Amazon Store USA”.
-
For Amazon Marketplace, select the region in which for your Amazon store sells. Options:
- United States
- Canada
- Mexico
- United Kingdom
-
Click Save Marketplace. Your new marketplace is saved. Next, connect your new store with your Amazon Seller Central account.
 Create your Sales Channel Store
 -
Click Connect to Amazon Store to launch Amazon Seller Central in a new tab.
-
Enter your Amazon Seller Central account credentials and click Sign in.
To complete this connection, you must sign in to your Amazon Seller Central account using the login credentials for the primary user (the email or phone used to create the seller account).
-
Complete the Amazon Two-Step Verification by entering the code you receive from Amazon and click Sign in.
-
Click Continue on the Amazon Marketplace Web Service confirmation screen.
You have granted Amazon Sales Channel permission to access and share data with your Amazon Seller Central account. The Amazon screen closes. A confirmation message is displayed for the integration.
-
Click OK to confirm. Then click Next.
