Instant Purchase
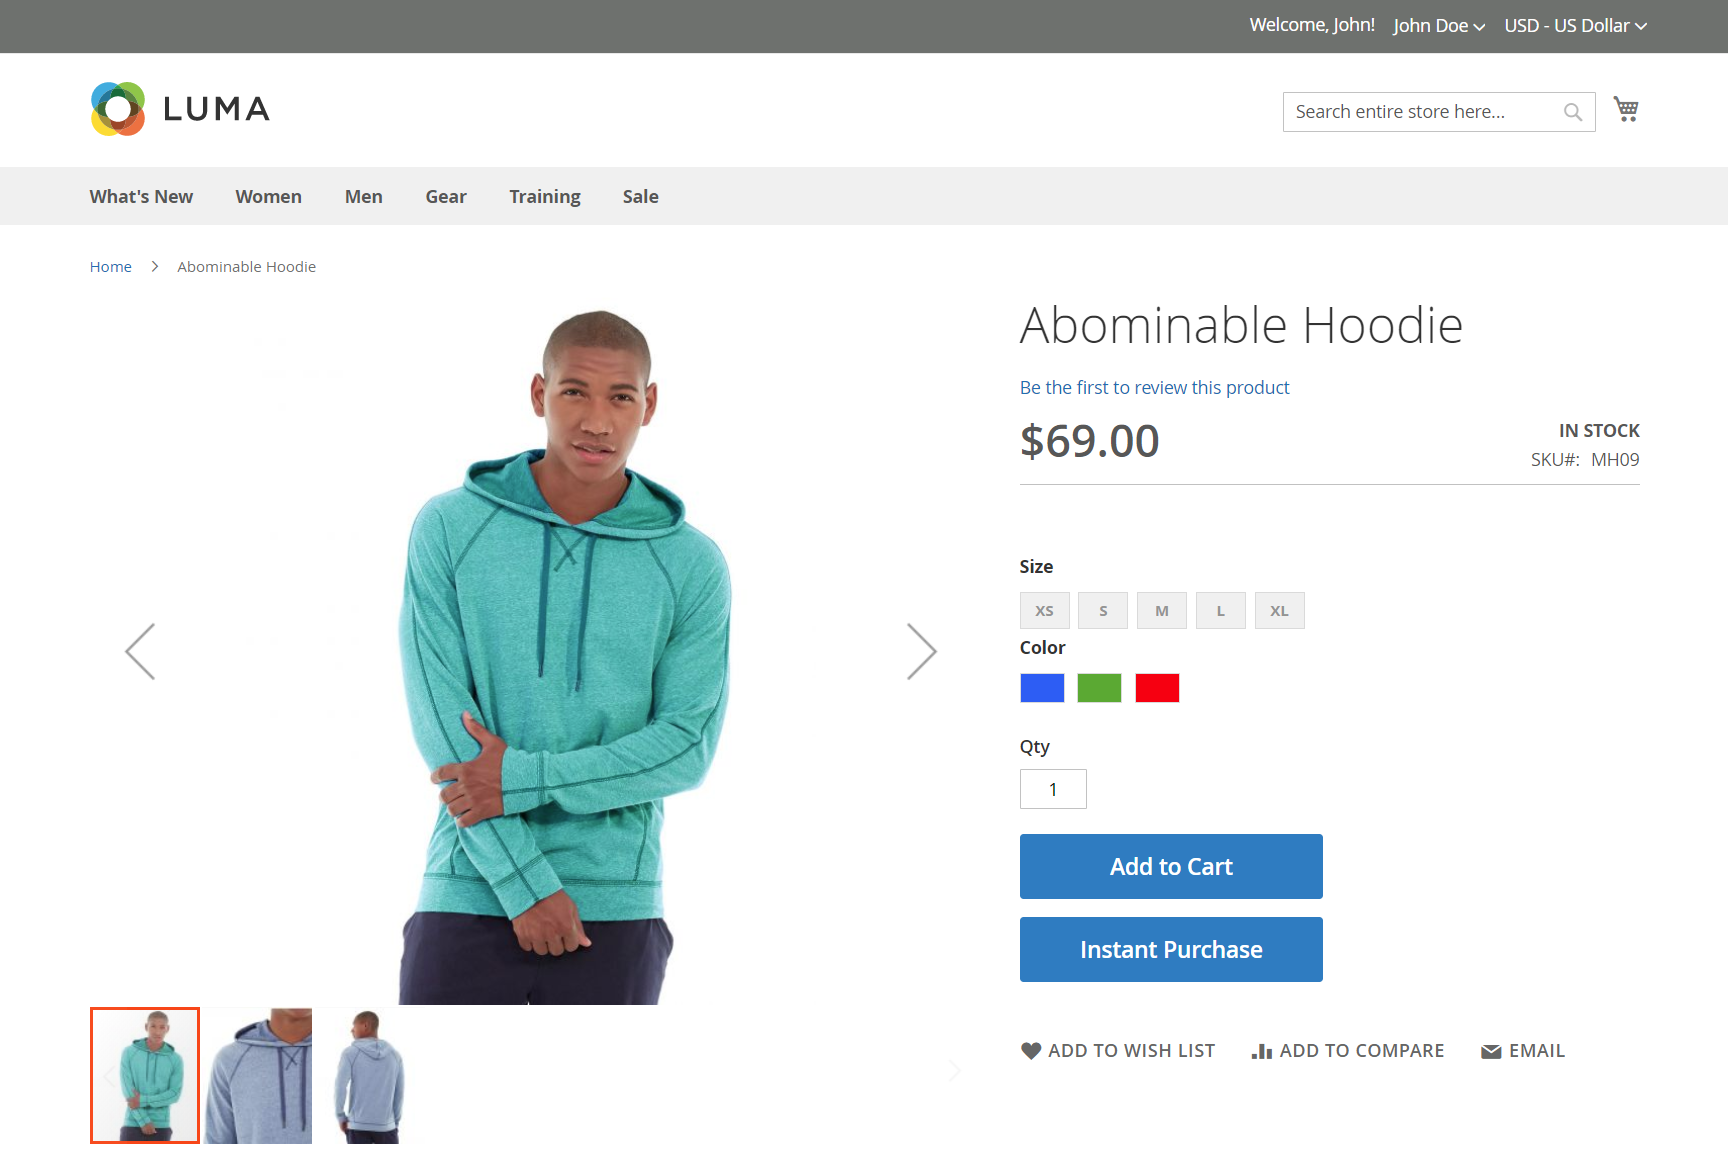
Instant Purchase allows customers to speed through the checkout process using information that is saved in their account. When enabled, the Instant Purchase button appears below the Add to Cart button on the product page for customers who meet the requirements.
 Instant purchase option in the product page
Customer requirements
-
Customer is signed in to their account.
-
Customer account has a default billing and shipping address.
-
At least one shipping method is available for the country that is specified in the default shipping address.
-
Customer account has a stored payment method with vault enabled.
The following payment methods can be used to provide secure access to saved credit card information:
- Braintree Credit Cards
- Braintree with PayPal Enabled
- PayPal Payflow Pro
- Instant Purchase cannot be used with Braintree Credit Cards if 3D Secure is enabled.
Make an instant purchase
-
In the storefront, go to the product page of the item to be purchased.
-
Select the required options and click Instant Purchase.
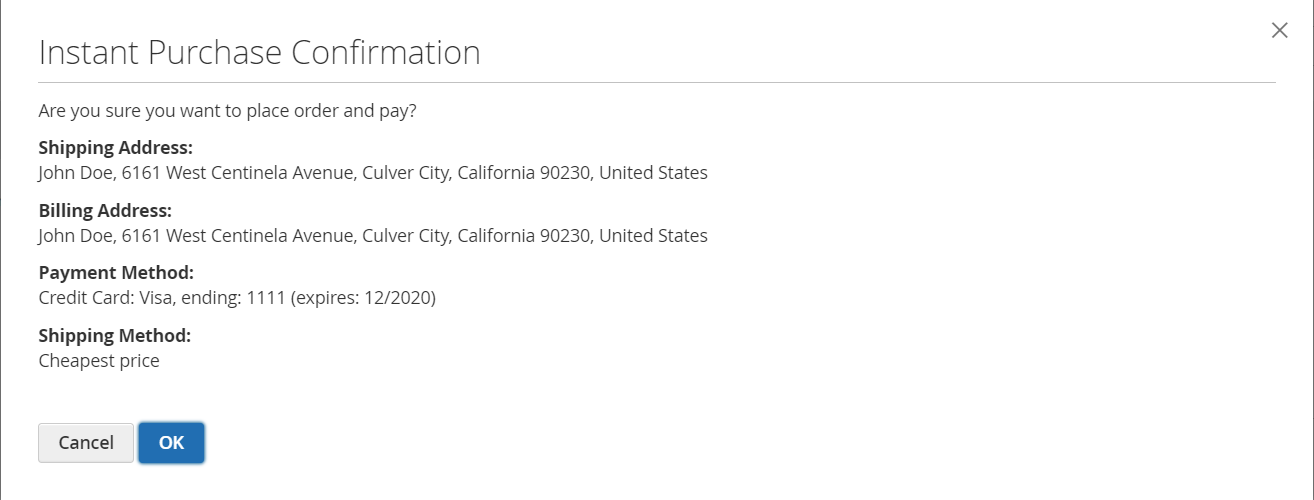
 Instant purchase confirmation dialog
 -
Review the Instant Purchase Confirmation information and click OK to complete the transaction.
A confirmation message and order number appears at the top of the product page.
Configure instant purchase
Step 1: Open the configuration page
- On the Admin sidebar, go to Stores > Settings > Configuration.
Step 2: Configure the payment method vault
The following example shows how to configure the Braintree vault.
-
In left panel, expand the Sales section and choose Payment Methods.
-
Expand
 the Deprecated Payment Methods section and the Braintree (Deprecated) section.
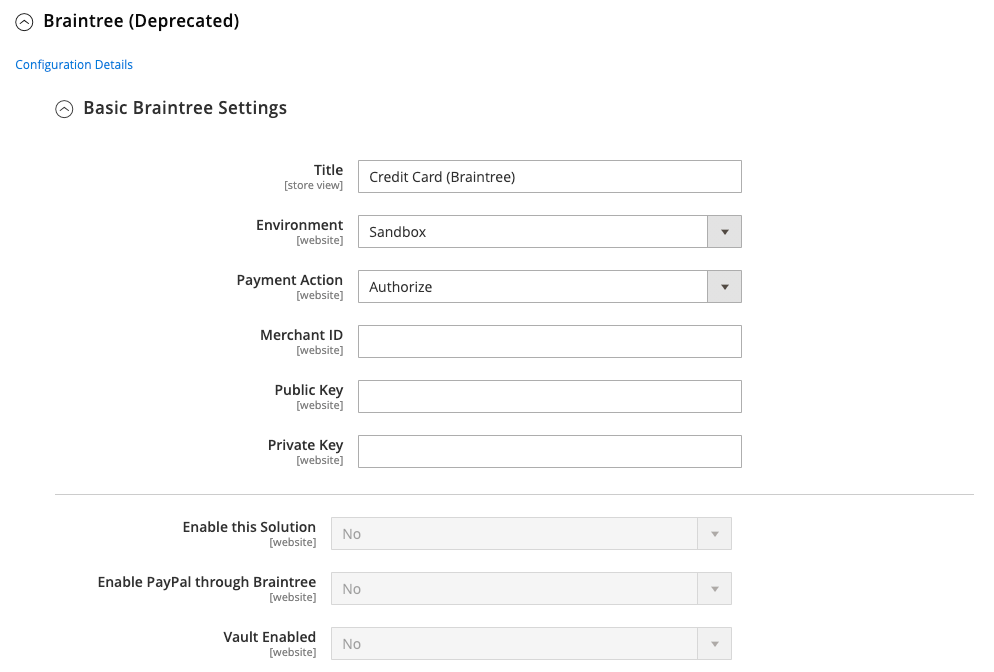
 Basic Braintree Settings
 -
In the Basic Braintree Settings section, enter the following information from your Braintree seller account:
- Merchant ID
- Public Key
- Private Key
-
Set Enable this Solution to
Yes. -
If applicable set Enable PayPal through Braintree to
Yes. -
Set Vault Enabled to
Yes.
Step 3: Enable instant purchase
-
In the left panel under the Sales section, choose Sales.
-
Expand
 the Instant Purchase section.
 -
If this change is for a specific store view, choose the store view where the configuration applies.
When prompted, click OK to continue.
-
Set Enabled to
Yes. -
Enter the Button Text that you want to appear on the button.
The button text can be changed for each store view, or language. By default, the button text is
Instant Purchase. -
Click Save Config.
-
When prompted to update the cache, click Cache Management in the system message and follow the instructions to flush the cache.
