Carriers
Due to the shutdown of Temando, the provider of the technology behind Magento Shipping, it is no longer possible to create a new Magento Shipping account. For detailed status information and recommendations for new shipping implementations in Adobe Commerce and Magento Open Source, see the shipping solutions page.
Carrier profiles for Magento Shipping can be accessed from the Stores menu in the Magento Admin, but settings are updated and saved in the Magento Shipping Portal. New connections to carriers can be added and existing connections can be edited or deleted from the Shipping Partners grid.
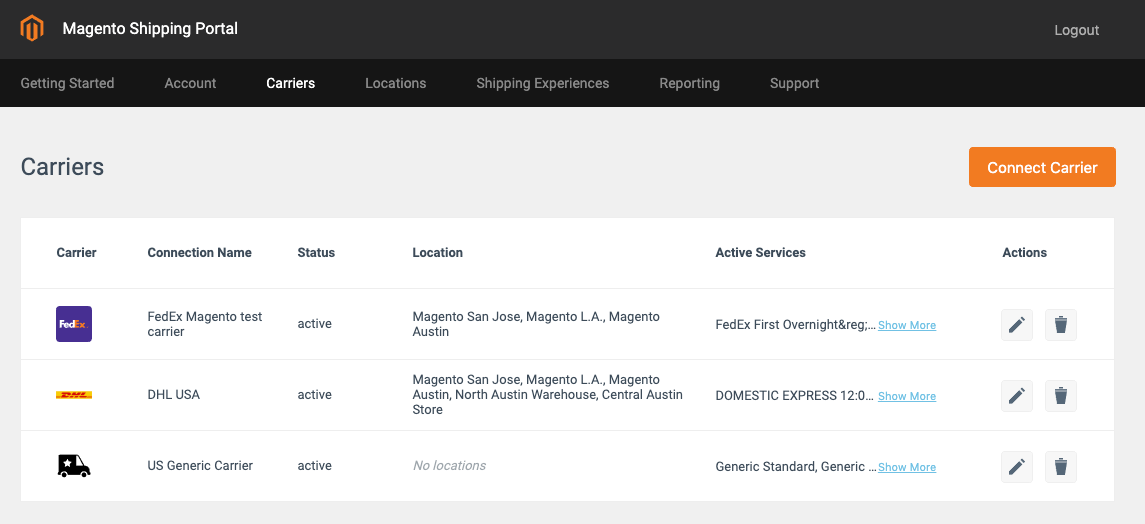
The Carriers grid identifies:
| Carrier | Icon/logo for the carrier |
| Connection Name | The name that is used for the carrier during checkout. |
| Status | Options: active / inactive |
| Locations | Identifies each shipping location that can be used by the carrier. |
| Active Services | Identifies each shipping service that is provided by the carrier. |
| Actions | Options: Edit / Delete |
 Carriers Grid
Connect a new carrier
Each carrier has their own specific connection workflow. Some carriers can be fully connected by a merchant allowing for immediate fulfillment, while others require assistance from the Magento Shipping team.
-
On the Admin sidebar, go to Stores > Shipping > Carriers.
The Magento Shipping Portal opens in a new tab.
-
Click Connect Carrier.
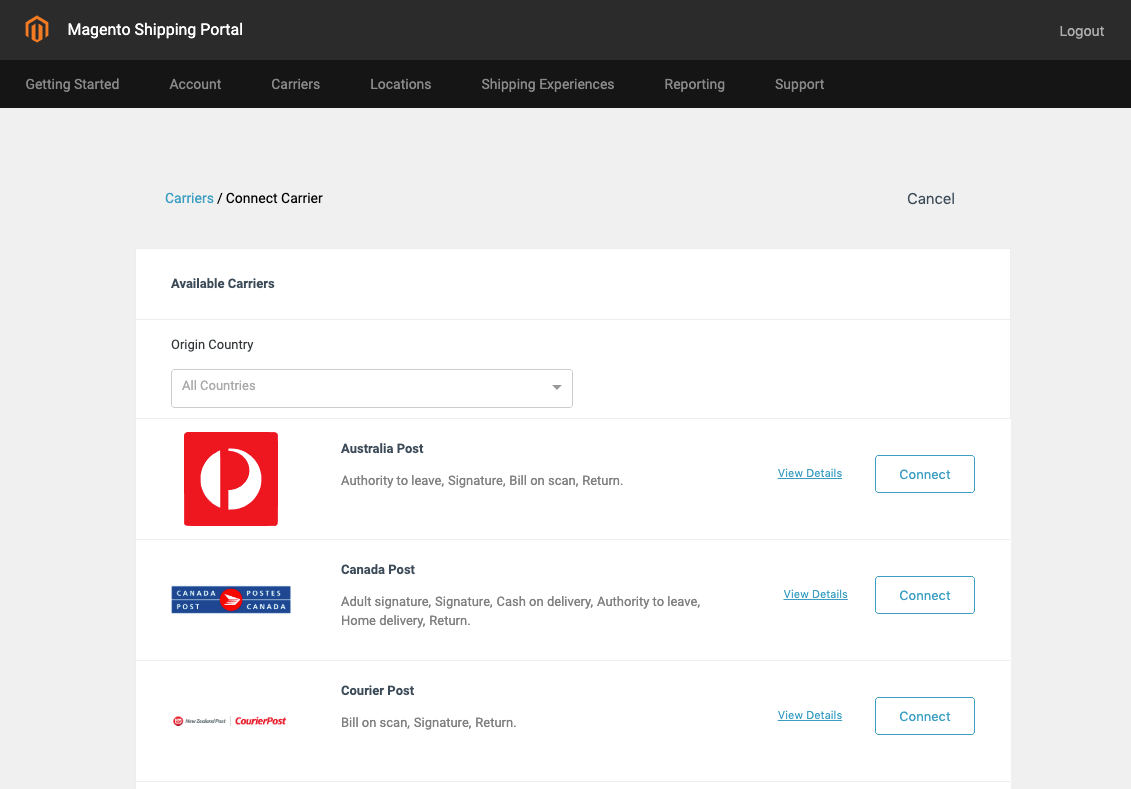
 Connect a Carrier
 -
Specify a Country Origin.
Only carriers that have routes from the origin country are displayed.
-
In the Available Carriers section, scroll down to find the shipping carrier that you want to add and click Connect.
-
Follow the carrier specific connection workflow.
-
Click Save.
Edit an existing carrier
-
On the Admin sidebar, go to Stores > Shipping >Carriers.
The Magento Shipping Portal opens in a new tab.
-
Find the carrier you want to edit and click the edit (
 ) icon.
 -
Make the necessary changes to the carrier profile.
-
Click Save.
View details
For a listing and description of services, click View Details for the carrier.