Media Storage
Media Storage helps you organize and gain access to media files that are stored on the server. The path to the location of the files is determined by the Base URL configuration. Files in media storage can be accessed from the editor while working on pages and static blocks. Media Storage is usually located in the file system on the same server as the Magento program files.
Alternatively, media files can be managed in a database, or located on a separate server or content delivery network. The editor can be configured to use either static or dynamic media URLs for catalog content in category or product descriptions.
 Media Storage
Add files to the Media Storage
The first two steps are the same as if you are inserting an image.
-
On the editor toolbar, click the Insert Image icon.
 Insert Image icon
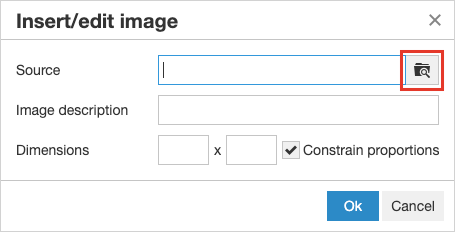
This opens the Insert/edit image dialog.
-
After Source, click the Search icon (
 ).
). -
In the directory tree on the left, do one of the following:
-
Navigate to the folder where you want to save the uploaded image.
-
Navigate to the place where you want to create a new folder and click Create Folder.
For adding a new folder, enter the folder name and click OK.
-
-
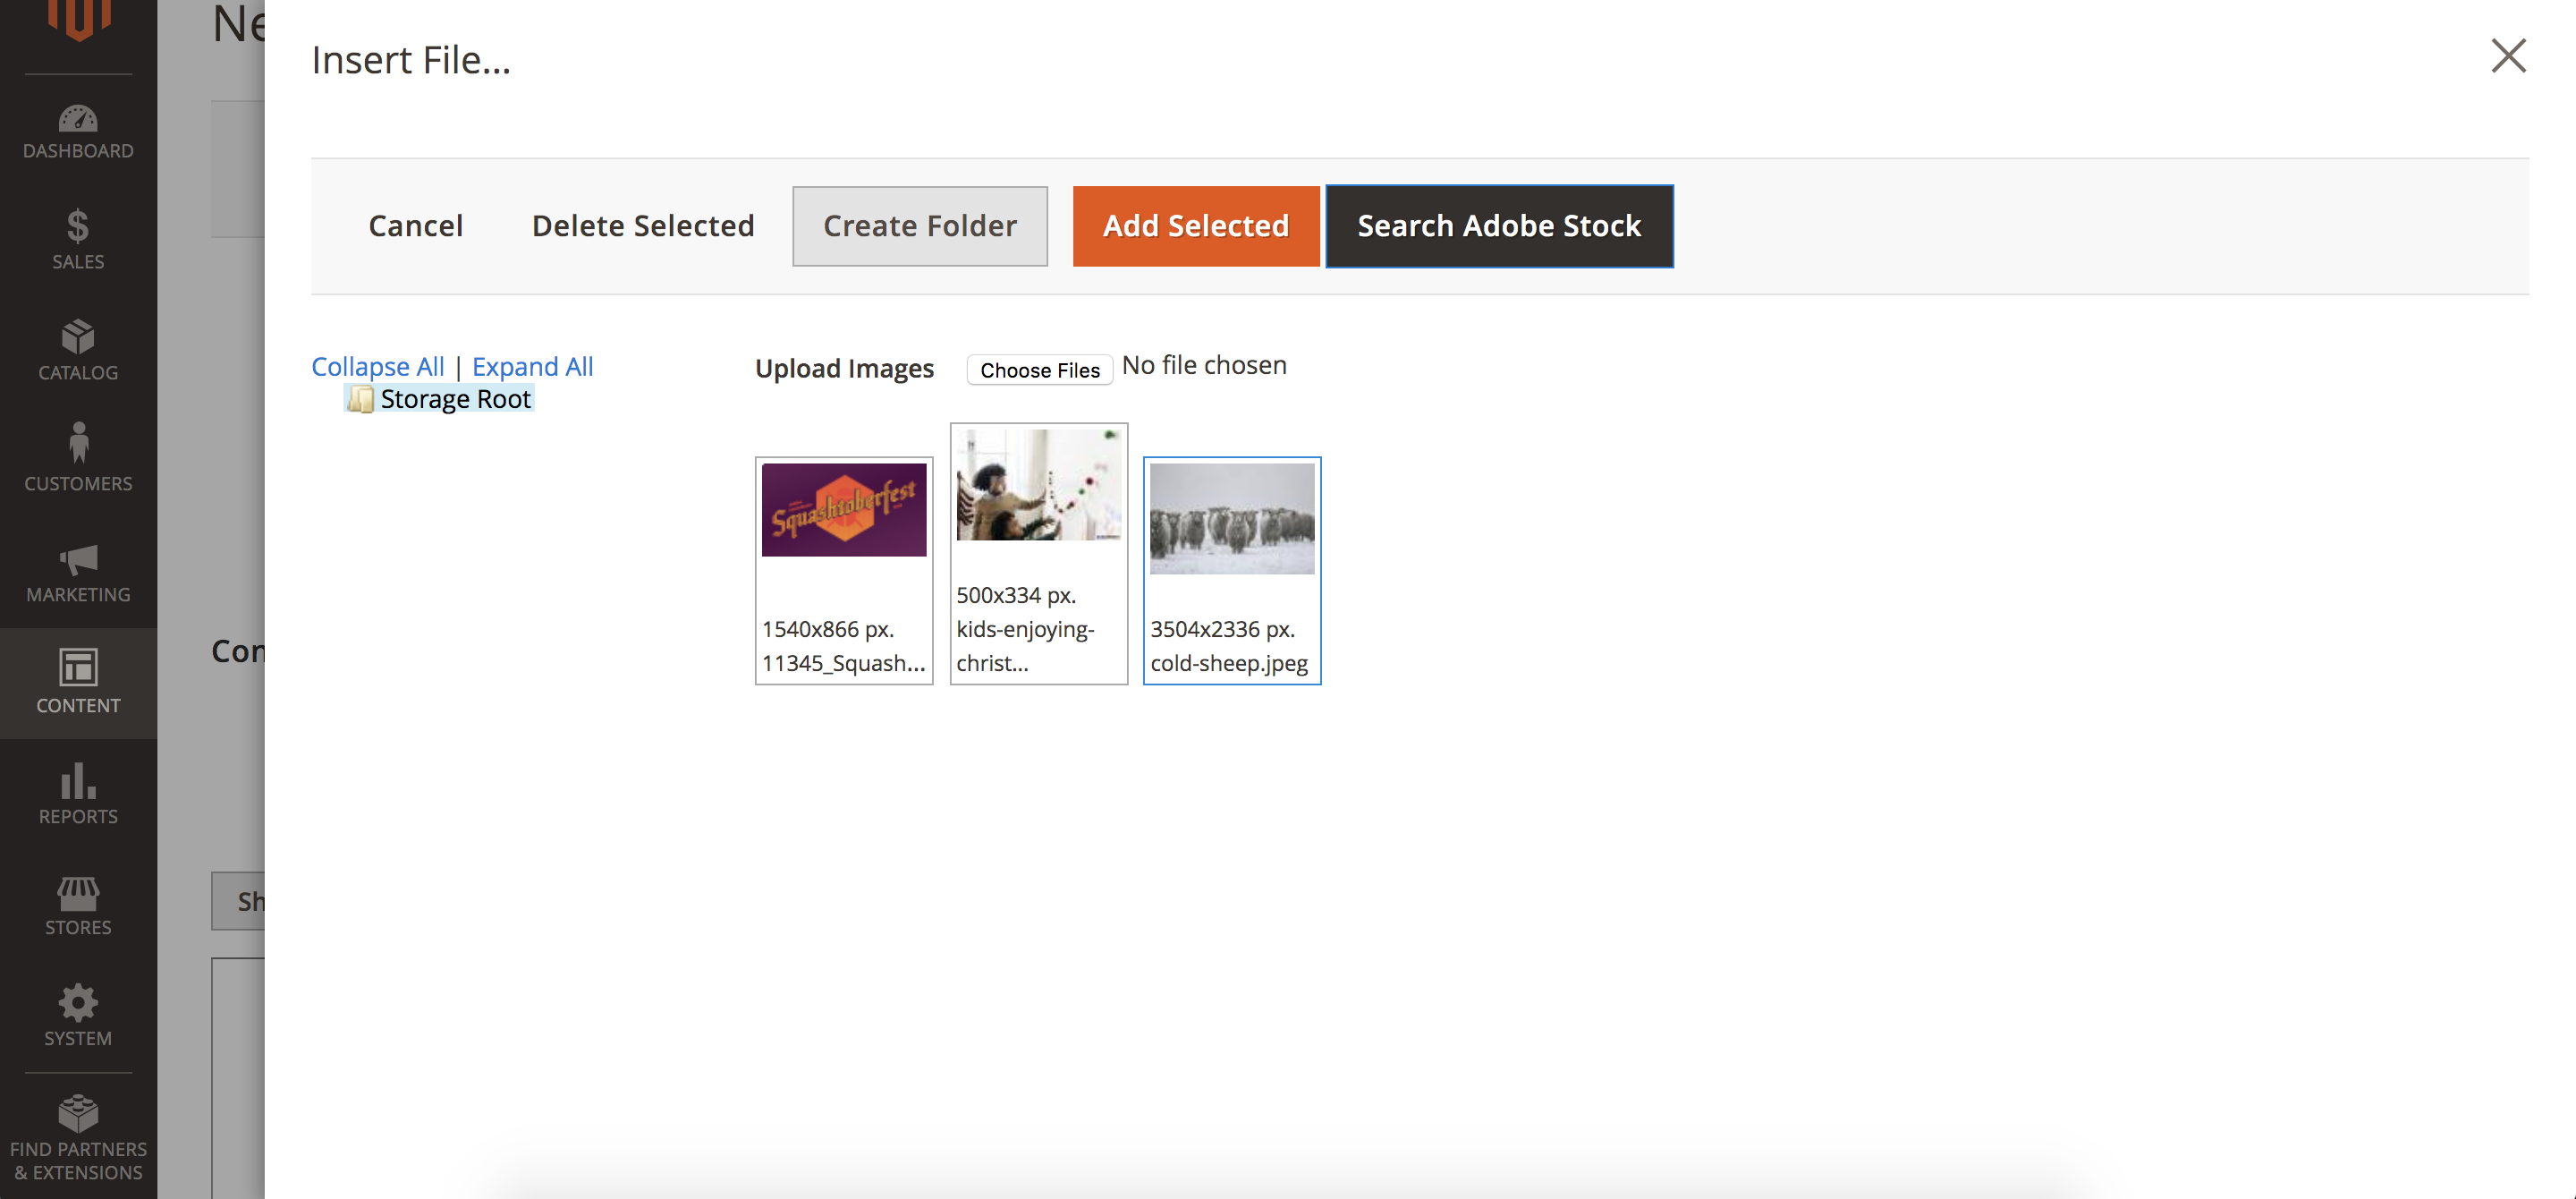
To add one or more files to Media Storage, you can either upload the files from your system or use the Adobe Stock Integration:
-
To upload files from your system, click Choose Files and do the following:
-
In the directory on your local computer, navigate to the location of the images.
-
Select each image to be uploaded.
-
Click Open.
-
-
To use assets from Adobe Stock using the integration:
-
Click Search Adobe Stock.
-
Add a preview or licensed image from Adobe Stock (see Using Adobe Stock Images).
-
-
The images are uploaded to the current Media Storage folder on the server.
 Media Storage
Insert an image from Media Storage
Open the page or block to be edited. Then, use one of the following methods to insert an image from media storage:
Method 1: WYSIWYG mode
-
On the editor toolbar, click the Insert Image icon.
-
After Source, click the Search icon (
 ).
). Selecting the search icon
 -
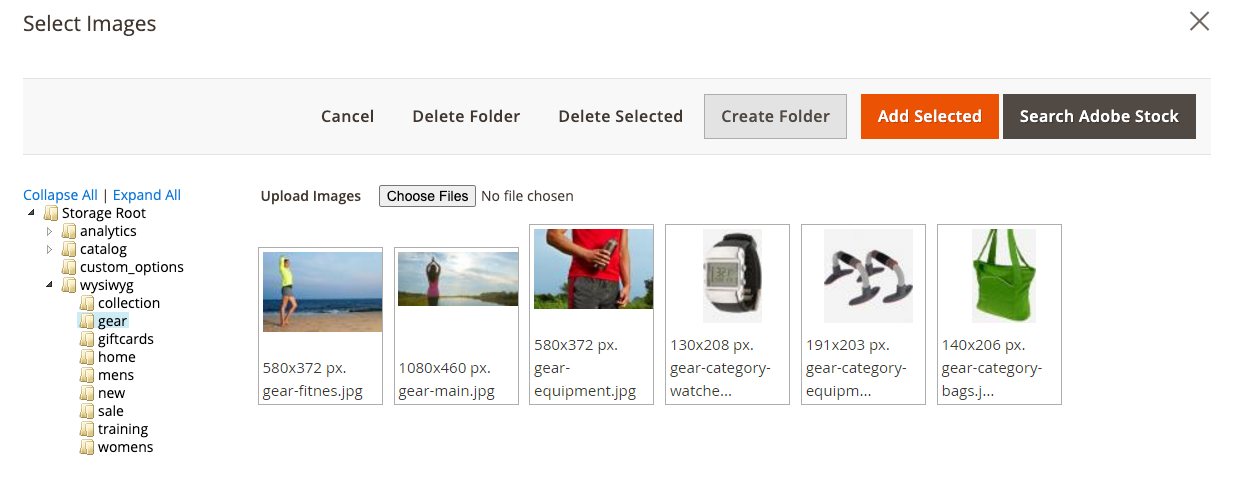
In the directory tree on the left, navigate to the folder where the image is stored.
 Navigating to the image file
 -
Select the tile of the image and click Add Selected.
Method 2: HTML mode
-
Position the cursor in the code where the
<img>tag is to be inserted. -
Click Insert Image.
 Insert Image (HTML Mode)