Adding Social Plugins
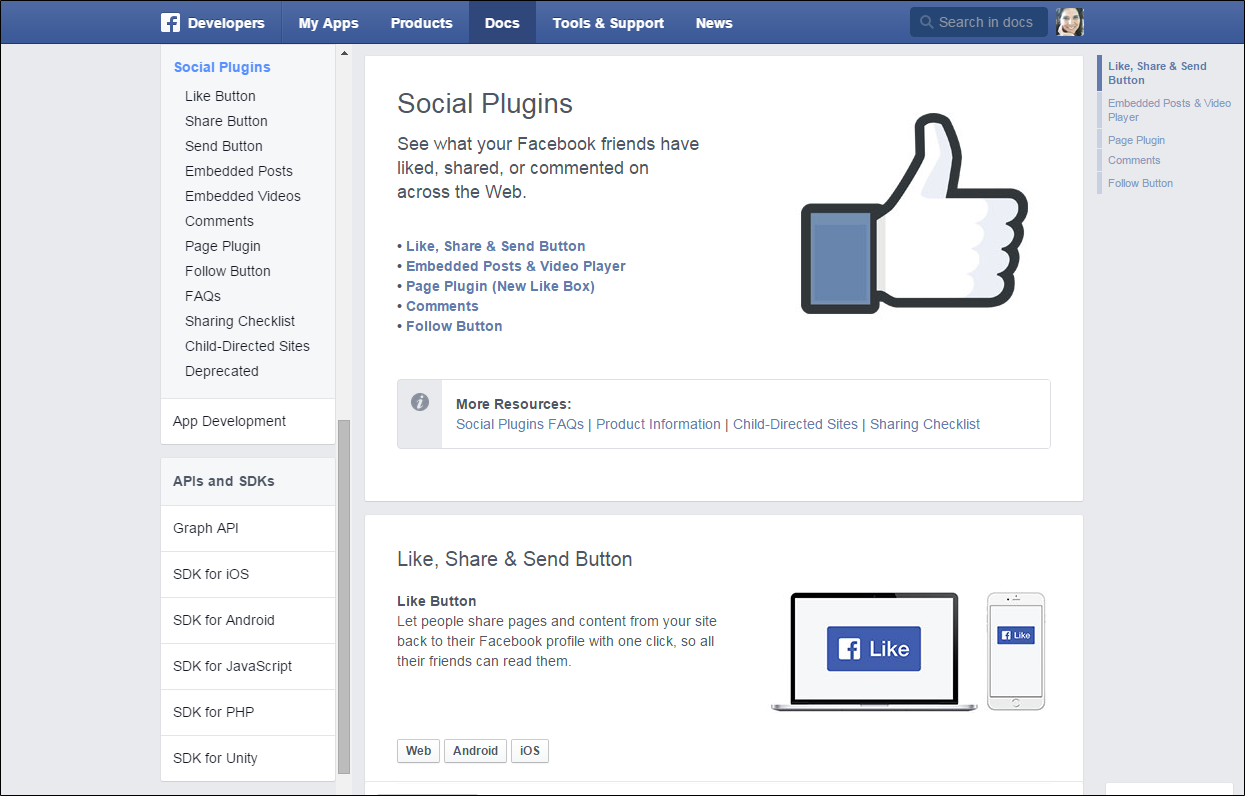
Social networking sites have a numerous plugins that can easily be added to your store. In addition, there are many extensions on the Magento Marketplace that can be used to integrate your store with social media. The following example shows how to add a Facebook “Like” button to your store.
 Facebook Plugins
Step 1. Get the Button Code
-
On the Facebook website, go to the button setup page.
-
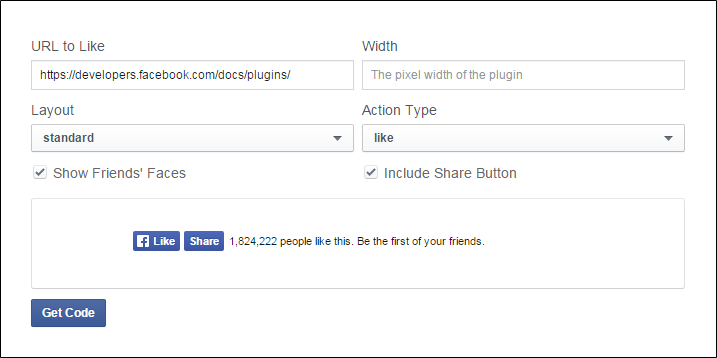
For URL to Like, enter the URL of the page in your store that you want people to Like. For example, you might enter the URL of your store’s home page. Then, do the following:
-
Choose the Layout for the button.
-
Enter the Width in pixels that is available on your site for the button and any associated text message.
-
Set Action Type to one of the following:
LikeRecommend
-
-
Click Get Code to copy the generated code to the clipboard.
 Like Button Setup
Step 2. Create a Content Block
-
Return to your store Admin.
-
On the Admin sidebar, go to Content > Elements > Blocks.
-
In the upper-right corner, click Add New Block.
-
Enter a descriptive Block Title for internal reference. For example:
Facebook Like Button. -
Assign a unique Identifier to the block, using all lowercase characters, and underscores instead of spaces. For example:
facebook_like_button. -
If your Magento installation has multiple store views, choose each Store View where the block is to be available.
-
Add the code snippet to the block content:
-
If using Page Builder, add an HTML Code block to the stage and paste the snippet of code that you copied from the Facebook site. Otherwise, paste the snippet of code into the Content box.
-
Paste the snippet of code that you copied from the Facebook site into the Content box.
-
-
If the block is not ready to go live, set Enable Block to
No. -
When complete, click Save Block.
Step 3. Place the Block
-
Add the block.
-
If using Page Builder, follow the instructions to add the block to the stage. Otherwise, on the Admin sidebar, go to Content > Elements > Widgets.
-
On the Admin sidebar, go to Content > Elements > Widgets.
-
-
In the upper-right corner, click Add Widget and do the following:
-
In the Settings section, set Type to
CMS Static Blockand click Continue. -
Verify that Design Theme is set to the current theme.
-
Click Continue.
-
-
In the Storefront Properties section, do the following:
-
For Widget Title, enter a title for internal reference.
-
Set Assign to Store Views to
All Store Views, or to the view where the app will be available. To select multiple views, hold down the Ctrl key (PC) or the Command key (Mac) and click each option. -
Enter a number in the Sort Order field to determine the order of the block if it assigned to appear in the same location on the page as other content elements. The top position is zero.
-
-
In the Layout Updates section, click Add Layout Update. Then, set Display On to the category, product, or page where you want the block to appear.
For example, if you choose
All Pagesand position the block in either the header or footer, the block will appear in the same place on every page of the store.To place the block on a specific page, do the following:
-
Set Display On to
Specified Page. Then, select the Page where you want the block to appear. -
Choose the Block Reference to identify the place on the page where the block is to be placed.
-
Accept the default setting for Template, which is set to
CMS Static Block Default Template. -
Click Save and Continue Edit.
-
-
In the panel on the left, choose Widget Options.
-
Click Select Block…. Then in the list, choose the block that you want to place.
-
When complete, click Save.
-
When prompted, follow the instructions at the top of the workspace to update the index and page cache.
The widget now appears in the Widgets grid.
Step 4. Verify the Location in Your Store
Return to your storefront to verify that the block is in the correct location. To move the block, you can reopen the widget try a different page or block reference.