Adding a New Page
The process of adding a new content page to your store is essentially the same for any type of page you might want to create. You can include text, images, blocks of content, variables, and widgets. Most content pages are designed to be read by search engines first, and by people second. Keep the needs of each of these two very different audiences in mind when choosing the page title, and URL, and when composing the meta data, and content. When your page is complete, it can be added to your store navigation, linked to other pages, linked from the footer of your store, or used as a new home page.
The following instructions walk you through each step to create a basic page. Some advanced features are skipped over, but are covered in other topics.
 Pages Grid
Step 1: Add a new page
-
On the Admin sidebar, go to Content > Elements > Pages.
-
Click Add New Page.
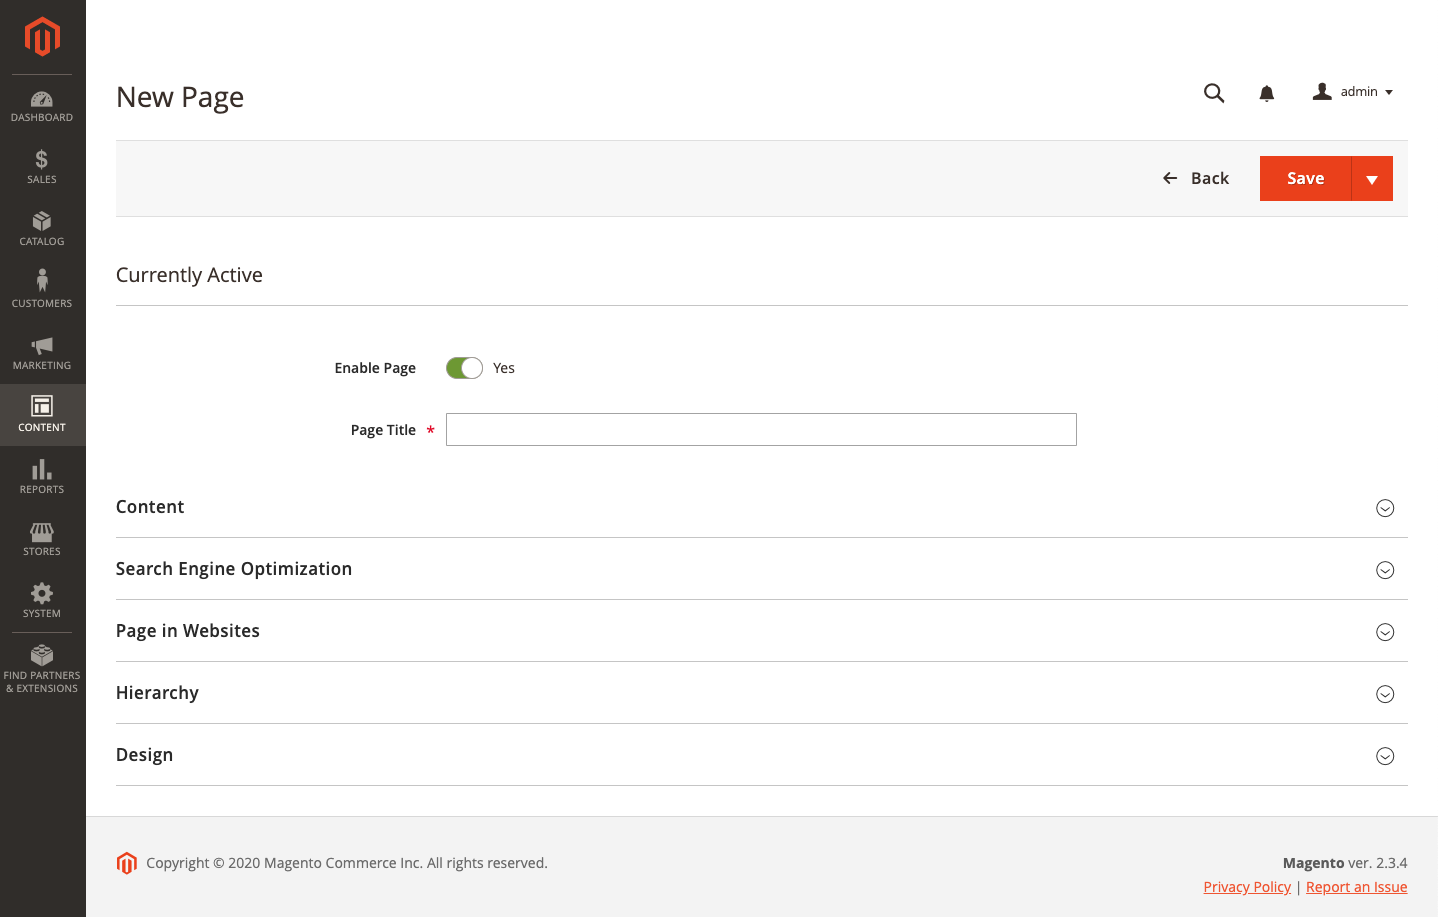
 New Page
 -
If you do not want to publish the page immediately, set Enable Page to
No. -
Enter the Page Title.
The page title appears in the breadcrumb navigation.
Step 2: Complete the content
Use the Custom Design Update
-
To schedule design changes, expand
 Custom Design Update.
 Custom Design Update
 -
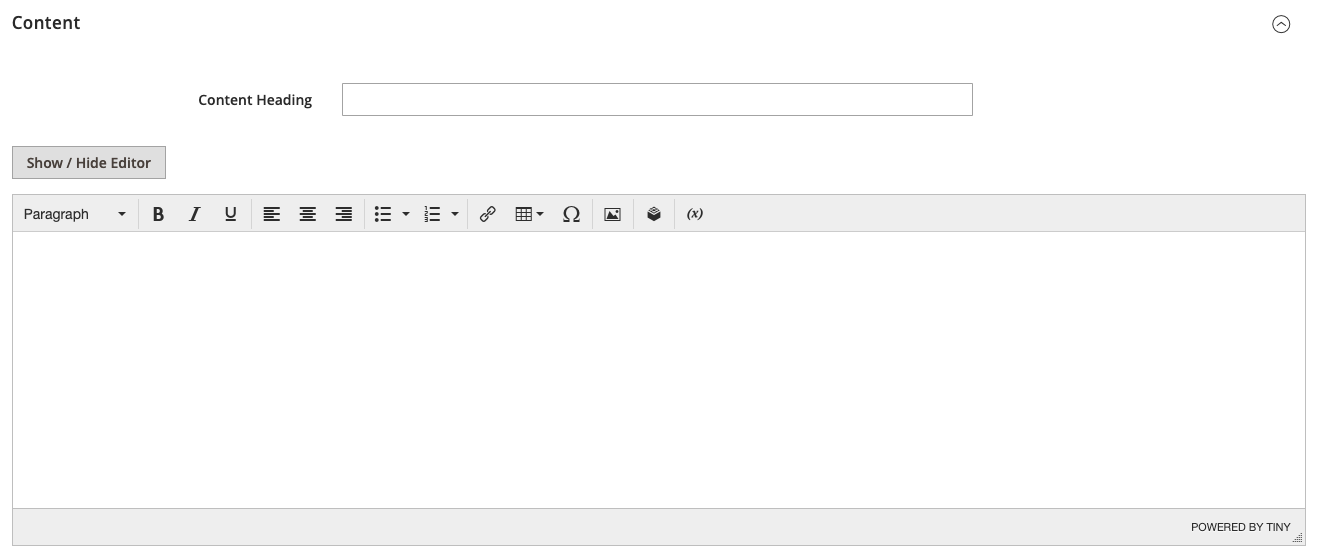
Expand
 Content.
 Content
 -
In the Content Heading box, enter the heading that you want to appear at the top of the page.
-
Complete the content and format the text as needed.
You can add images, variables, and widgets as needed. For more information, see Using the Editor.
-
Click Save.
Use the Page Builder content tools
-
Expand
 Content.
 Content with Page Builder
 -
In the Content Heading box, enter the heading that you want to appear at the top of the page.
If enabled, the Page Builder stage and panel appear below the Content Heading.
-
Complete the content, and format the text as needed.
For more information, see Workspace. If Page Builder is not enabled, the editor opens in WYSIWYG mode with the toolbar at the top.
Step 3: Complete the SEO information
-
Expand
 Search Engine Optimization.
 Search Engine Optimization
 -
Either accept the default or enter another URL Key that consists of all lowercase characters, with hyphens instead of spaces.
The default URL key was created when the page was saved and is based on the Content Heading.
-
Enter a Meta Title for the page.
The Meta Title should be less than seventy characters in length and appears in the browser title bar and tab.
-
Enter your choice of high-value Meta Keywords that search engines can use to index the page.
Separate multiple words with a comma. Meta keywords are ignored by some search engines, but used by others.
-
For Meta Description, enter a brief description of the page for search results listings.
Ideally, the description should be from 150-160 characters in length, with a maximum limit of 255.
-
Click Save.
Step 4: Specify the scope of the page
-
Expand
 Page in Websites.
 Pages in Websites
 -
In the Store View list, select each view where the page is to be available.
If the installation has multiple websites, select each website and store view where the page is to be available.
Step 5: Identify the parent page (if applicable)
-
Expand
 Hierarchy.
 Hierarchy
 -
If this page is a child of another page, select the checkbox of the Parent page.
Step 6: Enter design changes (optional)
-
To change the layout of the page, expand
 Design.
 Design
 -
To change the column layout of the page, set Layout to one of the following:
Empty1 column2 columns with left bar2 columns with right bar3 columnsPage -- Full Width(Requires Page Builder)Category -- Full Width(Requires Page Builder)Product -- Full Width(Requires Page Builder)
-
To apply a Custom Layout Update, choose the name of the file from the list.
For more information, see Layout Updates.
-
To schedule a design change, expand
 Custom Design Update and do the following:
 Custom Design Update
-
Use the calendar (
 ) to choose the From and To dates for the change to take effect.
 -
To apply a different theme to the page, select the name of the New Theme.
-
To change the column layout of the page, choose the Layout that you want to apply.
-
Step 7: Preview the page
-
Click the Save arrow and choose Save & Close to return to the Pages grid.
-
Find the page in the grid and select View in the Action column.
-
To return to the grid, click Back in the upper-left corner of the browser window.
Step 8: Publish the page
-
Select Edit in the Action column of the grid.
-
Set Enable Page to
Yes. -
Click the Save arrow and choose Save & Close.
 Save & Close
Save menu
| Command | Description |
|---|---|
| Save | Save the current page, and continue working. |
| Save & New | Save and close the current page, and begin a new page. |
| Save & Duplicate | Save and close the current page, and open a new duplicate copy. |
| Save & Close | Save and close the current page, and return to the Pages grid. |