Importing Configurable Products
The best way to understand how configurable product data is structured, is to export a configurable product and its variations, and examine the data in a spreadsheet.
In the following example, you add a set of product variations for a new size in each color. First, you export the configurable product, and examine the data structure. Then, you update the data and import it back into the catalog. If you do not want to go through the exercise of exporting the data, you can download the CSV file that is used in the example.
 New Size Variation Added for Each Color
Step 1: Verify Attribute Settings and Values
-
Before you begin, make sure that the attributes that are used for product variations have the required property settings.
- Scope -
Global -
Catalog Input Type for Store Owner - The input type of any attribute that is used for a product variation must be one of the following:
DropdownVisual SwatchText SwatchMulti-Select
- Values Required -
Yes
- Scope -
-
If you are adding a new size or color, or making any other change to an existing attribute, make sure to update the attribute with the new value.
-
On the Admin sidebar, go to Stores > Attributes > Product.
-
Find the attribute in the list and open in edit mode.
-
Add the new value to the attribute.
In the following example, a new size is added to a Text Swatch.
 Add New Value
 -
When complete, click Save Attribute.
-
If you are adding a new attribute, follow the instructions to create the attribute before you begin.
Step 2: Export the Configurable Product
-
On the Admin sidebar, go to Catalog > Products.
-
Find the configurable product to export:
- Click Filters.
- Set Type to
Configurable Productand click Apply Filters. - Choose the configurable product that you want to use for your test export and take note of the SKU.
-
On the Admin sidebar, go to System > Data Transfer > Export.
-
Under Export Settings, do the following:
-
Set Entity Type to
Products. -
Set Export File Format to
CSV.
 Export Settings
 -
-
Under Entity Attributes, scroll down to SKU and do the following:
-
Enter the SKU of the configurable product that you have chosen to export and click Continue.
 SKU
SKU -
Look for the file in the download location for your web browser and open it as a spreadsheet.
The CSV file has a separate row for each simple product variation, and one row for the configurable product. The
product_type columnshows multiple simple product variations that are associated with one configurable product. Configurable Product with Variations
 -
Scroll to the far right of the worksheet to find the following columns.
configurable_variations- Defines the one-to-many relationship between the configurable product record and each variation.configurable_variation_labels- Defines the label that identifies each variation.
In this example, the data can be found in columns CG and CH. Depending on the number of variations, the string of data in the
configurable_variationscolumn can be quite long. The data is used an an index to the associated product variations, and has the following structure:Data Format
sku={{SKU_VALUE}},attribute1={{VALUE}},attribute2={{VALUE}}| sku={{SKU_VALUE}},attribute1={{VALUE}},attribute2={{VALUE}}Each sku is separated by a pipe symbol (|), and attributes are separated by a comma. The value of each attribute is represented by the attribute code, rather than the attribute label. This is how the actual data appears:
sku=MH01-XS-Black,size=XS,color=Black|sku=MH01-XS-Gray,size=XS,color=Gray|sku=MH01-XS-Orange,size=XS,color=Orange</pre>
-
-
When you understand the structure of configurable product data, you can edit the data or add new variations directly to the CSV file.
To learn more, see Complex Data.
Step 3: Edit the Data
In the following example, the set of XL sizes is copied and pasted into the worksheet to create a new set of product variations for a new size in each color.
-
Copy the set of product variations that you want to use as a template for the new products.
 Copy Product Variations
 -
Insert the copied rows records into the worksheet.
You now have two identical sets of the simple product variations.
 Paste New Product Variations into CSV File
 -
Update the data in the following columns of the new variations, as needed.
skunameurl_keyadditional_attributes
For this example, all the
XLreferences are changed toXXL. -
The next step is to update the information in the
product_variationscolumn of the configurable product record, so the new variations are included as part of the configurable product.-
On the row with the configurable product record, click the cell that contains the
product_variationsdata. Then in the formula bar, copy the last set of parameters, beginning with the pipe symbol. product_variations
-
-
Paste the parameters to the end of the data and edit as needed for the new variations.
In this example, the
skuandsizeparameters are updated for the new XXL size. -
Before the data is imported back into the catalog, delete any rows that have not changed.
In this example, only the three new variations for the new size and the row with the updated configurable product are imported back into the catalog. The other rows can be deleted from the CSV file. However, make sure not to delete the header row with column labels.
 Data Ready to Import
 -
Save the CSV file.
The data is ready to import into the catalog.
The size of an import file cannot be larger than 2 megabytes.
Step 4: Import the Updated Data
-
On the Admin sidebar, go to System > Data Transfer > Import.
-
Under Import Settings, set Entity Type to
Products. Import Settings
 -
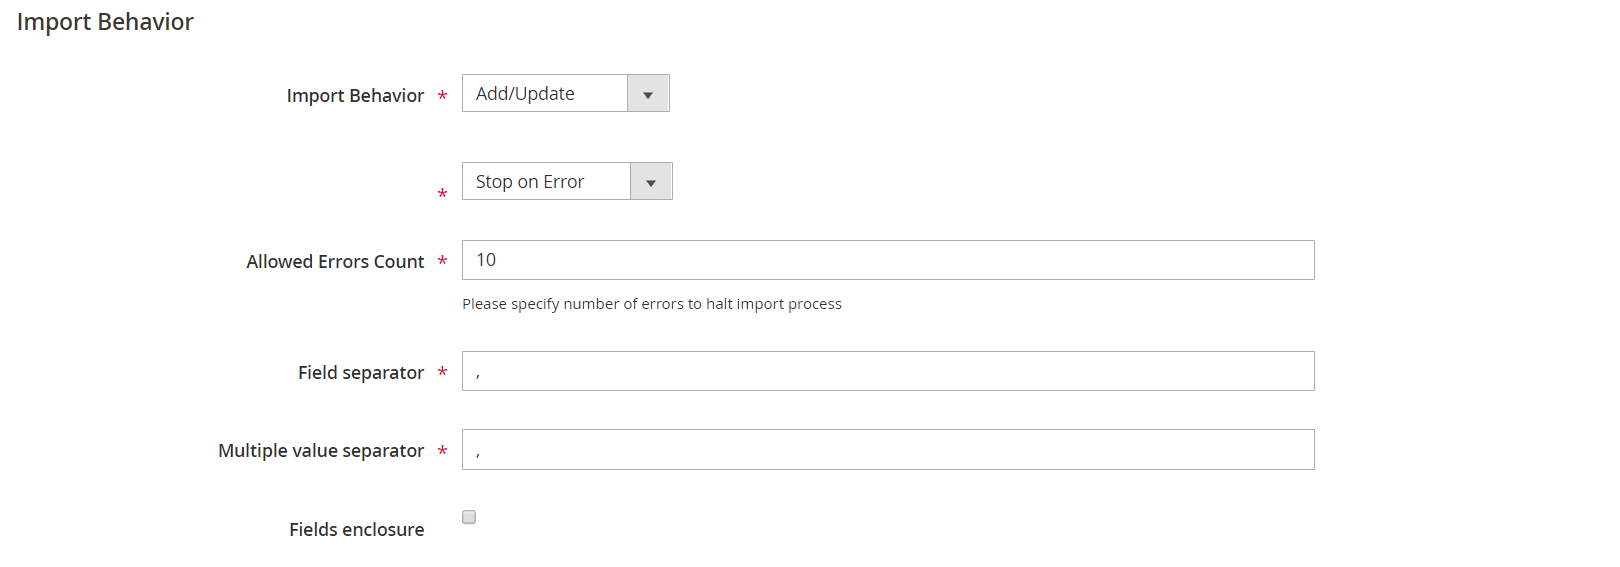
Under Import Behavior, set Import Behavior to
Add/Update. Import Behavior
 -
Under File to Import, click Choose File and navigate to the CSV file that you prepared for import and choose the file.
 File to Import
 -
In the upper-right corner, click Check Data.
-
If the file is valid, click Import.
Otherwise, correct any problems found in the data and try again.
 Validation Results
 -
When the import is complete, click Cache Management in the message at the top of the page and refresh all invalid caches.
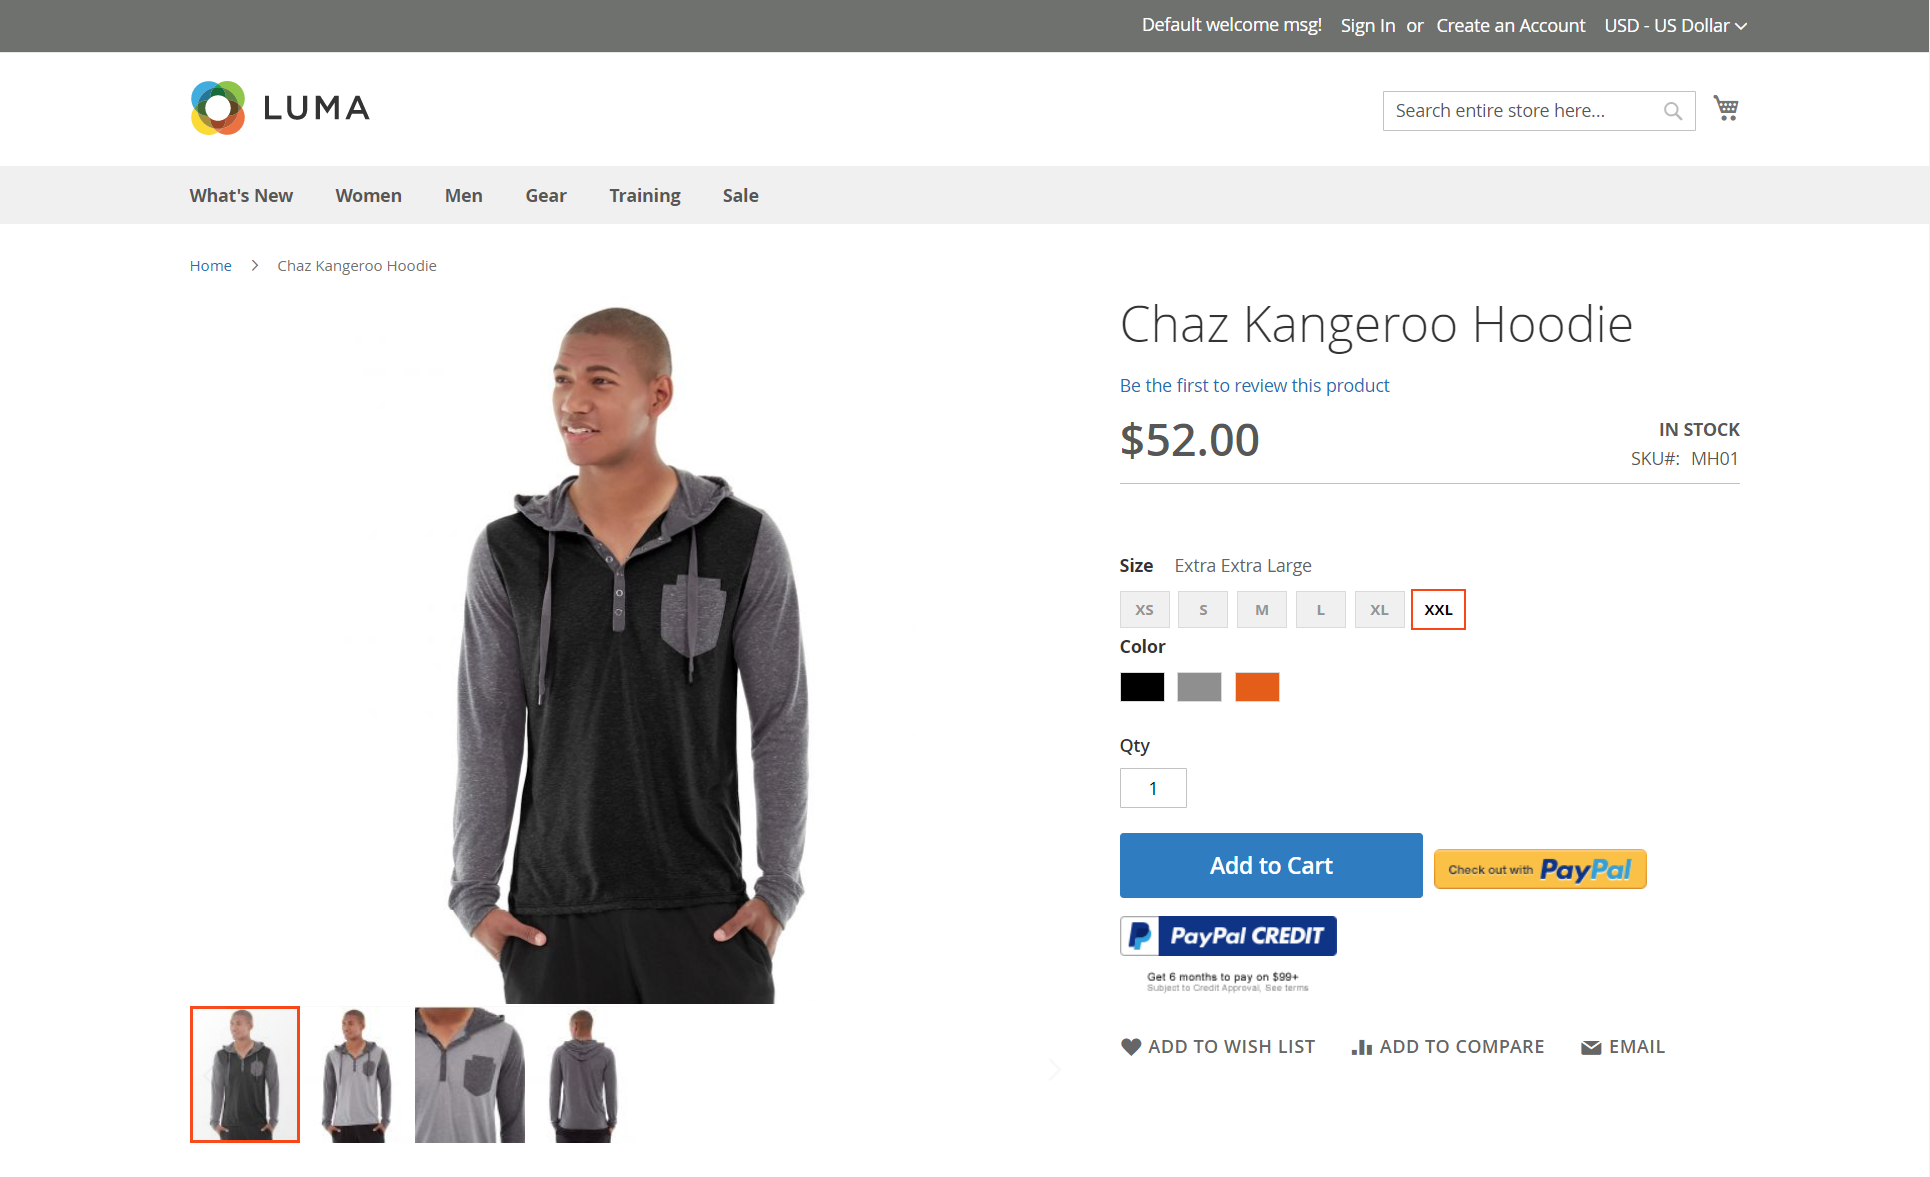
The new product variations are now available in the catalog from the Admin and in the storefront. In this example, the hoodie is now available in size XXL for all colors.