Advanced Reporting
Advanced Reporting, which is included with Magento Commerce and Open Source customers, gives you access to a suite of dynamic reports that are based on your product, order, and customer data, with a personalized dashboard that is tailored to your business needs. While Advanced Reporting uses Magento Business Intelligence (MBI) for analytics, you do not need to have an MBI account to use Advanced Reporting.
For technical information, see Advanced Reporting in our developer documentation.
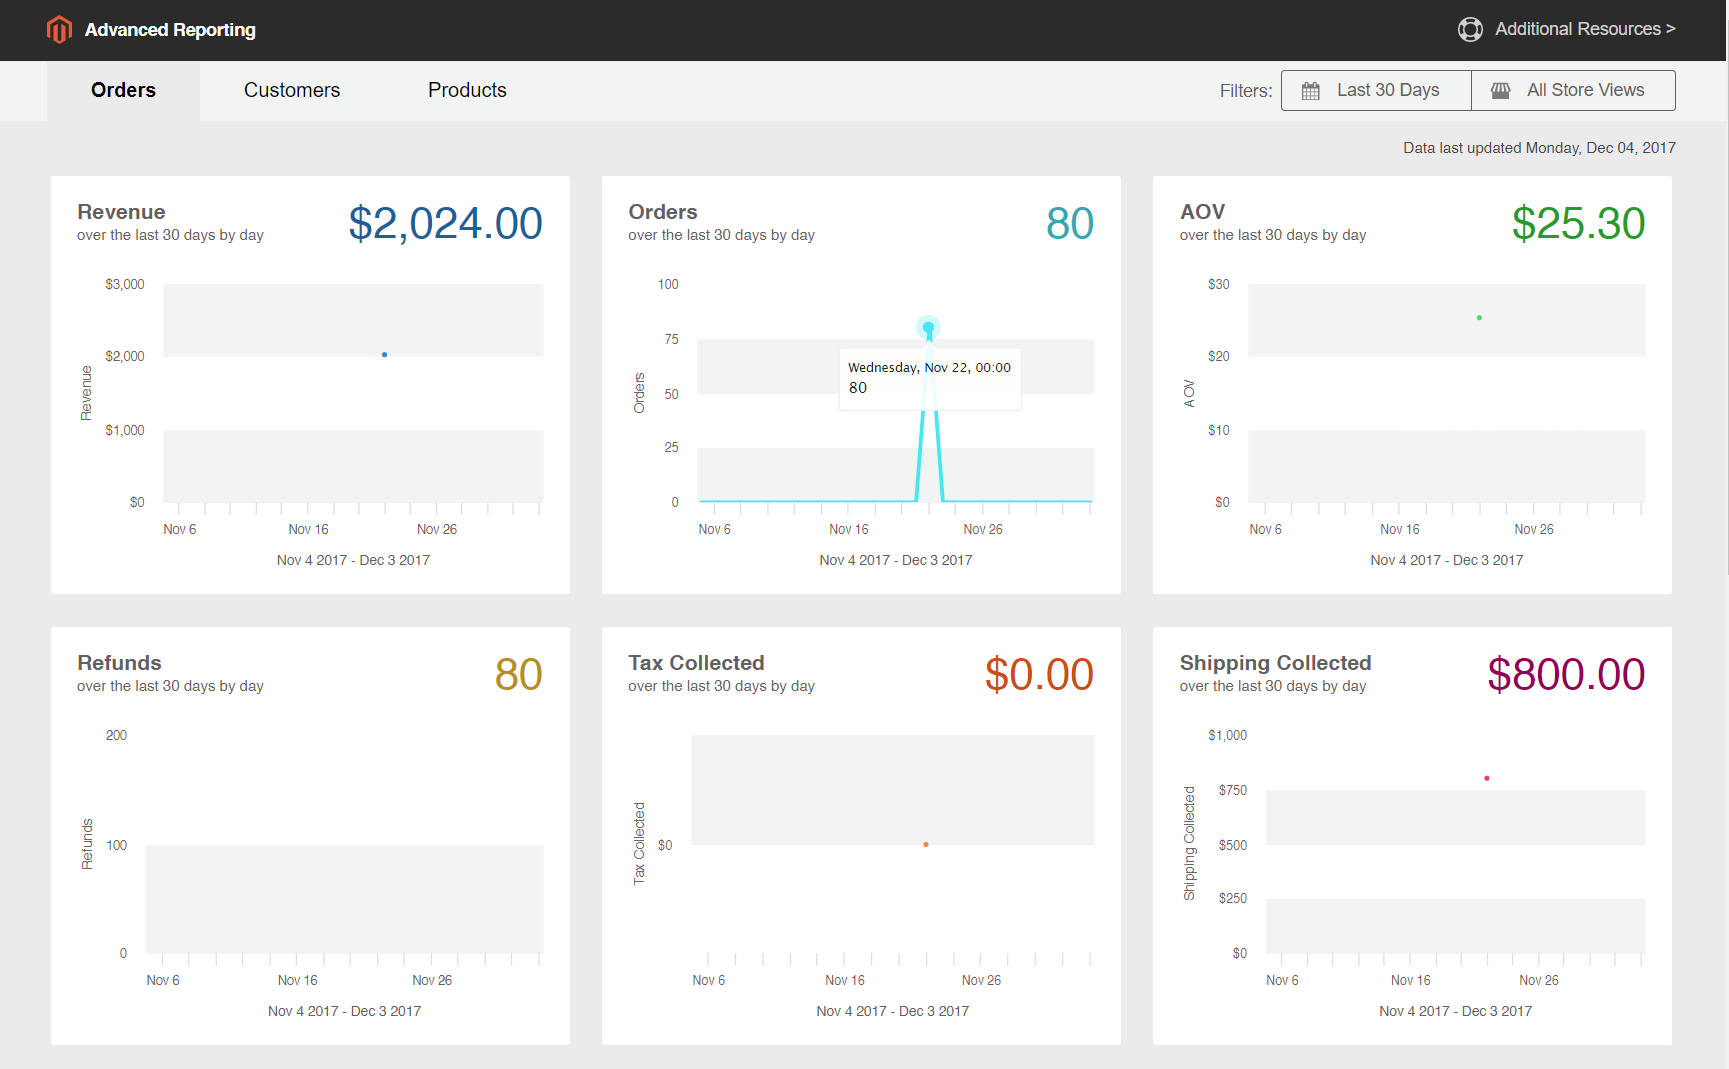 Advanced Reporting Dashboard
Requirements
-
The website must run on a public web server.
-
The domain must have a valid security (SSL) certificate.
-
Magento must have been installed or upgraded successfully without error.
-
In the Magento configuration for store URLs, the Base URL (Secure) setting for the store view must point to the secure URL. For example https://yourdomain.com.
-
In the Magento configuration for store URLs, Use Secure URLs on Storefront and Use Secure URLs in Admin must be set to
Yes. -
Make sure that Magento crontab is created and cron jobs are running on the installed server.
Advanced Reporting can be used only with Magento installations that have continually used a single base currency.
Step 1: Enable Advanced Reporting
In the Magento configuration, Advanced Reporting is enabled by default, and starts automatically if cron is configured and running. An attempt to establish the subscription is initiated at the beginning of each hour over the next 24-hours until successful. The subscription status is “pending” until the subscription is successfully established.
-
On the Admin sidebar, go to Stores > Settings > Configuration.
-
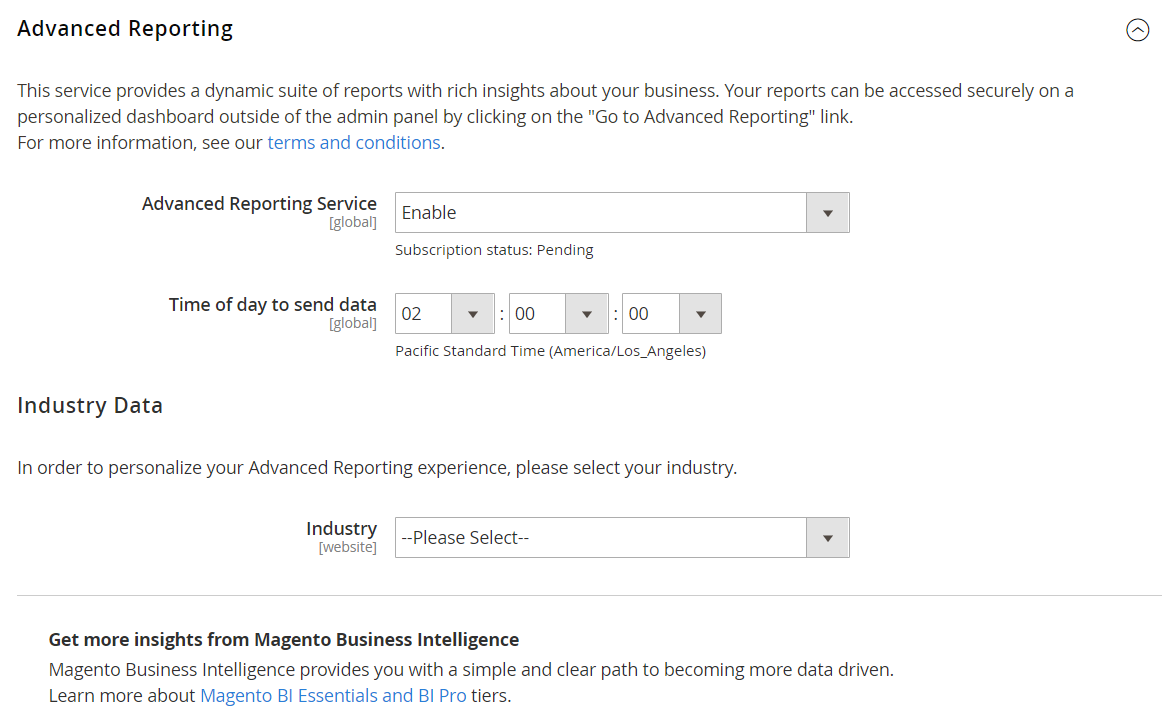
In the left panel where General is expanded, choose Advanced Reporting and do the following:
-
Verify that Advanced Reporting Service is set to
Enable. (This is the default setting.) -
Set the Time of day to send data to the hour, minute, and second, according to a 24-hour clock, that you want the service to receive updated data from your store. By default, data is sent at 2:00 AM.
-
Under Industry Data, choose the Industry that best describes your business.
 Advanced Reporting
 -
-
When complete, click Save Config.
-
When prompted, click the Cache Management in the message at the top of the page. Then, refresh any invalid caches.
-
Wait overnight, or until after the time of your next scheduled update. Then, check the status of your subscription. If the status is still pending, make sure that your installation meets all of the requirements.
Step 2: Access Advanced Reporting
-
Do one of the following:
- On the Admin sidebar, choose Dashboard. Then, click Go to Advanced Reporting.
- On the Admin sidebar, go to Reports > Business Intelligence > Advanced Reporting.
The Advanced Reporting dashboard provides a quick summary of your orders, customers, and products. Make sure to scroll down to see the full dashboard.
-
To get a better view of the data, set the Filters in the upper-right corner to the time period and store view that you want to include in the report. Then, do the following:
- Hover over any data point for more information.
- Click each tab to see all dashboard reports.
 Data Point
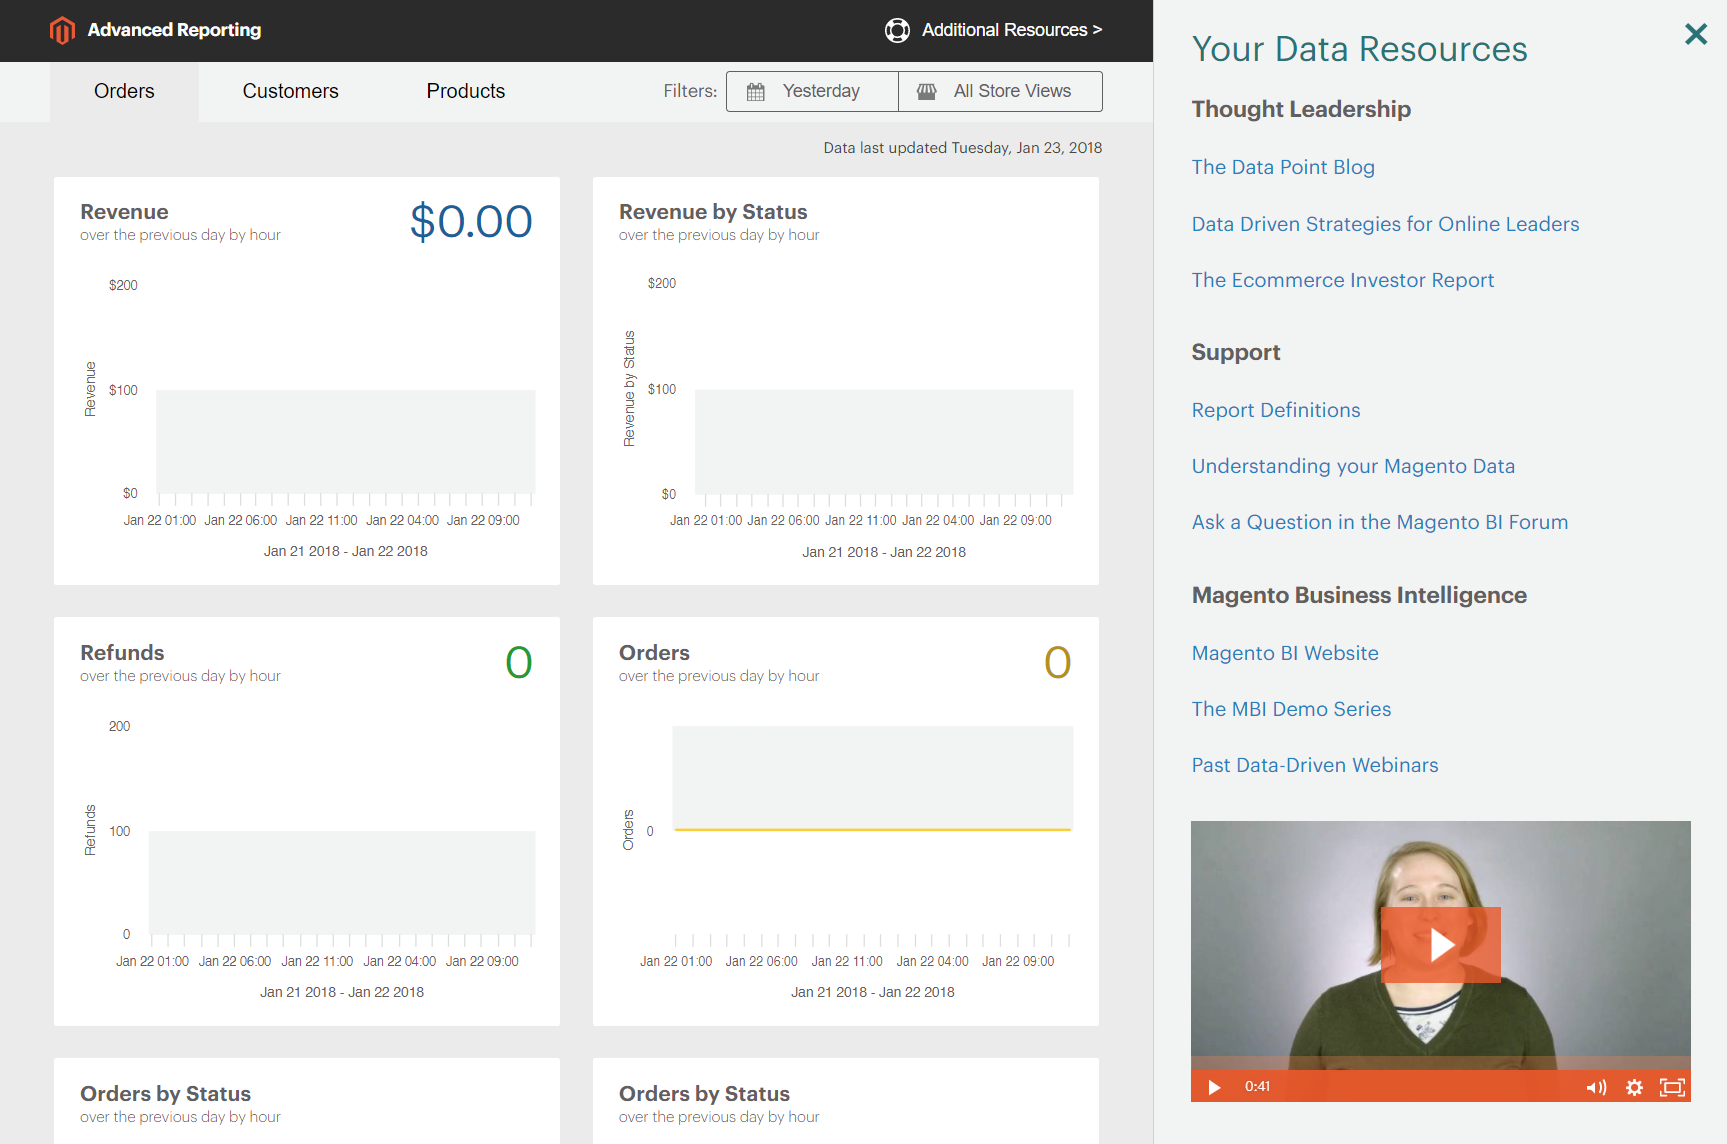
To access your data resources:
In the upper-right corner of the Advanced Reporting dashboard, click Additional Resources.
Troubleshooting
If you get a 404 “Page Not Found” message, verify that your store meets the requirements for Advanced Reporting. Then, follow the instructions to verify that the integration is installed.
Verify that the Integration is Active
-
On the Admin sidebar, go to System > Extensions > Integration.
-
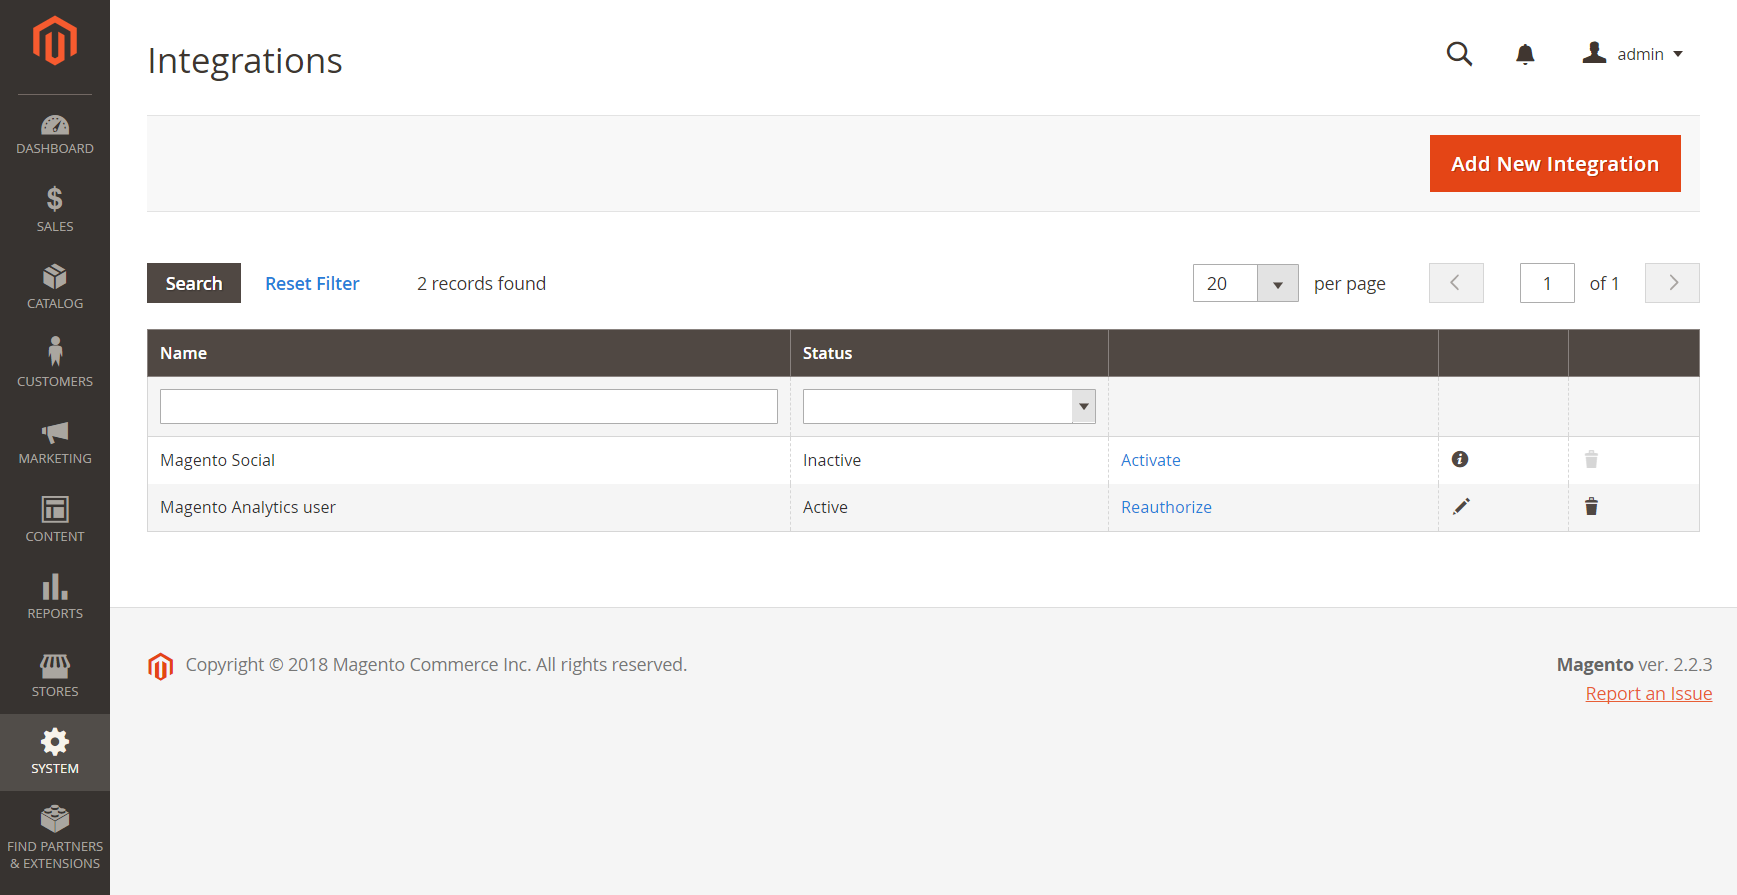
Verify that the Magento Analytics user integration appears in the list and the Status is
Active. -
To reestablish the user, click Reauthorize and do the following:
 Reauthorize
-
When prompted, click Reauthorize to approve access to the API resources.
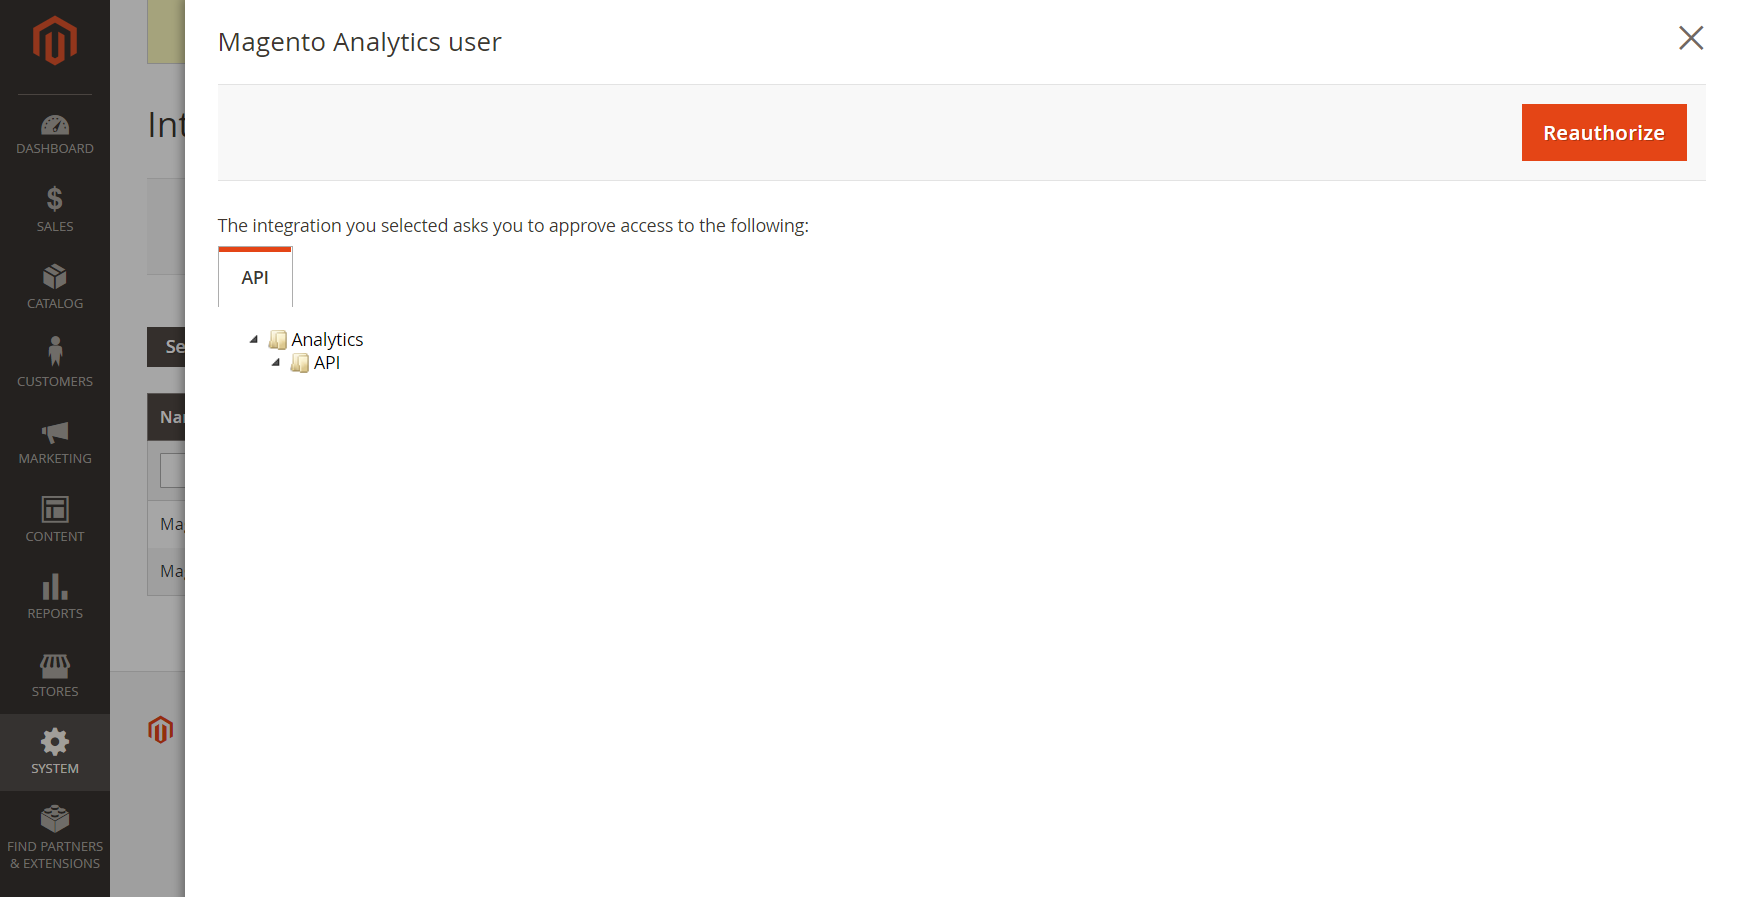 Reauthorize Access to API Resources
 -
Verify that the list of Integration Tokens for Extensions is complete. Then, click Done.
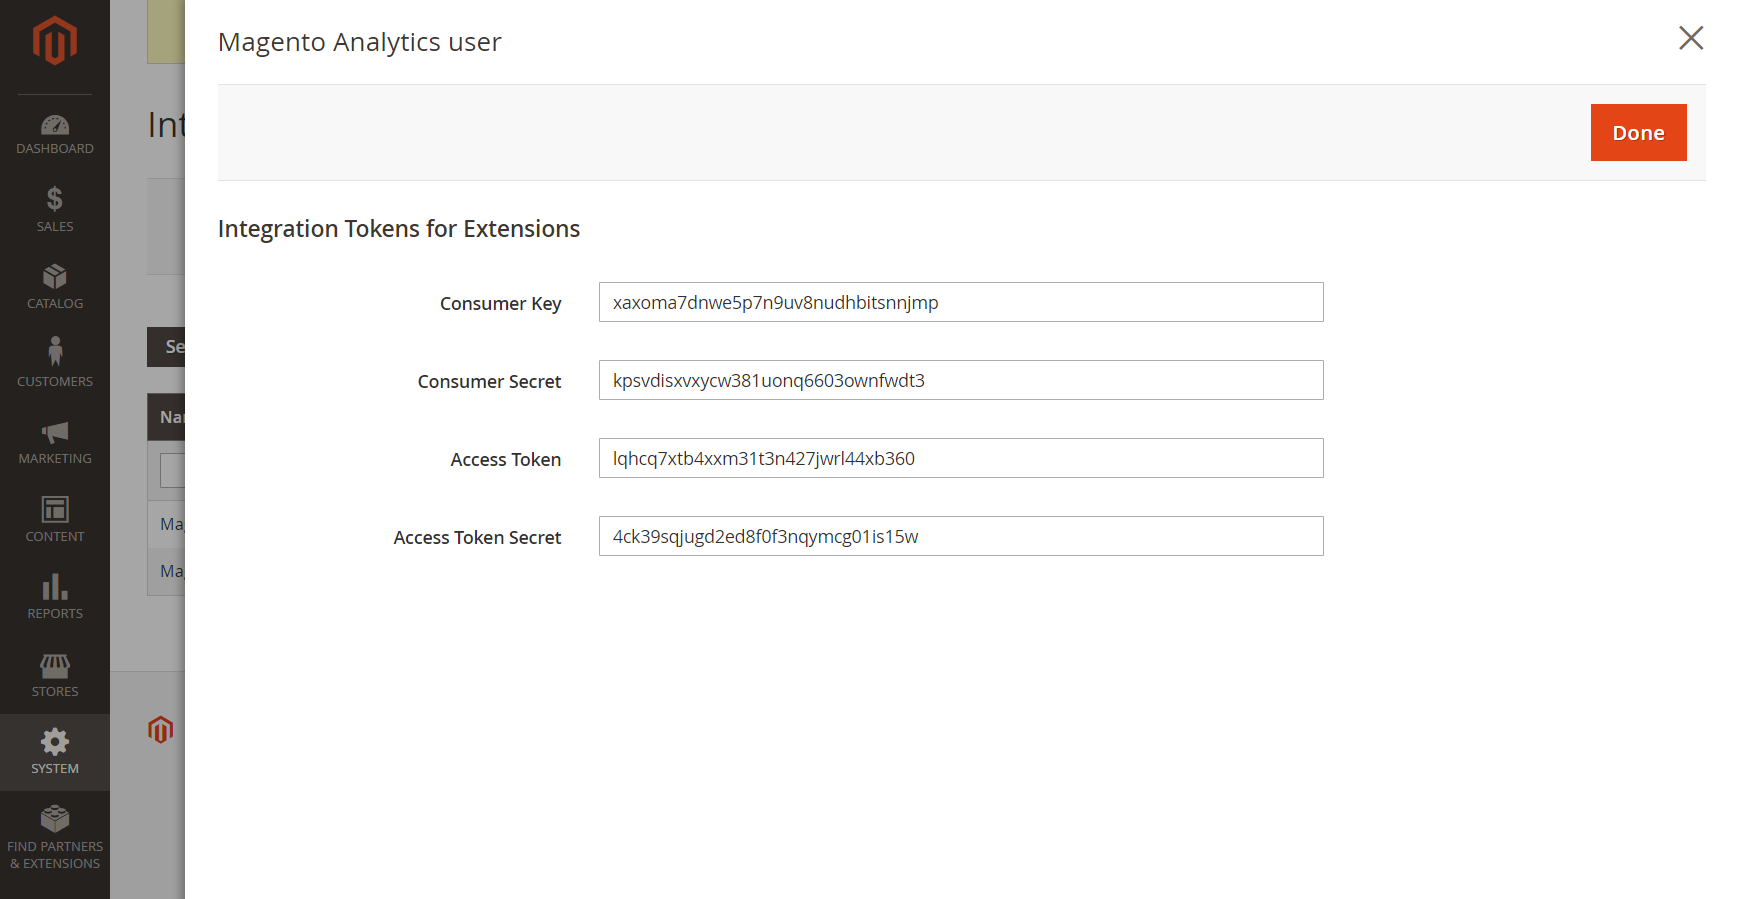 Integration Tokens
-
-
Look for the message that indicates the integration “Magento Analytics user” is reauthorized.
-
Wait overnight, or until after the time of your next scheduled update.
Verify Single Base Currency
Advanced Reporting can be used only with Magento installations that have used only a single base currency since the time of installation. The result is that in the history, all orders use the same base currency. Advanced Reporting will not work if you have, at any time, changed your base currency and have orders in your history that were processed with different base currencies.
Dashboard Reports
Orders
| Field | Description |
|---|---|
| Revenue | Shows all revenue received by the store view during the defined time period. |
| Orders | Shows all orders placed through the store view during the defined time period. |
| AOV | Shows the average order value placed through the store view during the defined time period. |
| Refunds | Shows all refunds processed through the store view during the defined time period. |
| Tax Collected | Shows all tax collected through the store view during the defined time period. |
| Shipping Collected | Shows all shipping fees collected through the store view during the defined time period. |
| Orders by Status | Shows the number of orders by status, for the store view during the defined time period. |
| Orders by Status | Lists a summary of the number of orders by status. |
| Coupon Usage | Lists all coupon codes and the number of users for each, redeemed through the store view during the defined time period. |
| Orders and Revenue by Billing Region | Lists the number of orders and revenue by region for the store view during the defined time period. |
| Tax Collected by Billing Region | Lists the amount of tax collected by region for the store view during the defined time period. |
| Shipping Fees Collected by Shipping Region | Lists the shipping fees collected by region for the store view during the defined time period. |
Customers
| Field | Description |
|---|---|
| Unique Customers | Shows the number of unique customer accounts associated with the store view during the defined time period. |
| New Registered Accounts | Shows the number of new customer accounts registered with the store view during the defined time period. |
| Top Coupon Users | Lists the top coupon users by Customer ID, and the number of orders placed with coupons for the store view during the defined time period. |
| Customer KPI Table | Lists the number of orders, revenue, and average order value by Customer ID for the store view during the defined time period. |
Products
| Field | Description |
|---|---|
| Quantity of Products Sold | Shows the number of products sold through the store view during the defined time period. |
| Products Added to Wishlists | Lists all products added to wishlists through the store view during the defined time period. |
| Best Selling Products by Quantity | Lists the best-selling products and quantity sold through the store view during the defined time period. |
| Best Selling Products by Revenue | Lists the best-selling products and revenue generated by the sale of the product through the store view during the defined time period. |