Watermarks
If you go to the expense of creating your own original product images, there is not much you can do to prevent unscrupulous competitors from stealing them with the click of a mouse. However, you can make them a less attractive target by placing a watermark on each image to identify them as your property. A watermark file can be either a JPG (JPEG), GIF, or PNG image. Both GIF and PNG file types support transparent layers, which can be used to give the watermark a transparent background.
The watermark used for the small image in the following example is a black logo with a transparent background and saved as a PNG file with the following settings:
- Size: 50x50
- Opacity: 5
- Position: Tile
 Tiled Watermark
Add watermarks to product images
-
On the Admin sidebar, go to Content > Design > Configuration.
-
Find the store view that you want to configure and click Edit in the Action column.
-
Under Other Settings, expand
 the Product Image Watermarks section.
 -
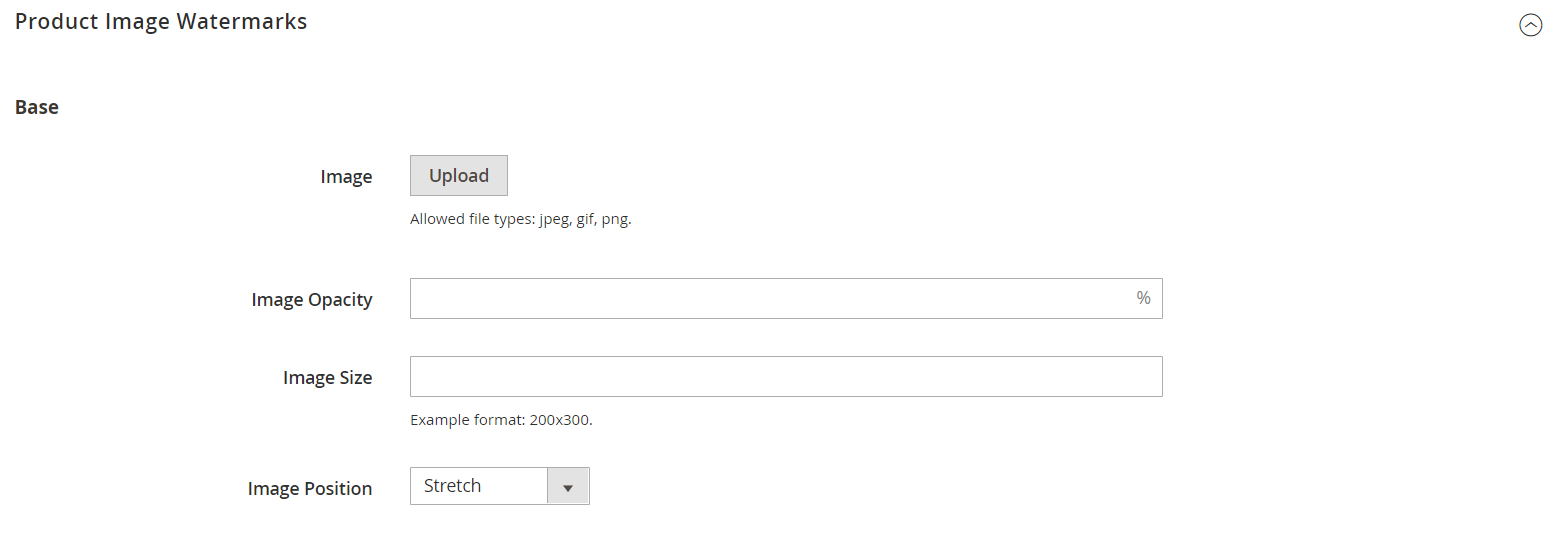
Complete the Base, Thumbnail, Small, and Swatch Image image settings as follows.
The fields in each section are the same.
-
Enter the Image Opacity as a percentage. For example:
40 -
Enter the Image Size in pixels. For example:
200 x 200 -
Click Upload and choose the image file that you want to use.
-
Set Image Position to determine where the watermark appears.
-
-
When complete, click Save Config.
-
When prompted to refresh the cache, click Cache Management in the system message and refresh the invalid cache.
 Refresh Cache
You can click Use Default Value ( ) to restore the default value.
Delete a watermark
-
In the lower-left corner of the image, click the Delete (
 ) icon.
 Delete Watermark
 -
Click Save Config.
-
When prompted to refresh the cache, click Cache Management in the system message and refresh the invalid cache.
If the watermark image persists in the storefront, return to Cache Management and click Flush Magento Cache.
