Name and Address Options
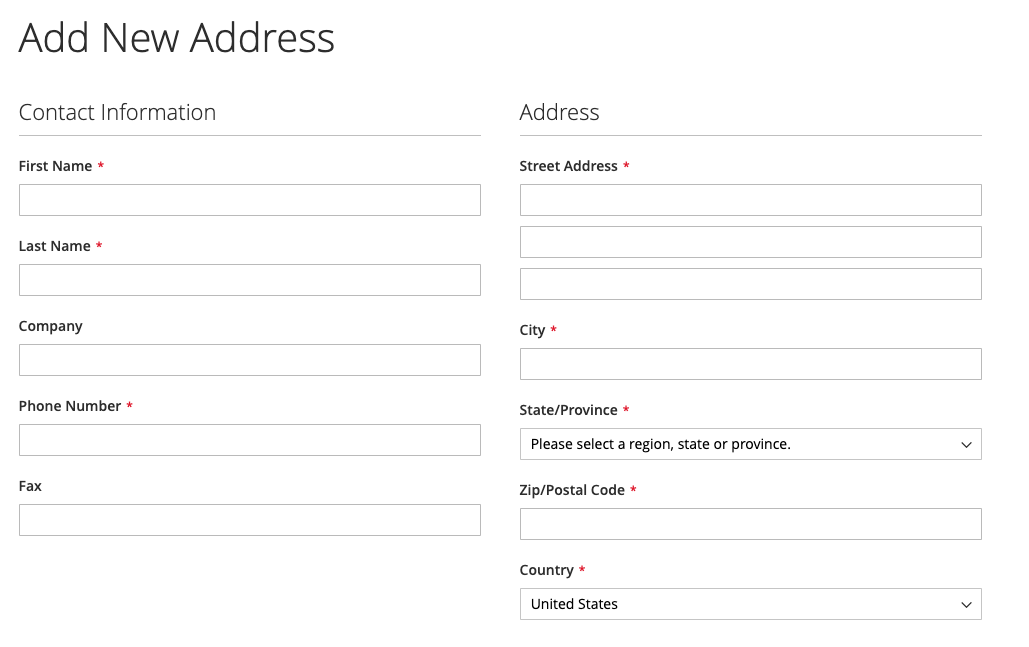
The Name and Address Options determine which fields are included in the name and address forms when customers create an account with your store.
The steps for configuring the name and address options are different for Magento Commerce and Magento Open Source.
Configure name and address options for Magento Commerce
Step 1: Set the scope of the configuration
-
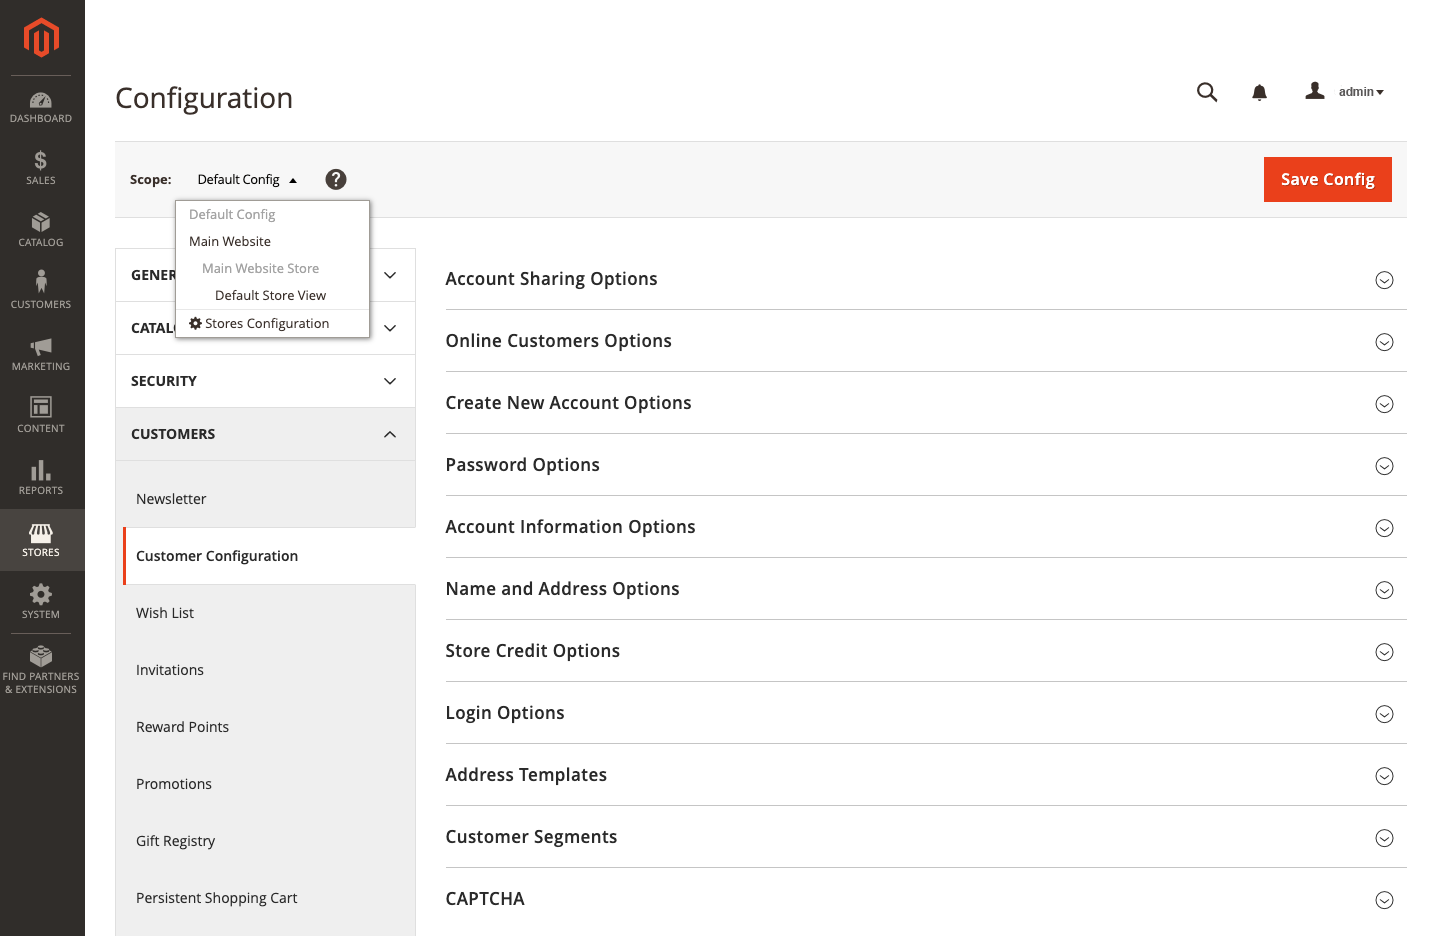
On the Admin sidebar, go to Stores > Settings > Configuration.
-
In the left panel, expand Customers and choose Customer Configuration.
-
Expand
 the Name and Address Options section.
Notice that the scope of the name and address options applies at the
websitelevel. -
Scroll up to the top of the page and set the scope of the configuration to one of the following:
- Default Config
- Main Website (or specific site for multi-site installations)
The Name and Address Options section doesn’t appear when the scope is set to
Default Store View.
Step 2: Configure the name and address options
-
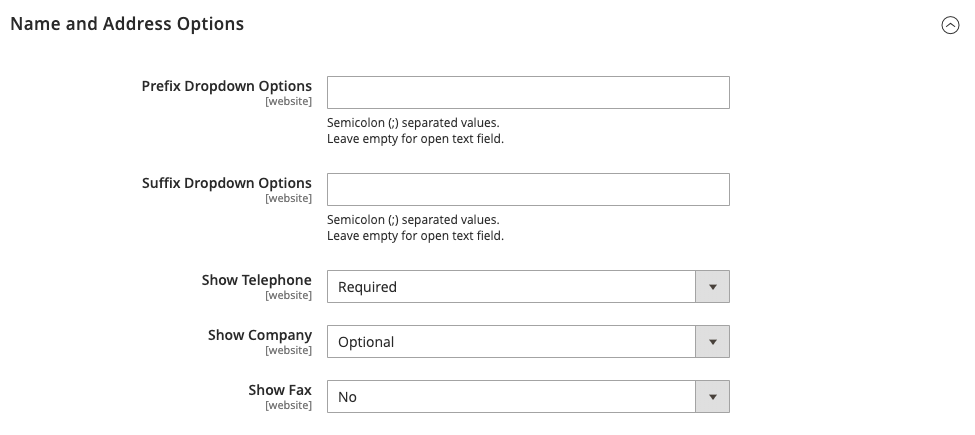
Return to the Name and Address Options section of the Customer Configuration page.
If you are not using the
Default configscope setting, you must clear theUse Defaultcheckbox for each field before changing the value. -
For Prefix Dropdown Options, enter each prefix that you want to appear in the list, separated by a semicolon.
Place a semicolon before the first value to display a blank value at the top of the list.
-
For Suffix Dropdown Options, enter each suffix that you want to appear in the list, separated by a semicolon.
Place a semicolon before the first value to display an blank value at the top of the list.
-
To include the following fields in customer forms, set the value of each to
OptionalorRequired, as needed.- Show Telephone
- Show Company
- Show Fax
Step 3: Save and refresh
-
When complete, click Save Config.
-
In the message at the top of the page, click Cache Management and refresh each invalid cache.
Configure name and address options for Magento Open Source
Step 1: Set the scope of the configuration
-
On the Admin sidebar, go to Stores > Settings > Configuration.
-
In the left panel, expand Customers and choose Customer Configuration.
-
Expand
 the Name and Address Options section.
Notice that the scope of the name and address options applies at the
websitelevel. -
Scroll back up to the top of the page and use the selector in the upper-left corner to set the scope of the configuration to one of the following:
- Default Config
- Main Website (or specific site for multi-site installations)
The Name and Address Options section doesn’t appear when the scope is set to
Default Store View.
Step 2: Configure the name and address options
-
Return to the Name and Address Options section of the Customer Configuration page.
If you are not using the
Default configscope setting, you must clear theUse Defaultcheckbox for each field before changing the value. -
For Number of Lines in a Street Address, enter a number from 1 to 4.
By default, the street address is 3 lines.
-
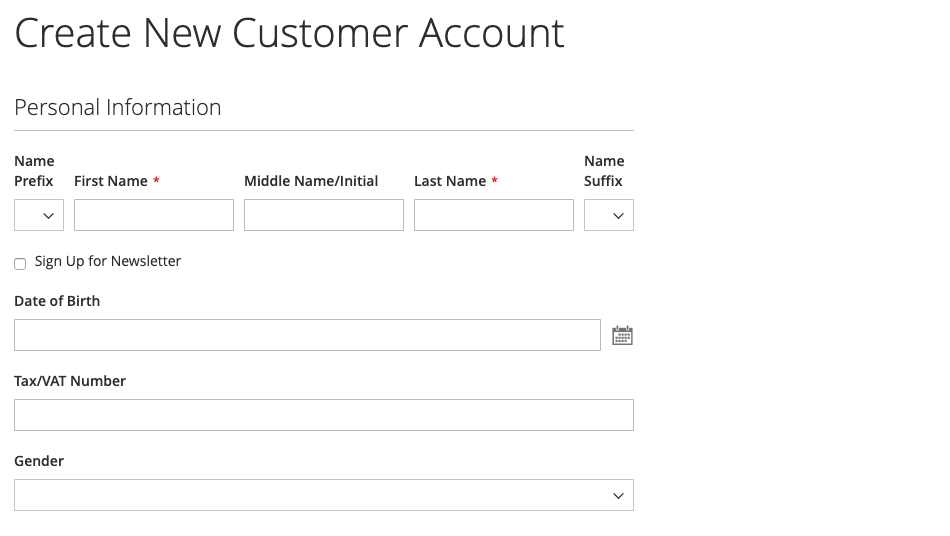
To include a prefix (such as Mr. or Mrs.) as part of the name, set Show Prefix to
Yes. Prefix in customer sign up form
For Prefix Dropdown Options, enter each prefix that you want to appear in the list, separated by a semicolon.
You can place a semicolon before the first value to display a blank value at the top of the list.
-
To include an optional field for the customer’s middle name or initial, set Show Middle Name (initial) to
Yes. -
To include a suffix (such as Jr. or Sr.) after the customer name, set Show Suffix to one of the following:
- Optional
- Required
For Suffix Dropdown Options, enter each suffix that you want to appear in the list, separated by a semicolon.
You can place a semicolon before the first value to display a blank value at the top of the list.
-
To include the date of birth, set Show Date of Birth to one of the following:
- Optional
-
Required
In keeping with current security and privacy best practices, be sure you are aware of any potential legal and security risks associated with the storage of customers’ full date of birth (month, day, year) along with other personal identifiers (e.g., full name) before collecting or processing such data. We recommend limiting the storage of customers’ full birth dates and instead suggest using customer year of birth as an alternative.
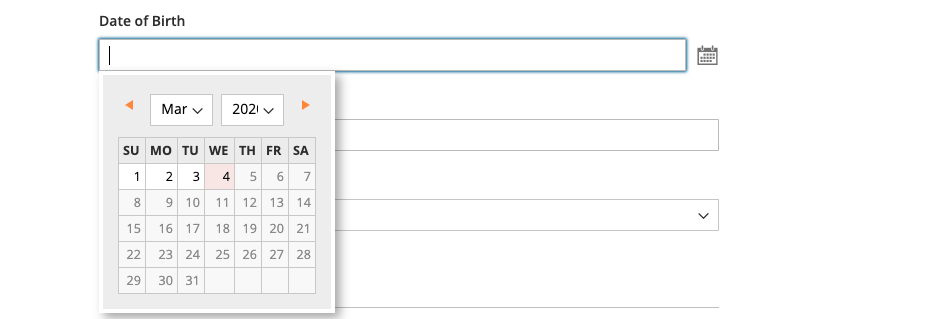
Customers can use the Calendar icon after the field to choose the birth date from a pop-up calendar.
-
To allow customers to enter their tax or VAT number, set Show Tax/VAT Number to one of the following:
- Optional
- Required
-
To include a field for gender in the customer form, set Show Gender to one of the following:
- Optional
- Required
-
To include the following fields in customer forms, set the value of each to
OptionalorRequired, as needed.- Show Telephone
- Show Company
- Show Fax
Step 3: Save and refresh
-
When complete, click Save Config.
-
In the message at the top of the page, click Cache Management and refresh each invalid cache.
