Adding a Favicon
Favicon is short for favorite icon and refers to the little icon on the tab of each browser page. Depending on the browser, the favicon also appears in address bar, just before the URL.
A favicon is generally 16 x 16 pixels or 32 x 32 pixels in size. Magento accepts ICO, PNG, APNG, GIF, and JPG (JPEG) file types, although not all browsers support these formats. The most widely-supported file format to use for a favicon is ICO. You can use other image file types, but the format might not be supported by all browsers. There are many free tools available online that you can use to generate an ICO image or convert an image to that format.
![]() Favicon in the browser tab
Favicon in the browser tab
Step 1: Create a favicon
-
Using the image editor of your choice, create a 16 x 16 or 32 x 32 graphic image of your logo.
-
(Optional) Use one of the available online tools to convert the file to the .ico format and save the file to your computer.
Step 2: Upload the favicon to your store
-
On the Admin sidebar, go to Content > Design > Configuration.
-
In the grid, find the store view that you want to configure and click Edit in the Action column.
-
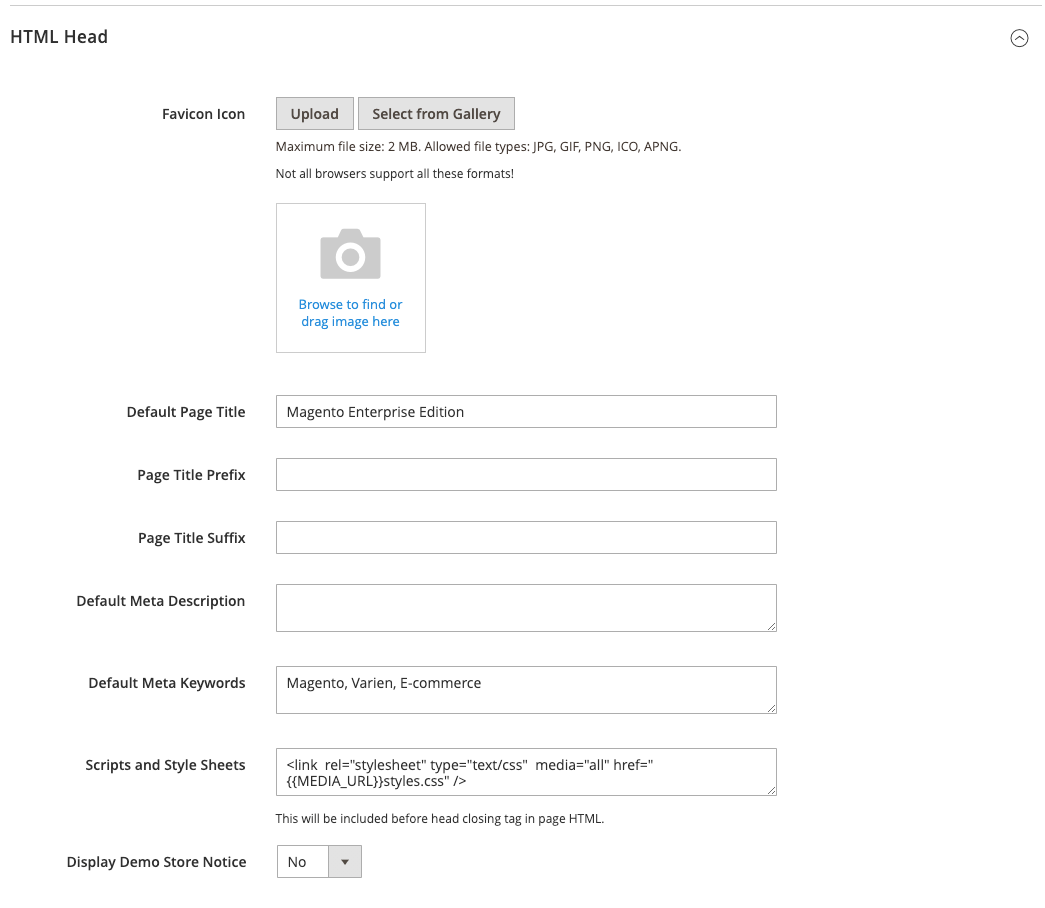
Under Other Settings, expand
 the HTML Head section.
 -
If you want to remove the current favicon, click the Delete (
 ) icon in the lower-left corner of the image.
 -
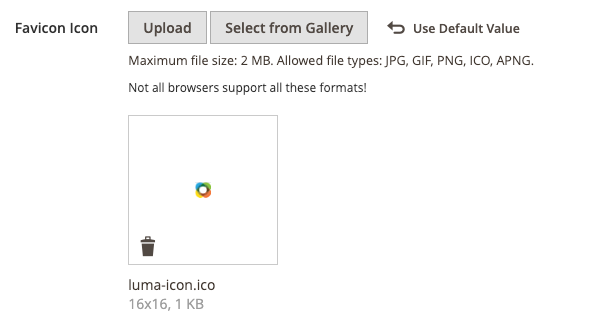
Click Upload and open the favicon file that you prepared.
 Uploaded favicon
 -
When complete, click Save Configuration.
Step 3: Refresh the cache
-
When prompted to refresh the cache, click the Cache Management link in the message at the top of the workspace.
-
In the list, select the Page Cache checkbox that is marked
Invalidated. -
Set Actions to
Refreshand click Submit. -
To view the new favicon, return to your storefront and refresh the browser.
| File format | Description |
|---|---|
| ICO | This is an image file format designed for small size computer icon images. Mostly used in Microsoft Windows OS, the ICO format can contain images of up to 256 x 256 pixels and 16 million colors (24 bit) with 8 bits of transparency. |
| PNG | (Portable Network Graphics) This newer alternative to the GIF format supports up to 16 million colors (24 bit). The lossless compression format produces a high-quality bitmap image with crisp text, but a larger file size than some formats. The PNG format supports transparent layers, and is designed to be both viewed and streamed online. |
| APNG | (Animated Portable Network Graphics) A file format similar to PNG that supports simple animation. |
| GIF | (Graphics Interchange Format) A widely-supported, and older bitmap format that is limited to 256 colors (8 bit). The GIF format supports simple animation and transparent layers. |
| JPG (JPEG) | (Joint Photographics Expert Group) A compressed bitmap format that is used by most digital cameras. The lossy compression causes some data loss, which is sometimes noticeable as blurry spots in text. |
