Lesson 1 — Create a product page
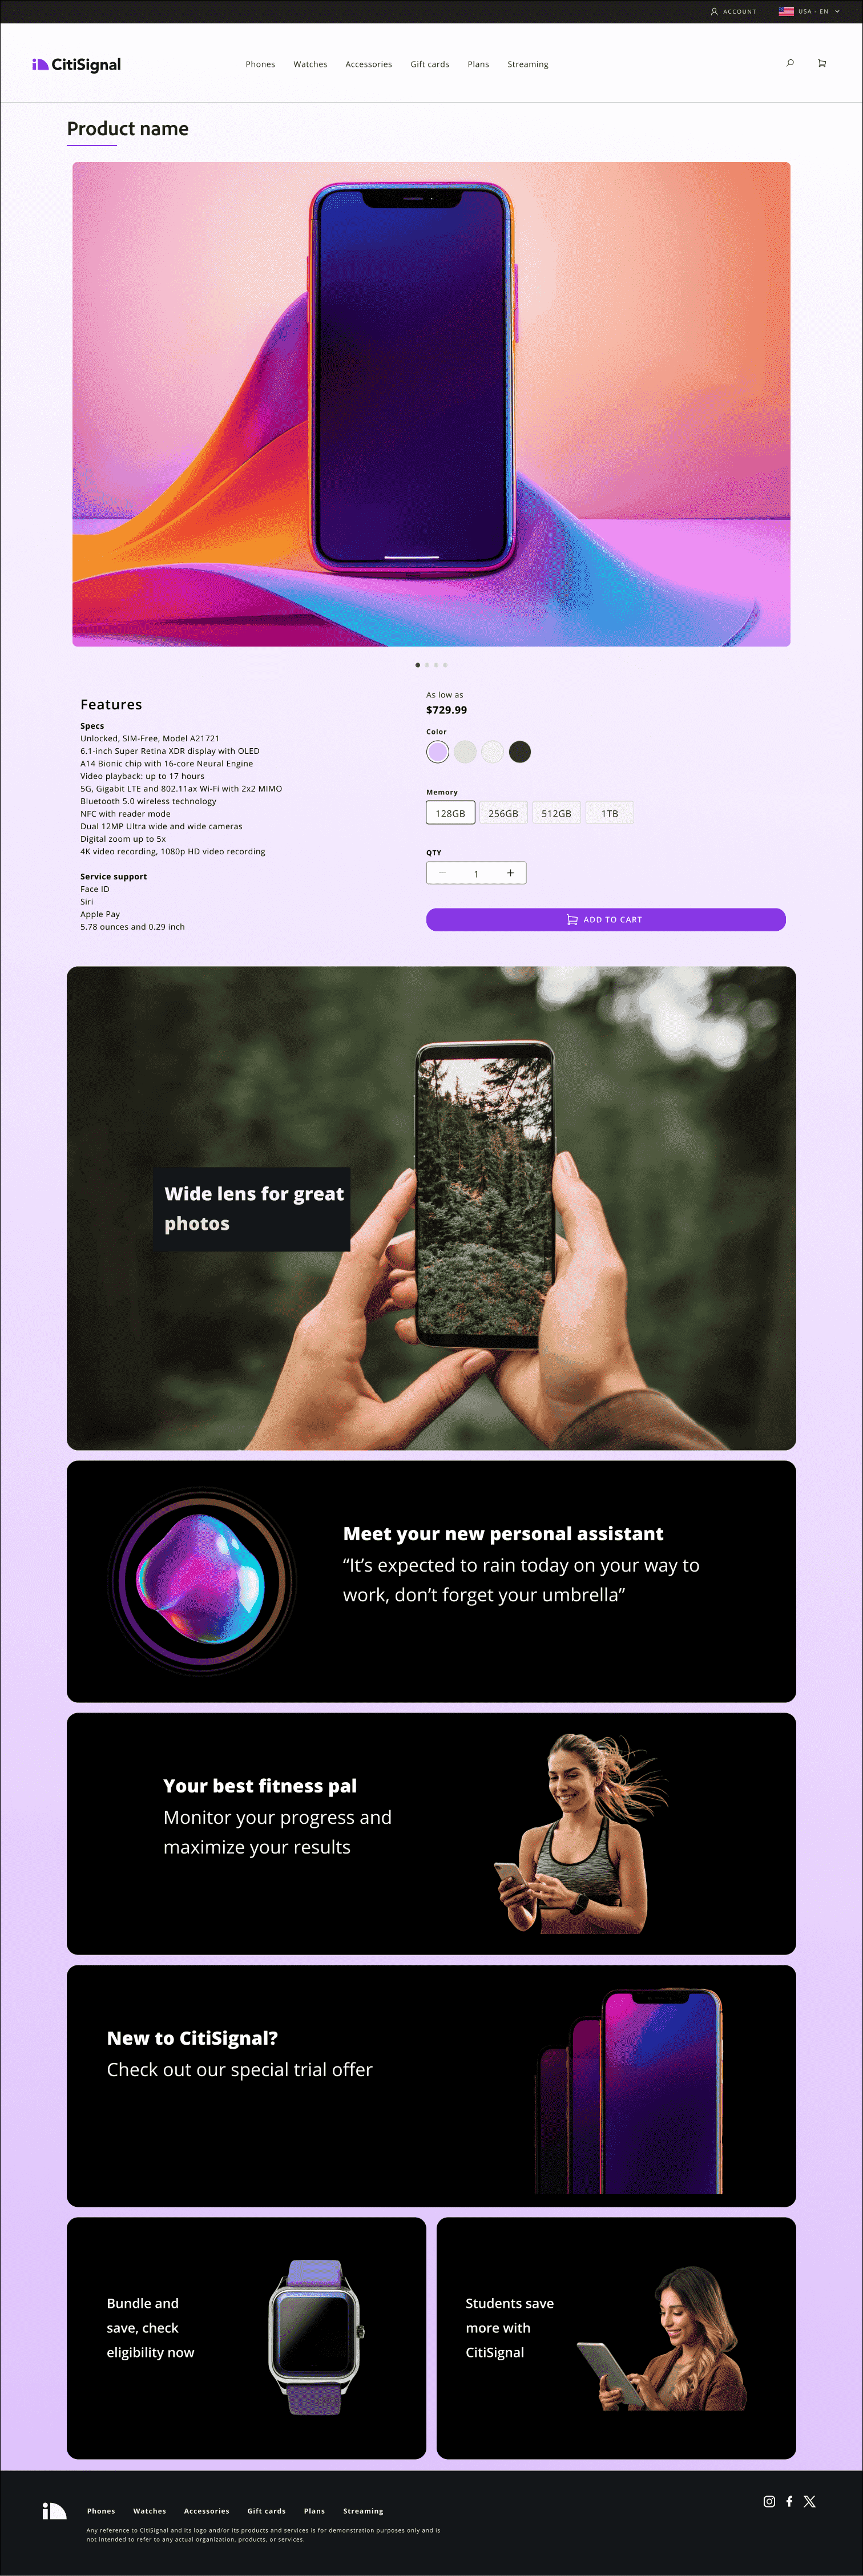
In this lesson, you will build and preview a featured product page for the iPhone 13. You will use the Single Product Detail page template to create a unique layout for the product.
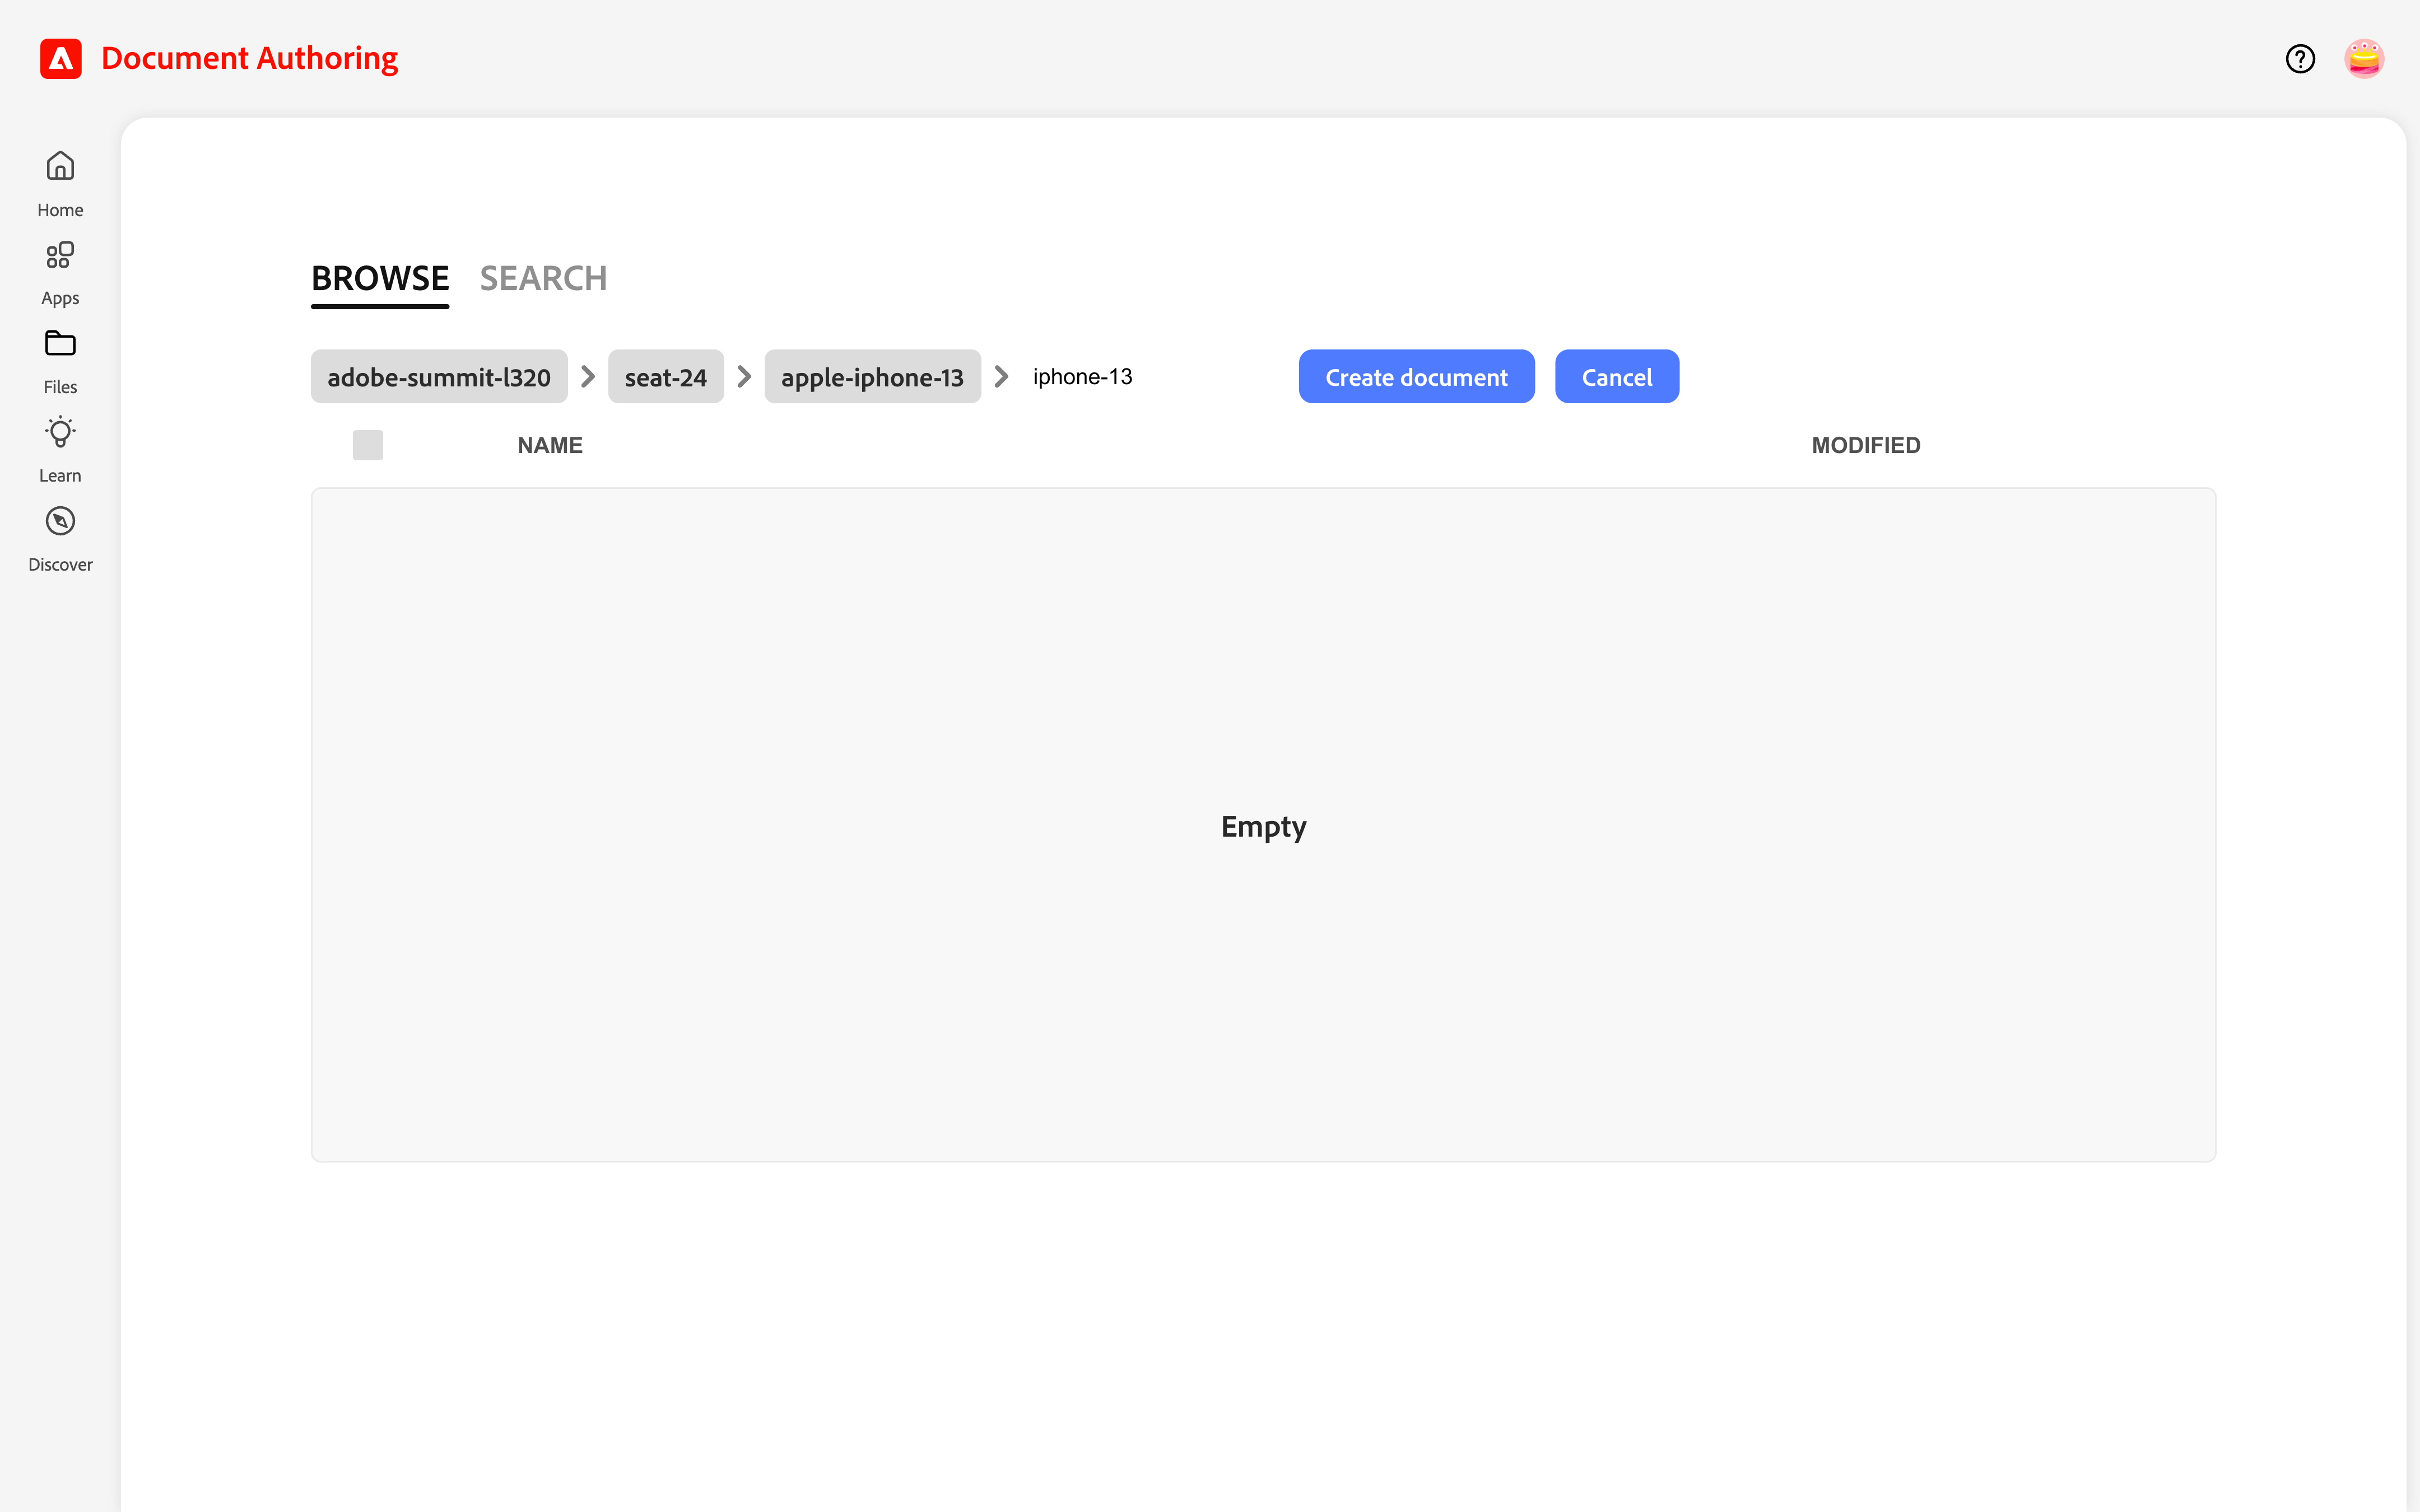
Create the page
- Navigate to the
productsfolder. - Create a new folder named
apple-iphone-13. - Inside that folder, create a new document named
iphone-13.
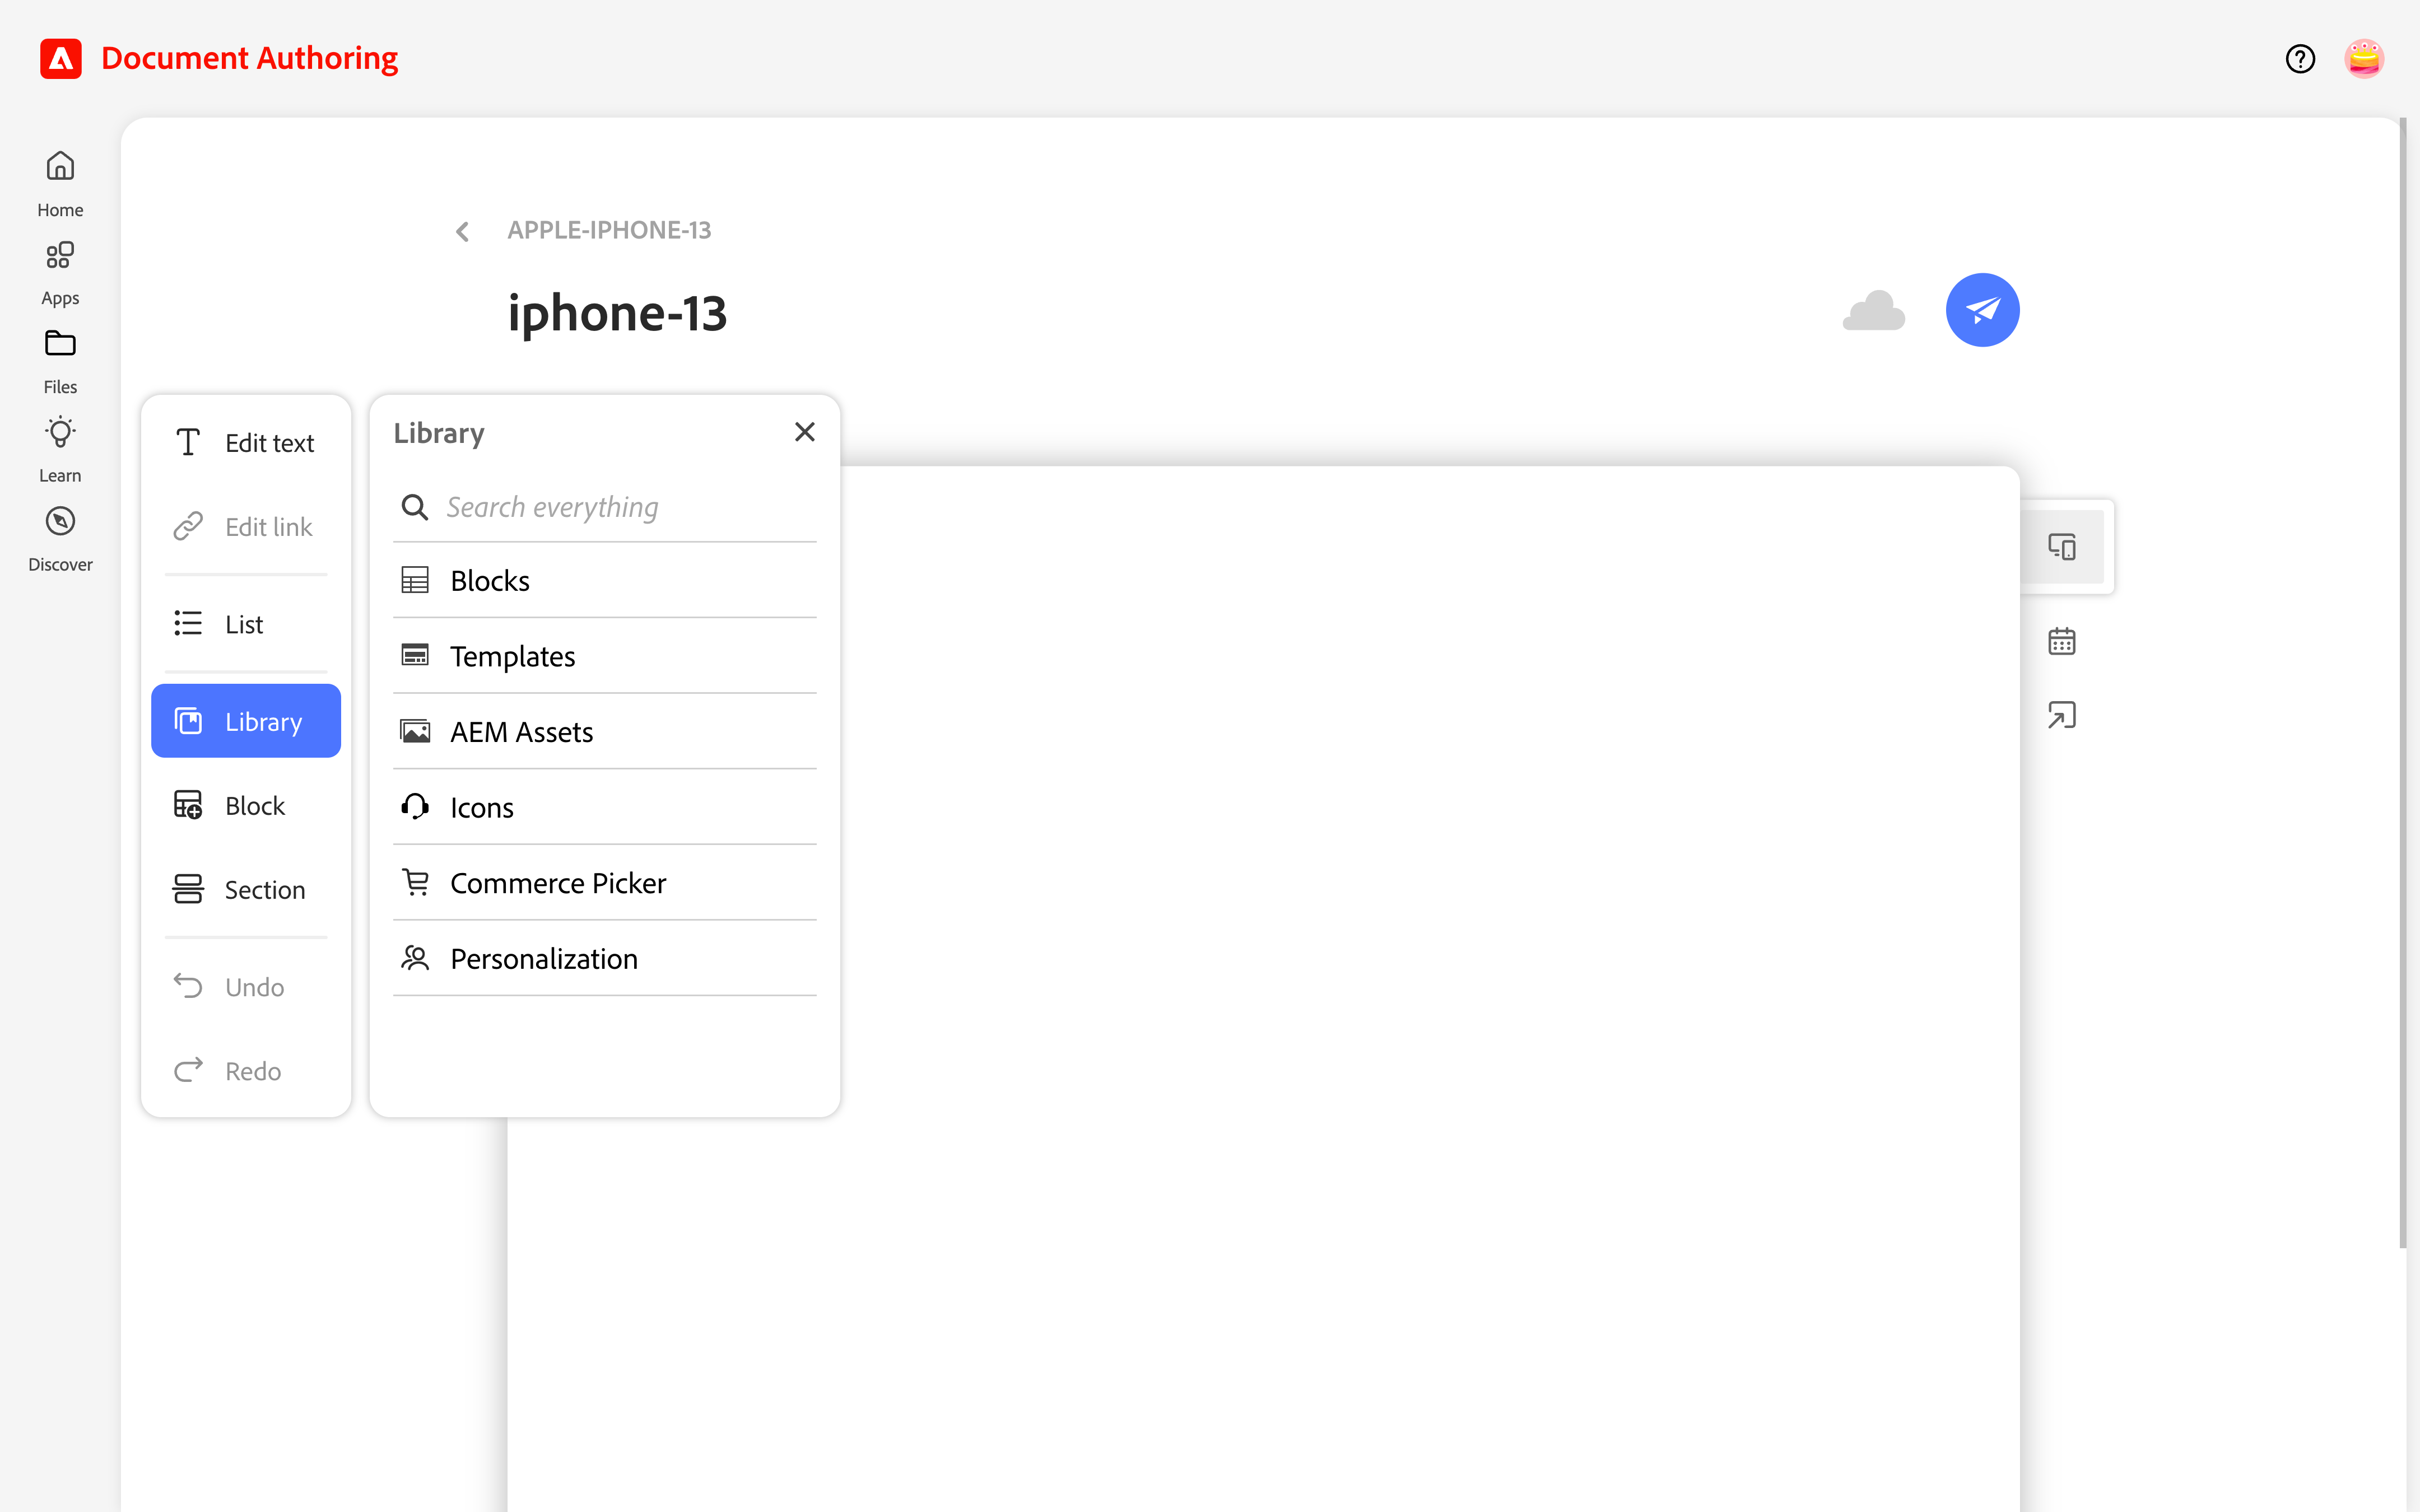
Apply the template
- Open your
iphone-13document. - From the Edit menu, click Library → Templates.
- Select the Single Product Detail page template.
Preview the page
- Click the instant Preview button.
- Check the instant preview of the page.
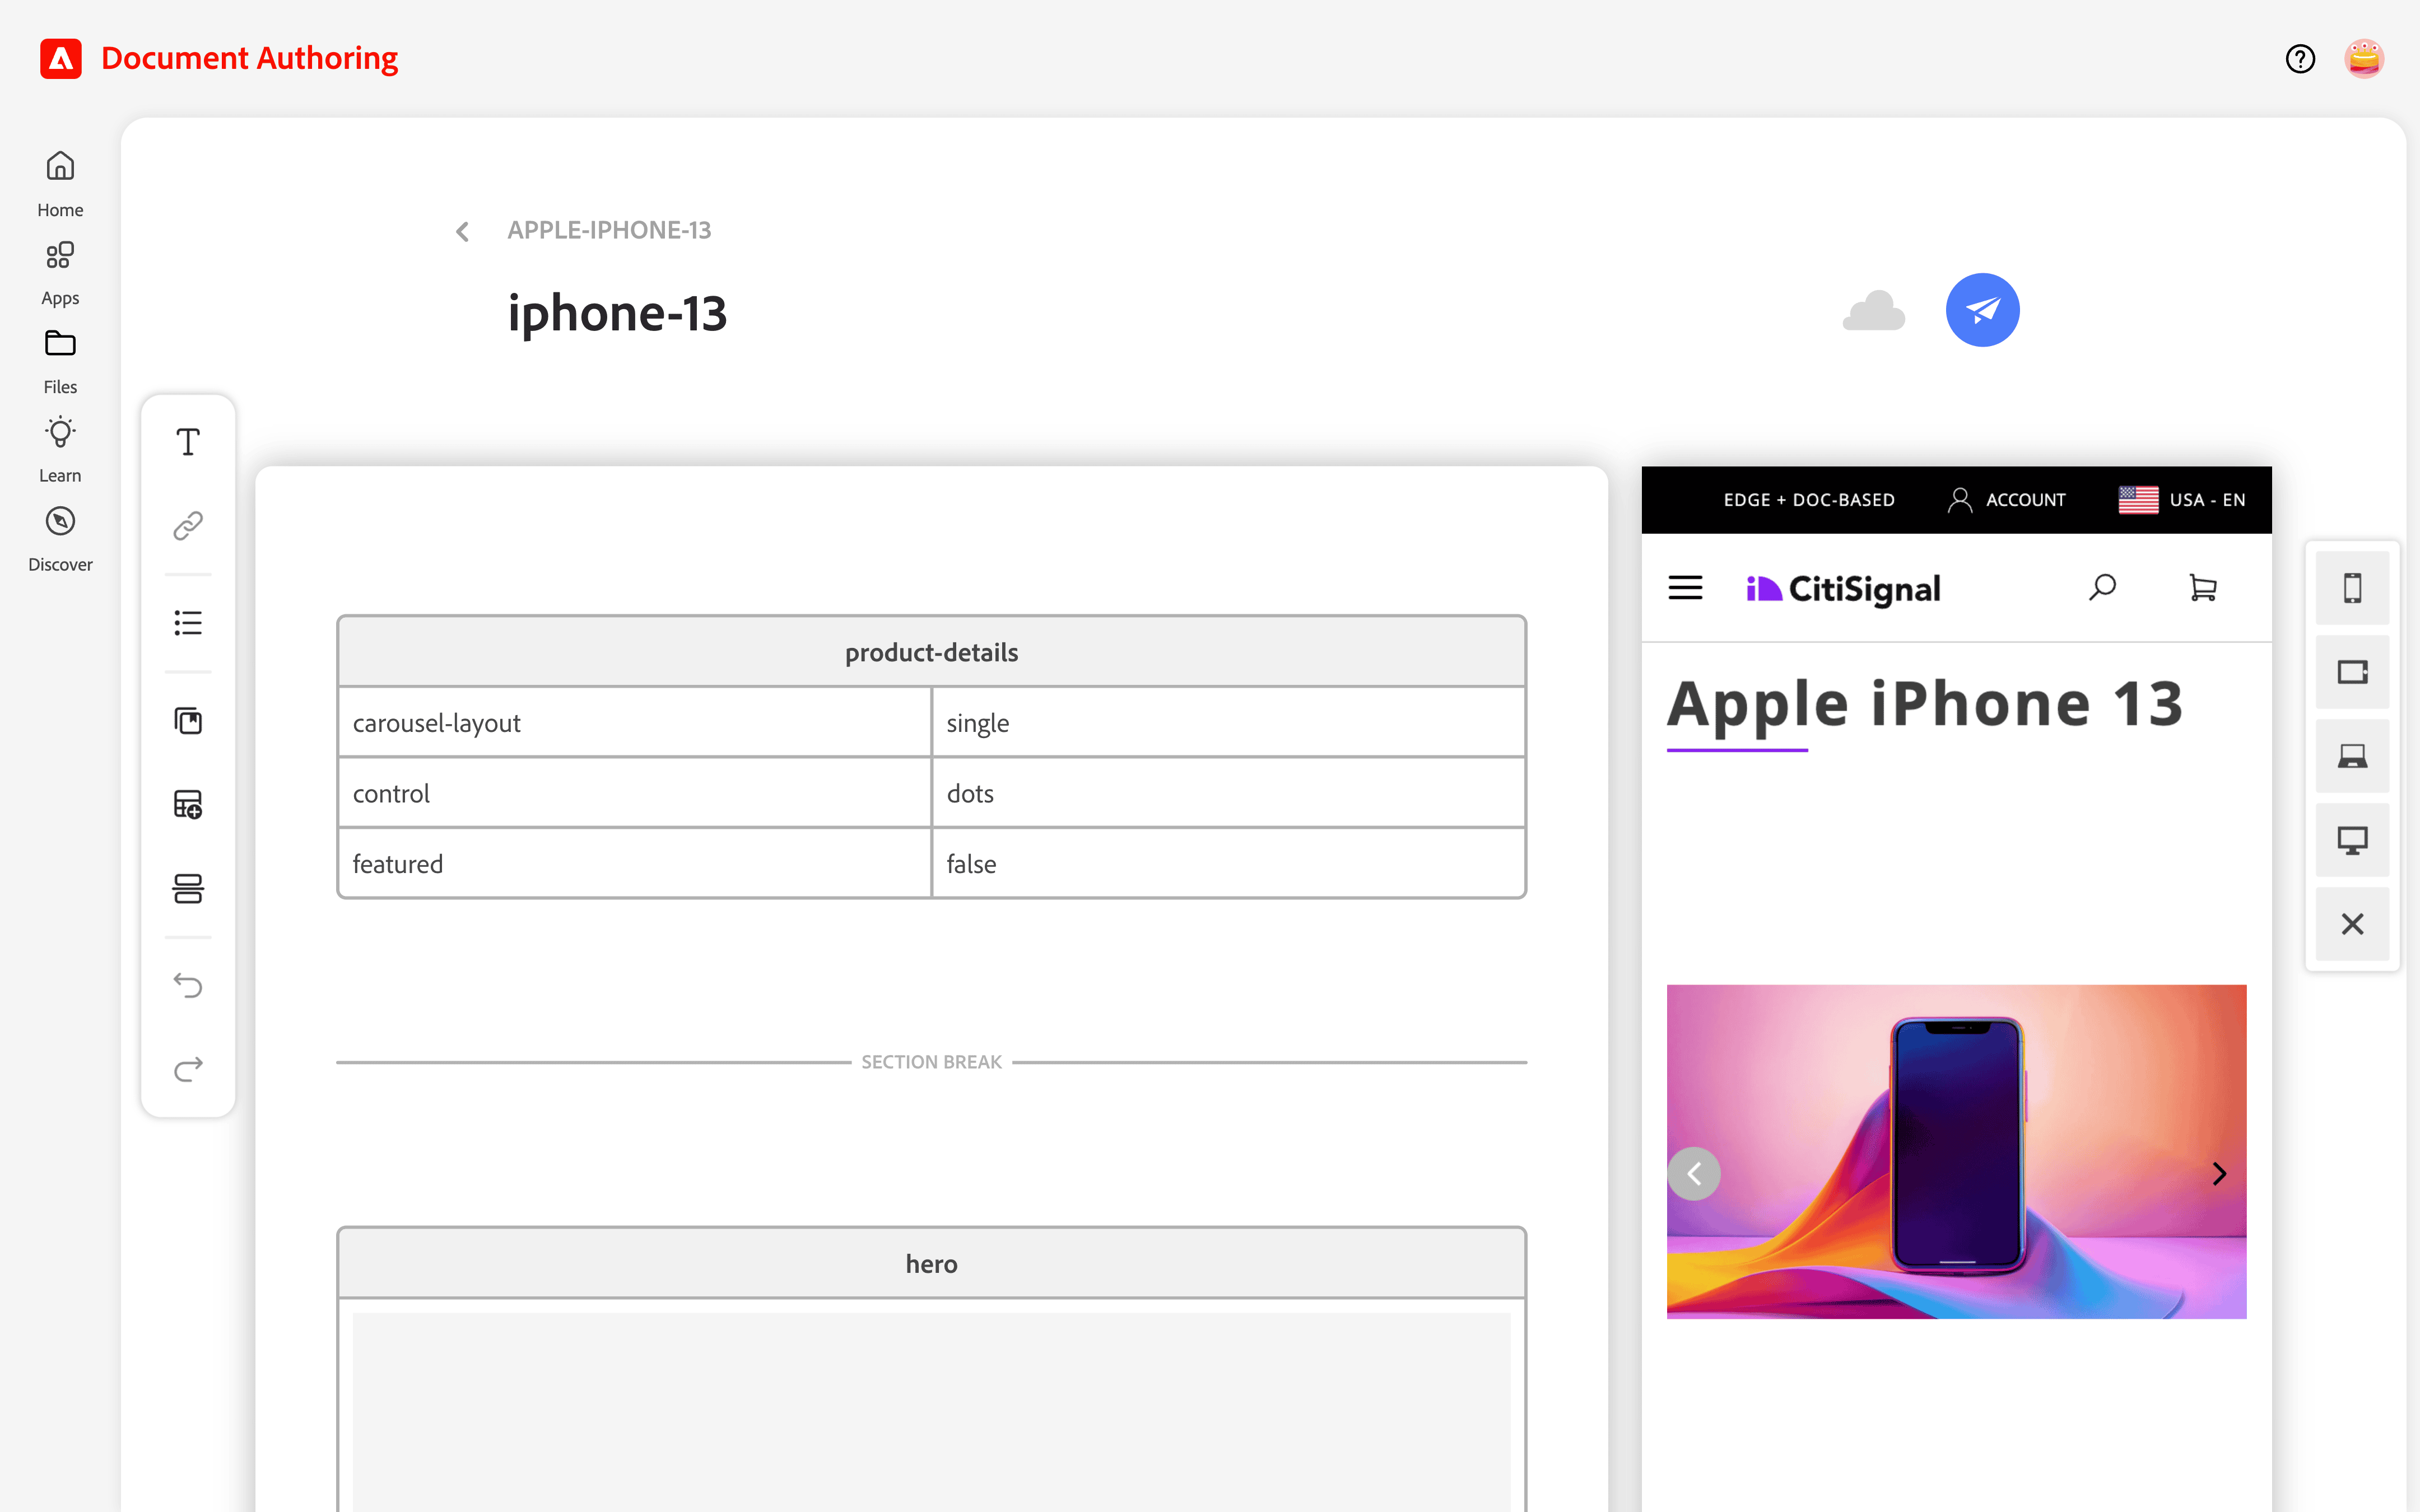
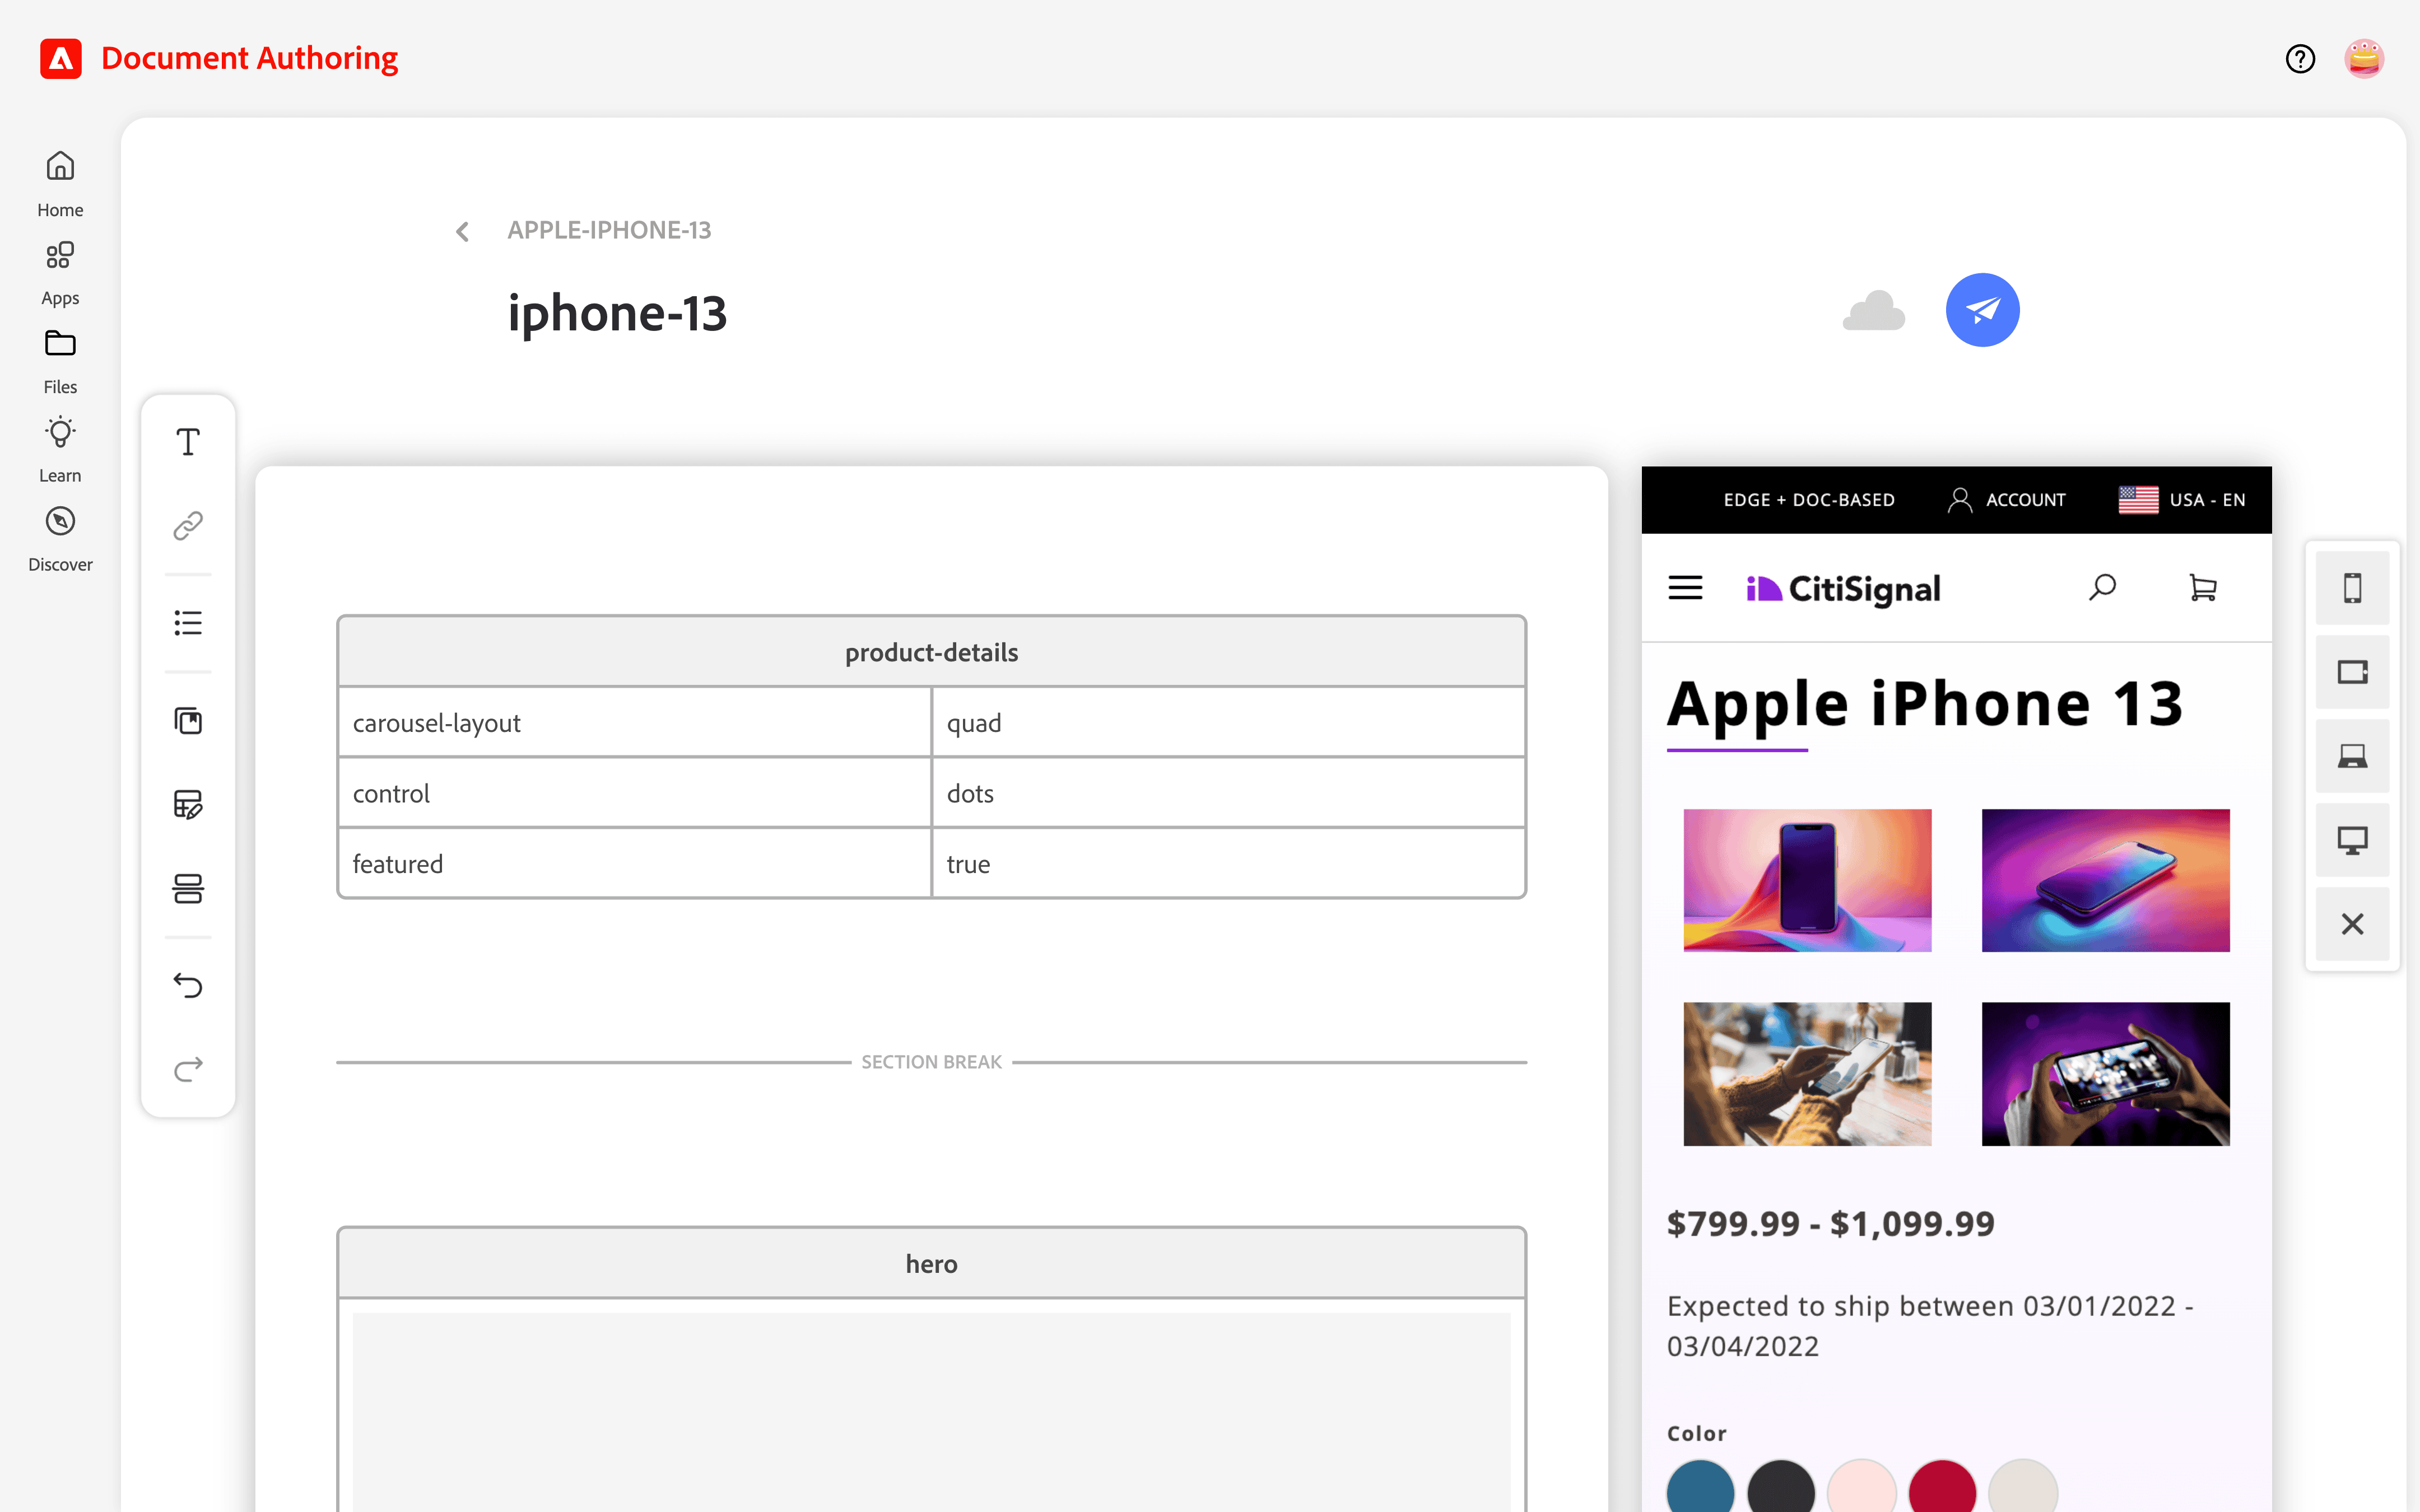
Update the product-details block
The Single Product Detail page template comes with a product-details block, also known as a Product Detail Page (PDP) drop-in component. Like other document blocks, the PDP component is a two-column table — property names on the left, property values on the right. Make the following changes to the product-details block.
carousel-layout:quadfeatured:true
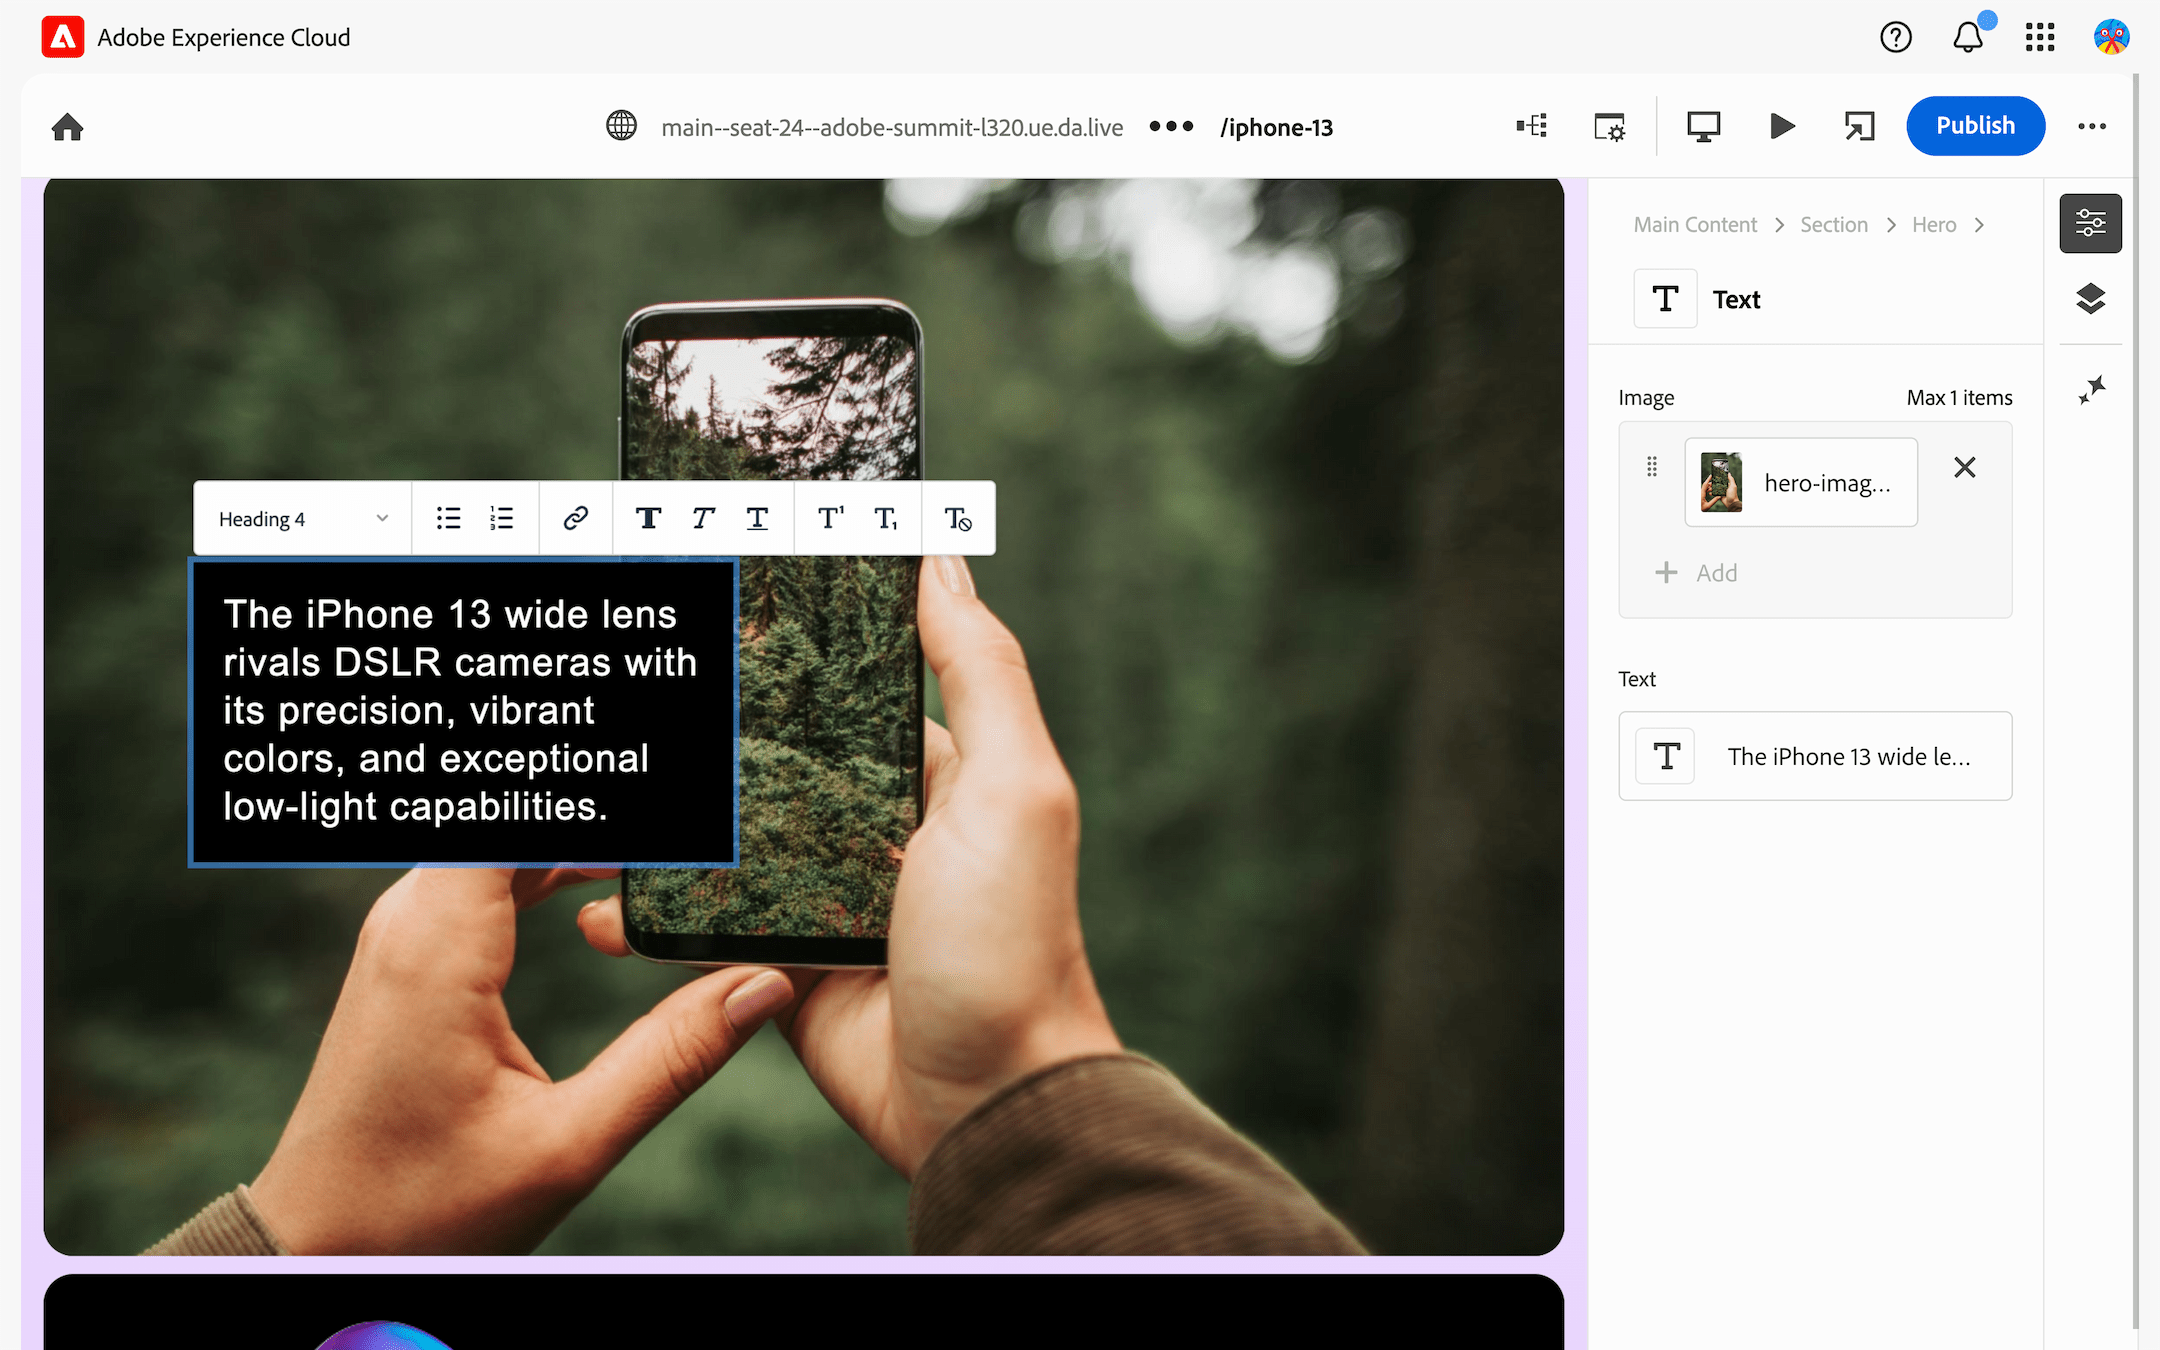
Change the Hero block
- Update the text below the image placeholder to:
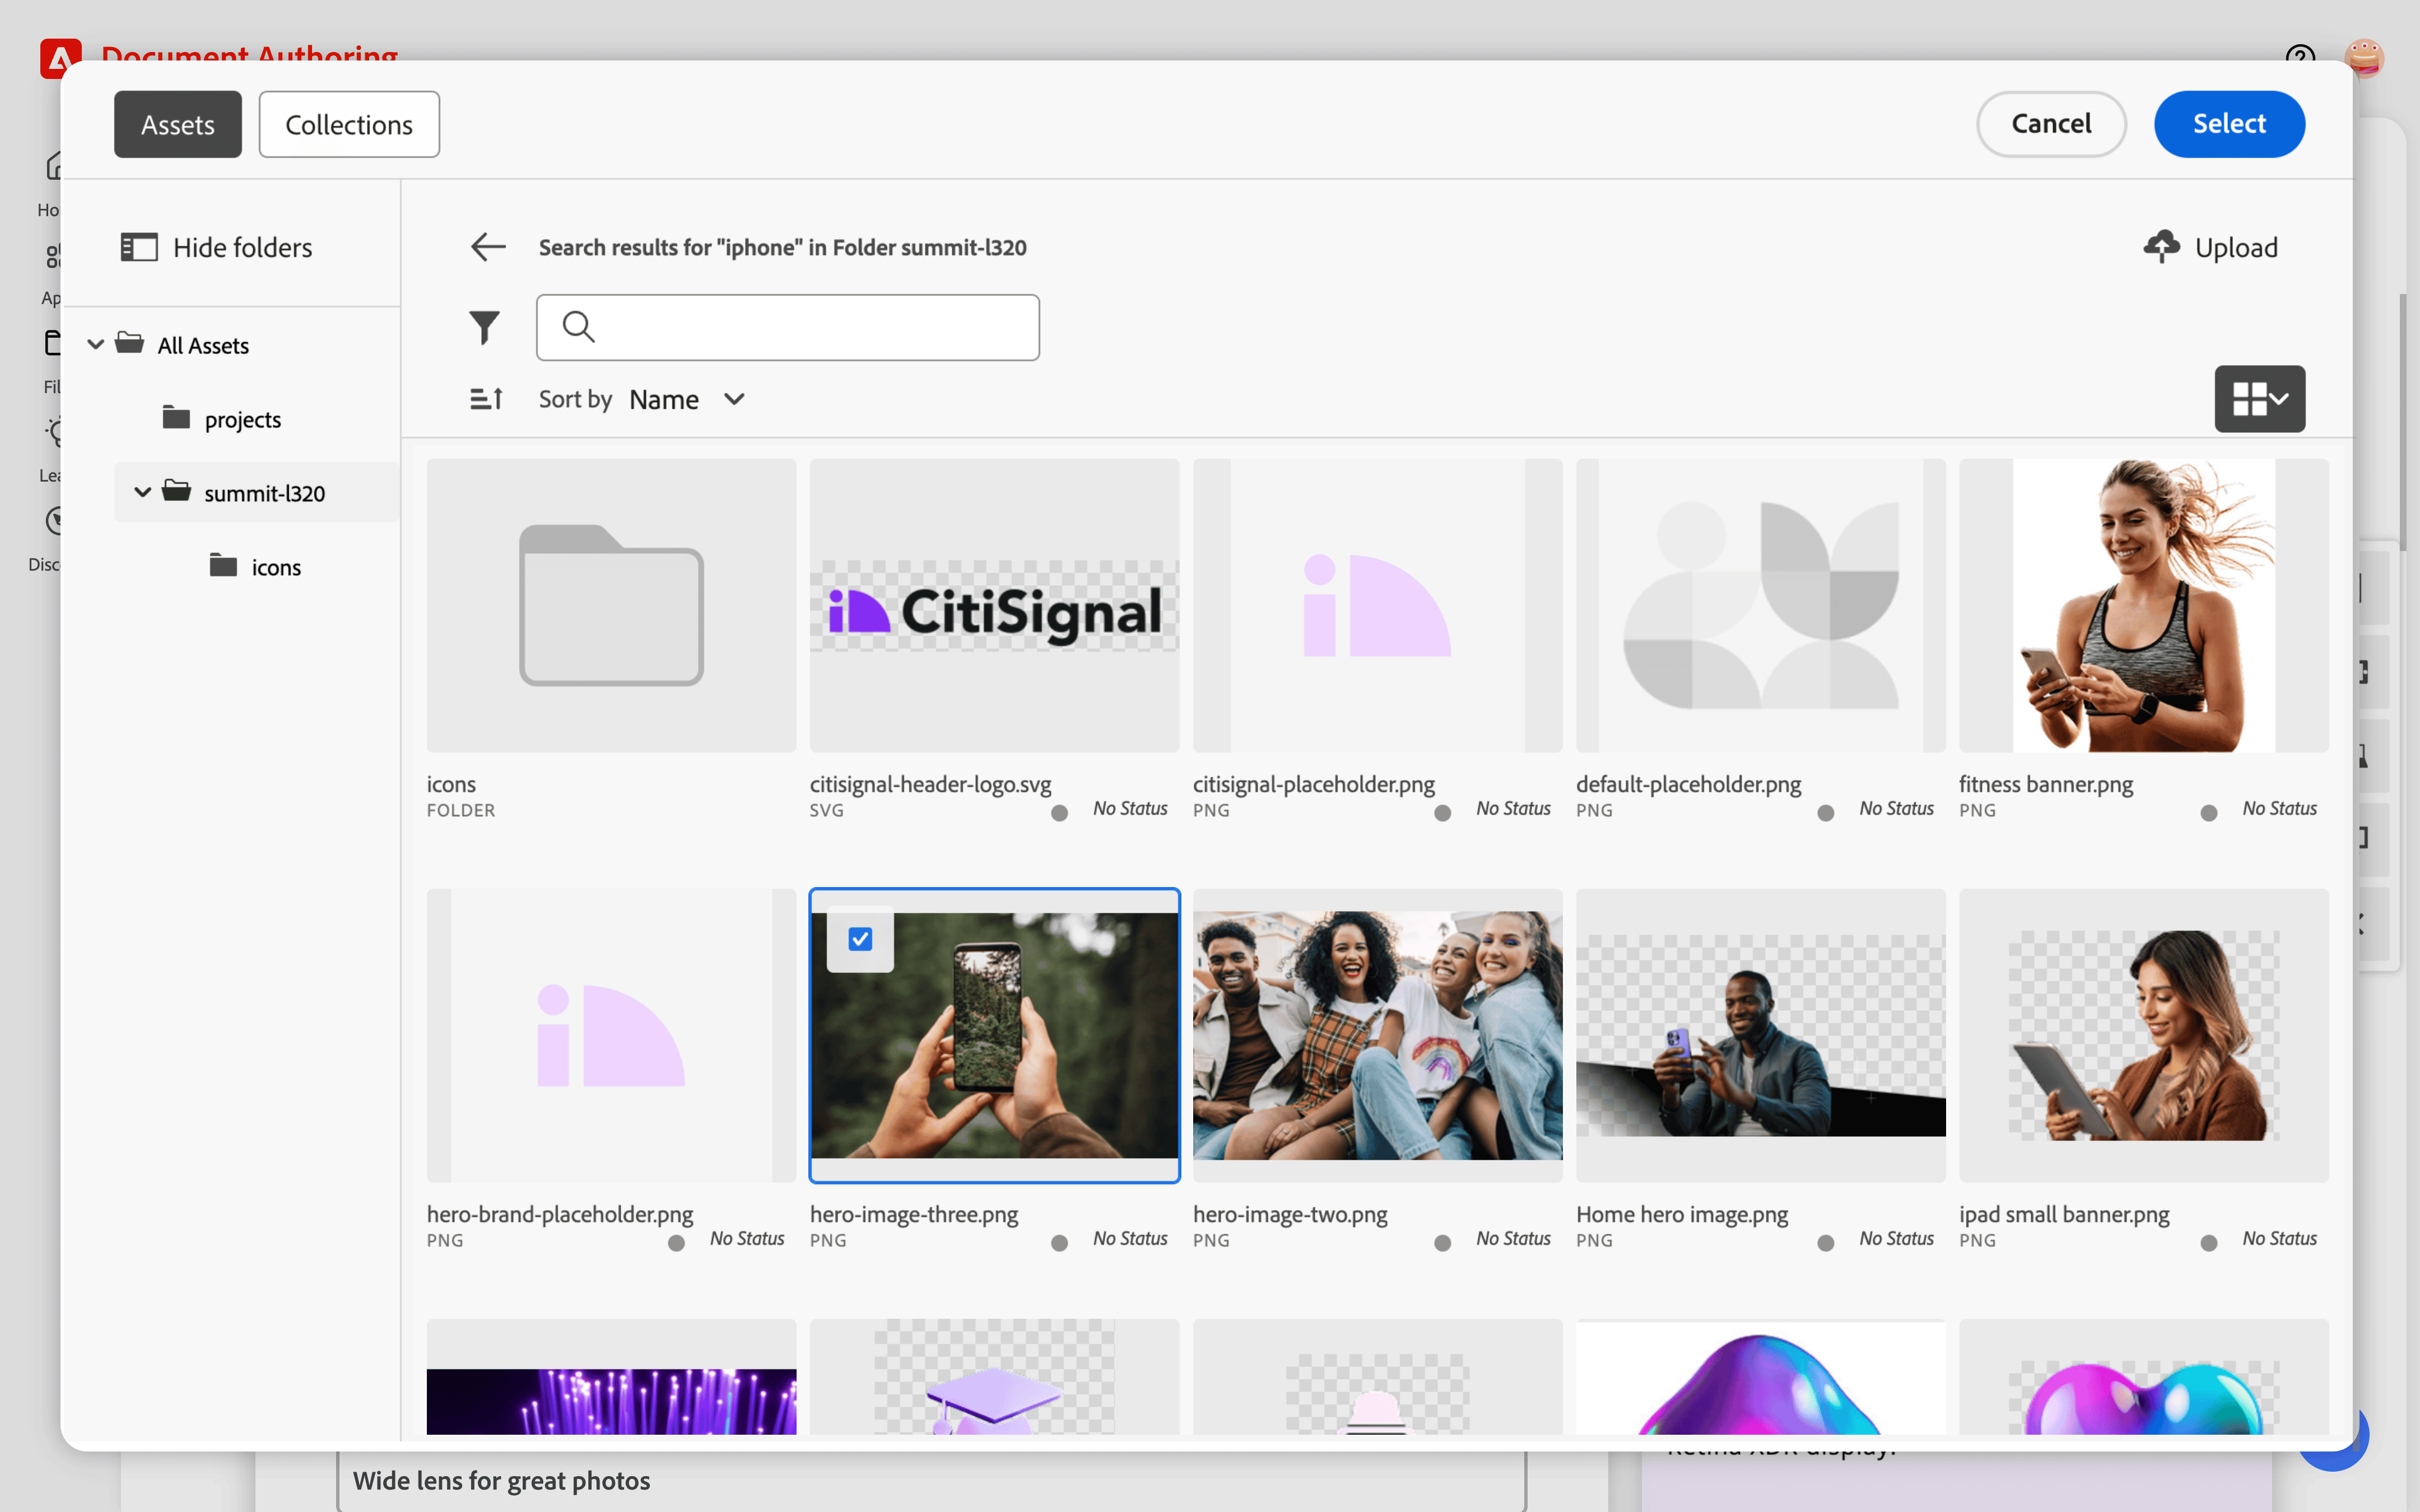
Wide lens for great photos. - Select the image placeholder.
- Go to the Edit menu > Library > AEM Assets.
- Navigate the AEM Assets library from the folders on the left (see screenshot): All Assets > summit-l320.
- Choose the iPhone image shown in the screenshot below.
- Click the Select button to apply the selected image.
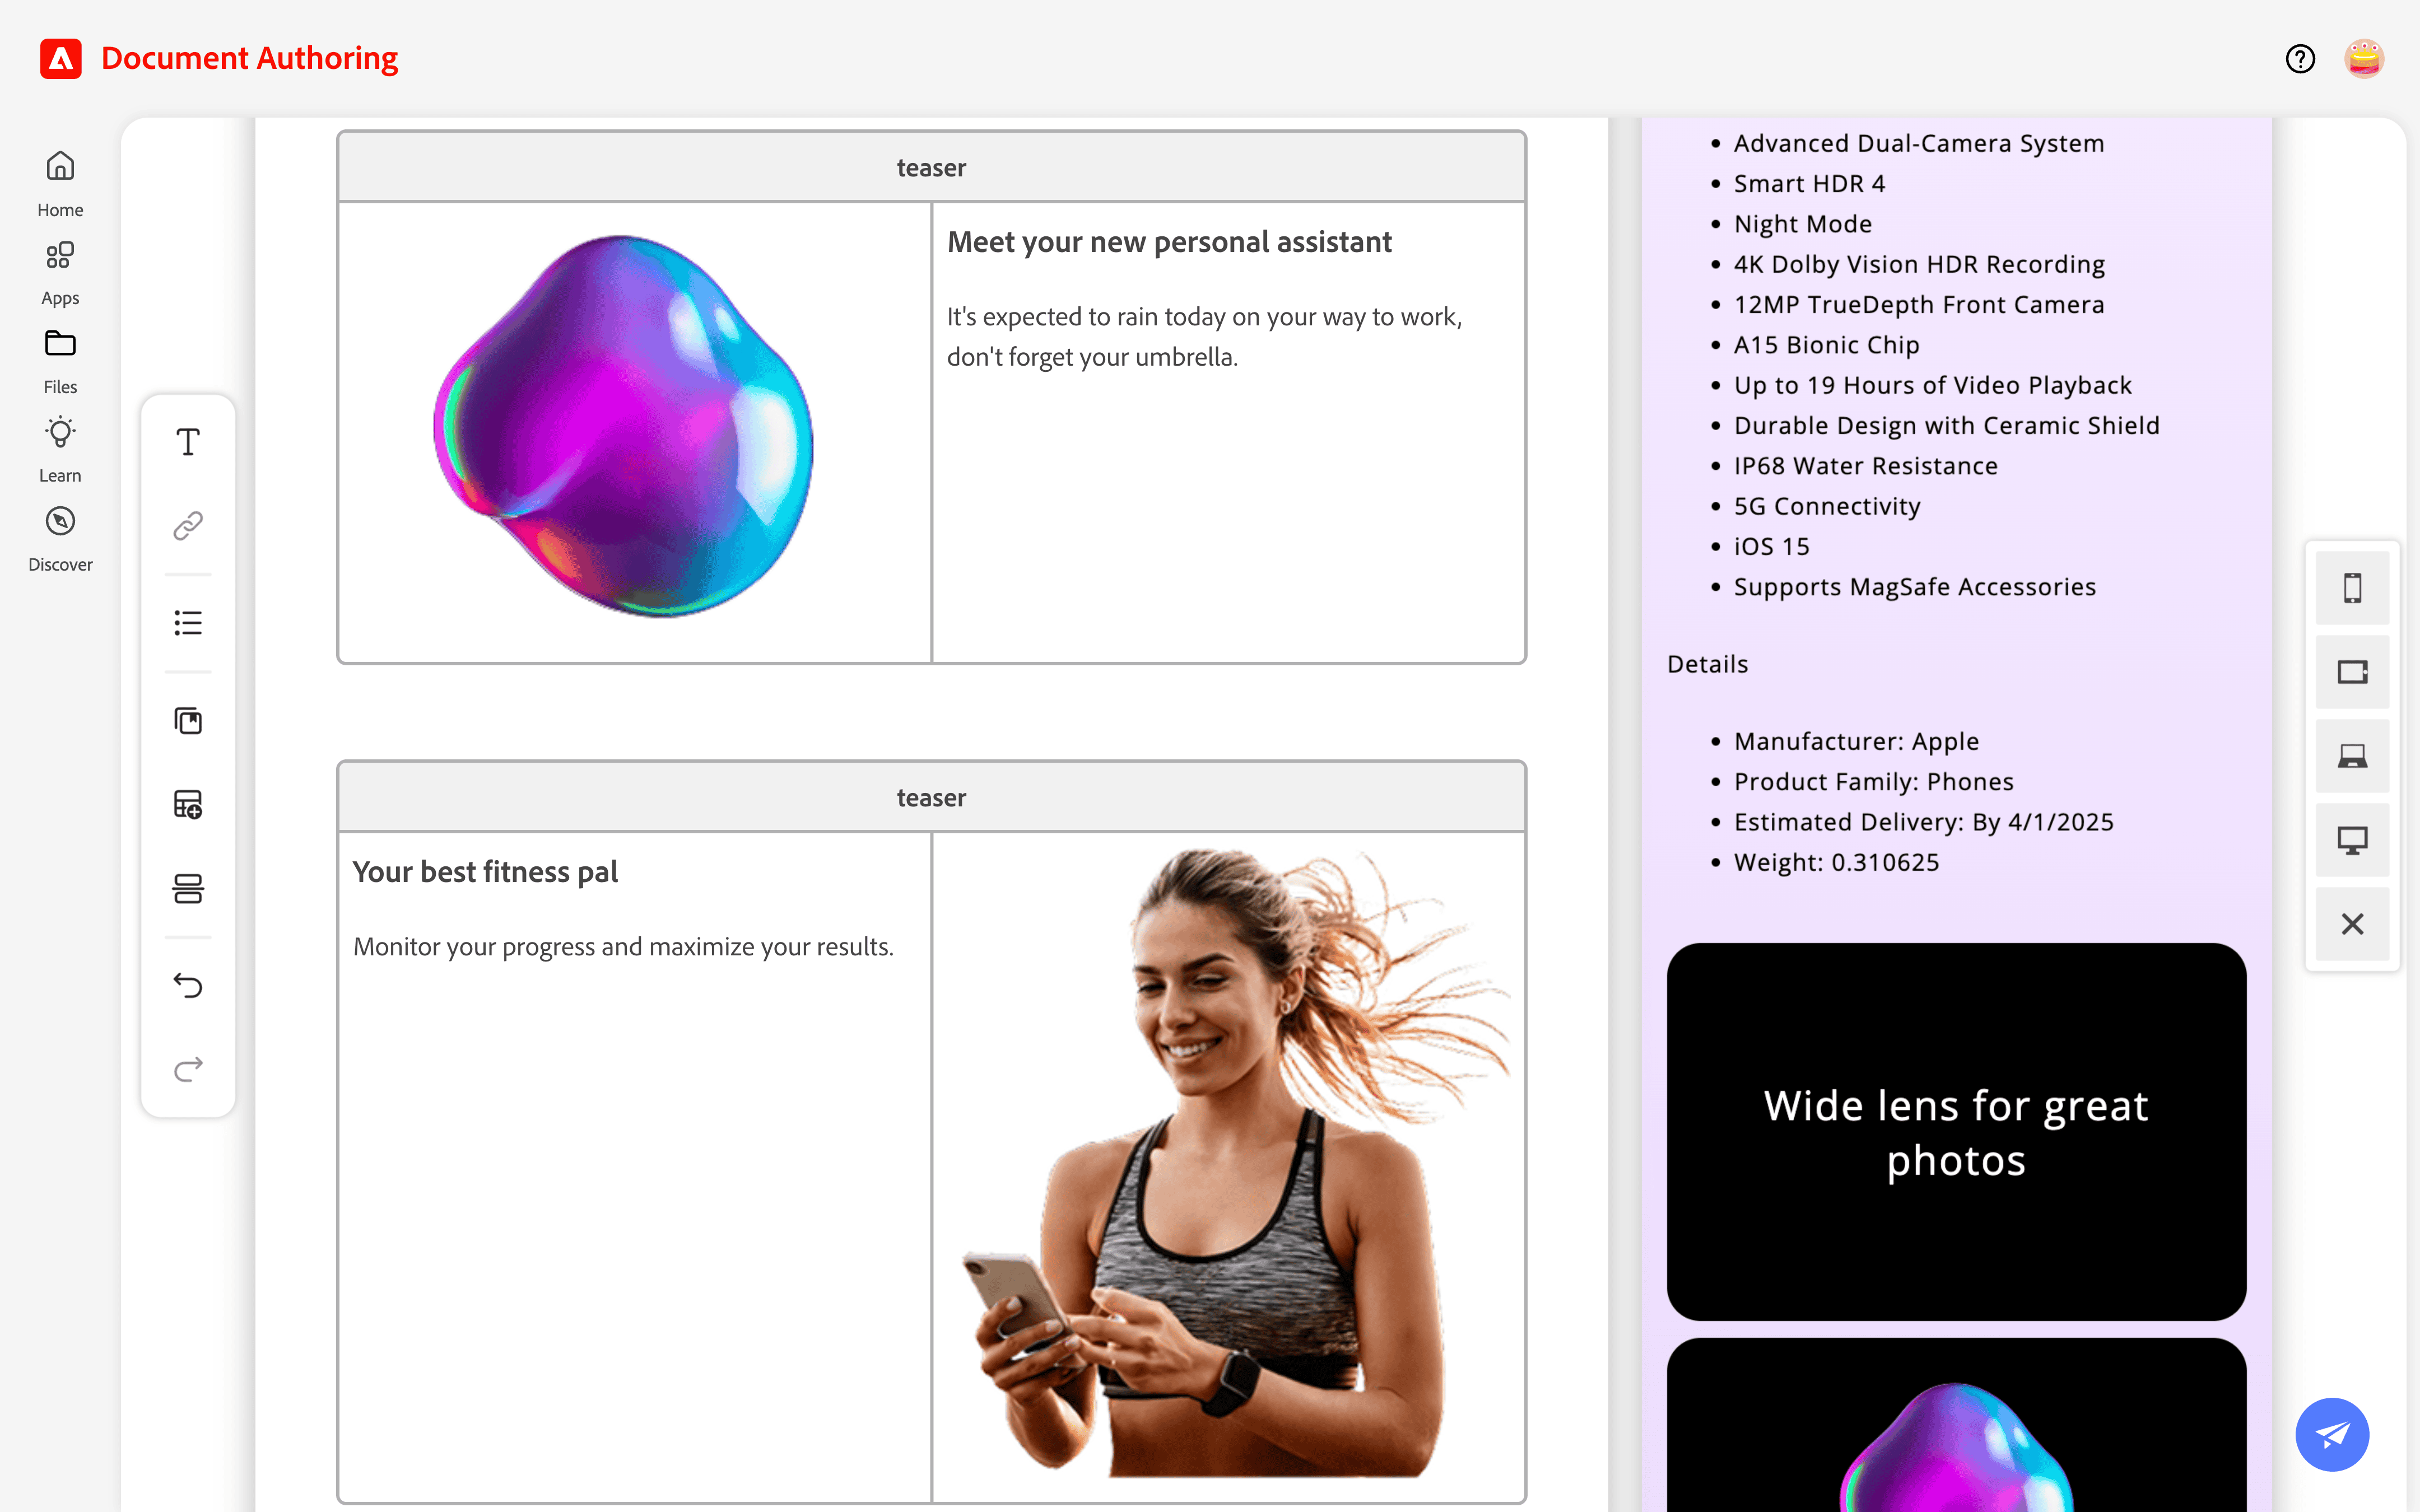
Add Teaser blocks
The Single Product Detail page template comes with 4 teaser blocks. You will replace the placeholder text and images of these blocks and add an additional block. All images are available in the lab’s AEM Assets library: Library > AEM Assets > All Assets > summit-l320.
Teaser 1:
- Header 3:
Meet your new personal assistant - Content:
It's expected to rain today on your way to work, don't forget your umbrella. - Image:
pdp-banner-one.png
Teaser 2:
- Header 3:
Your best fitness pal - Content:
Monitor your progress and maximize your results. - Image:
fitness banner.png
Teaser 3:
- Add Teaser 3 by copying Teaser 1 and pasting it directly below Teaser 2.
- Header 3:
New to CitiSignal? - Content:
Check out our special trial offer. - Image:
pdp-banner-two.png
Teaser 4:
- No header text
- Content:
Bundle and save, check eligibility now. - Image:
stock-watch-purple.png
Teaser 5:
- No header text
- Content:
Students save more with CitiSignal. - Image:
ipad small banner.png
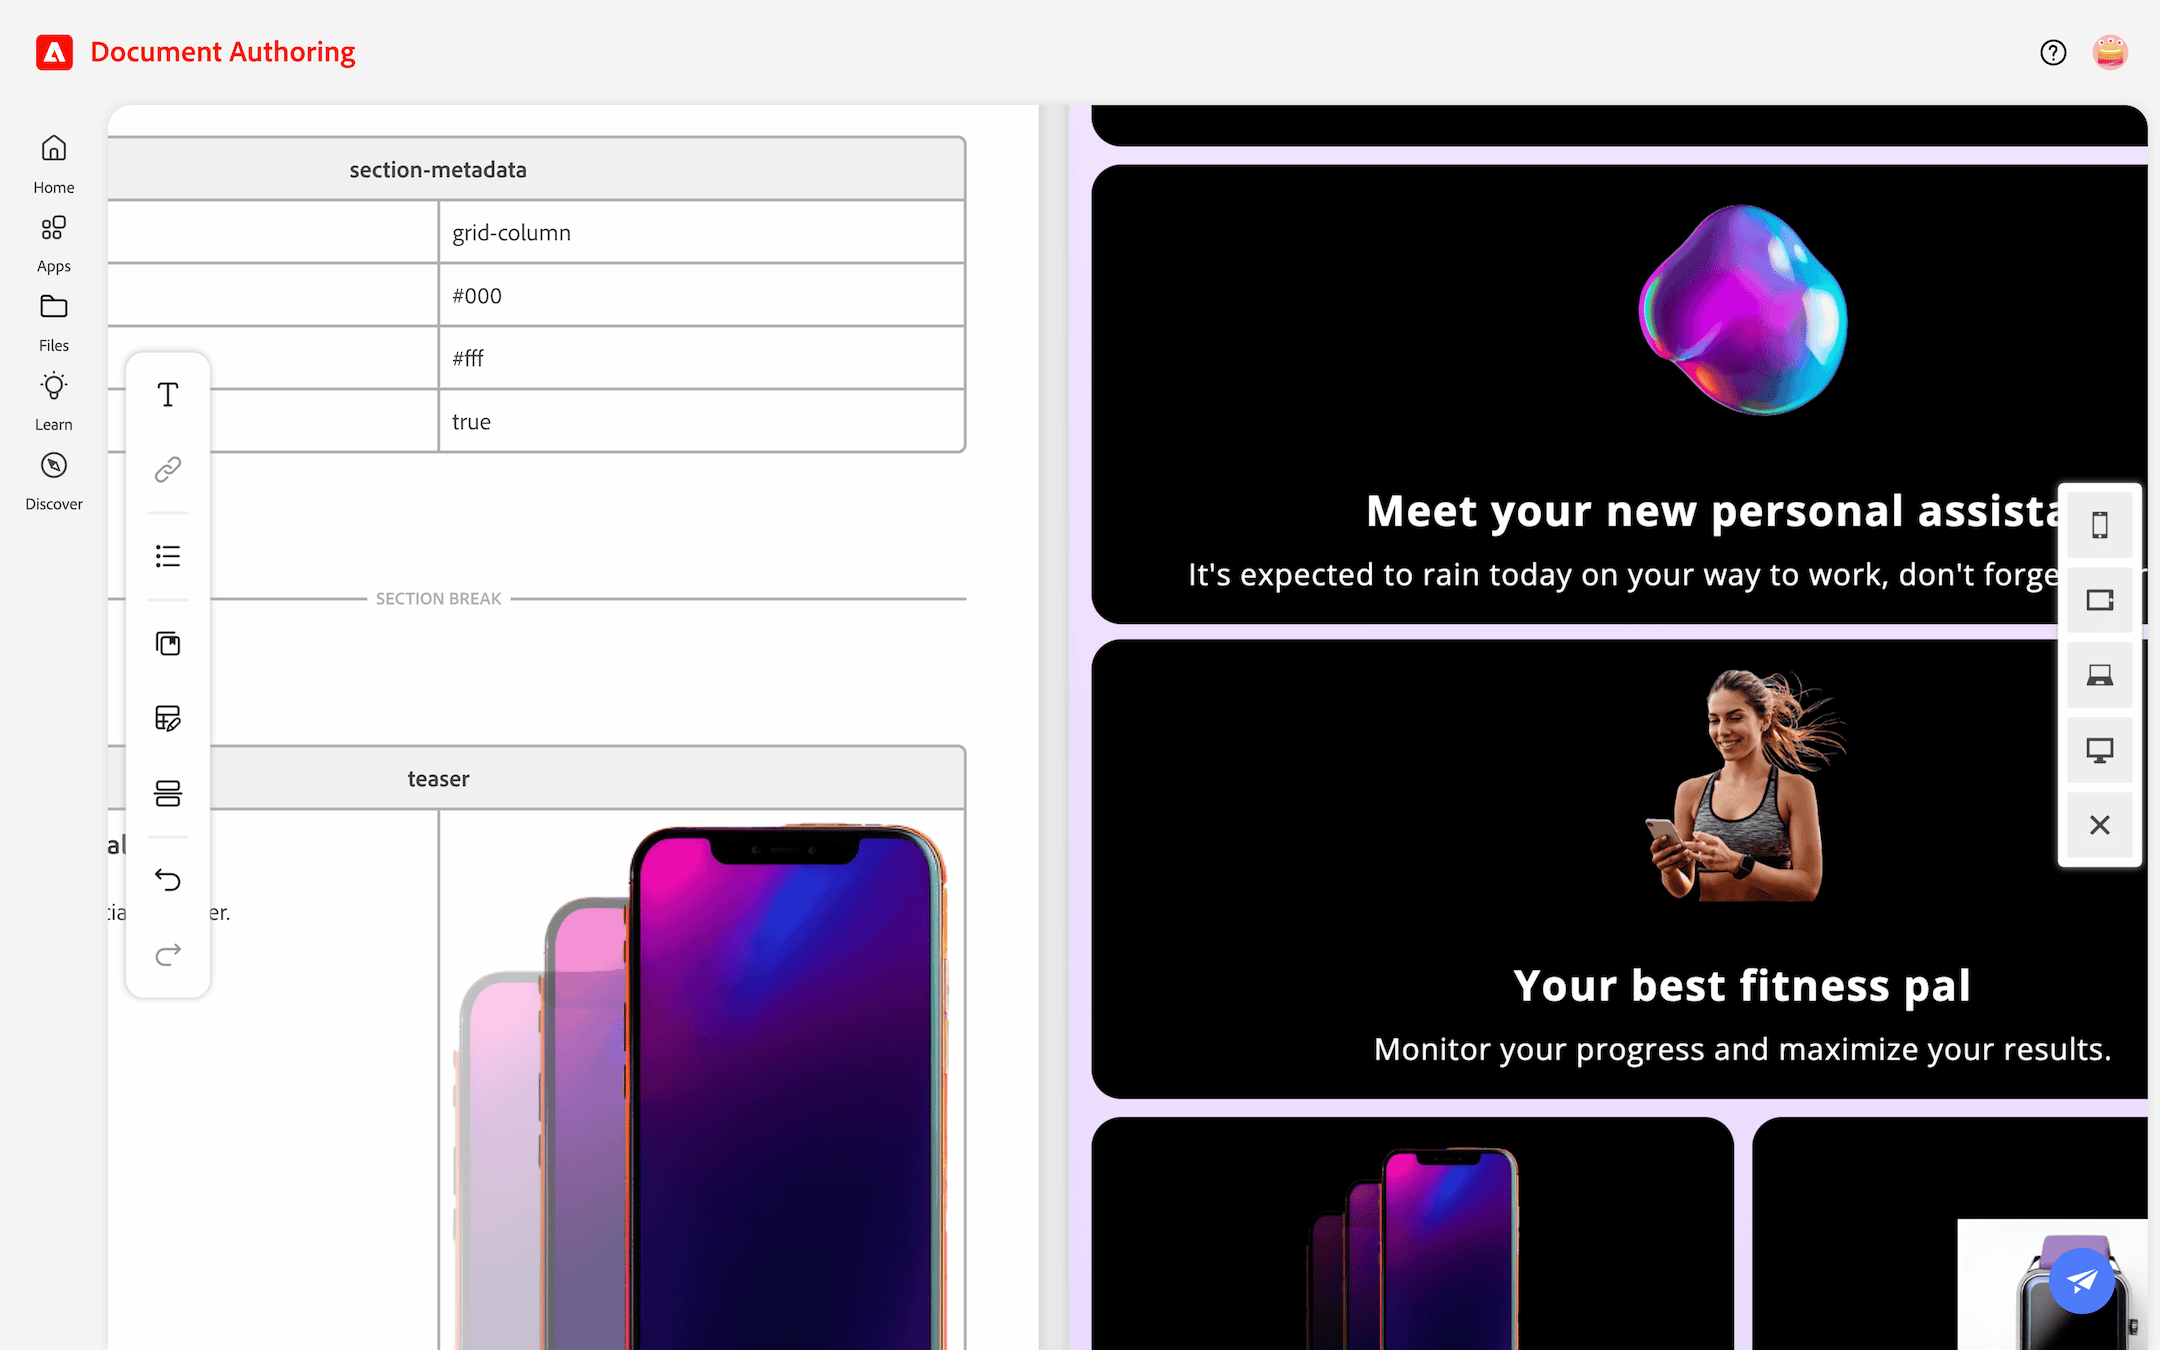
Update page layout
The Single Product Detail page template uses a grid-row layout to place two or three blocks on the same row when the width of the screen allows. Let’s change the layout to ensure that the first three teaser blocks are in a column layout. Make the following changes to the section-metadata block below the first two teasers (see screenshot).
style:grid-column
Select the tablet preview to ensure that these first two teaser blocks are displayed one per row.
Add Call To Action (CTA) buttons
- Add text for a button in a teaser block (see screenshot).
- Select the button text and go to menu → Link.
- Add the URL for the link.
- To make a primary button, bold the link text.
- To make a secondary button, italicize the link text.
Preview the page
- Click the Action button (paper-plane icon) at the top-right of the screen.
- Choose the Preview button.
- Check your work.
Update the Hero banner with in-context editing
- Open the
iphone-13document. - Select the in-context editing button to open the document.
- Scroll to the Hero banner and double-click its Text block to start editing.
- Change the text to:
Capture breathtaking pictures with new wide lens. - Preview your change by clicking the Open page button (directly left of the Publish button).
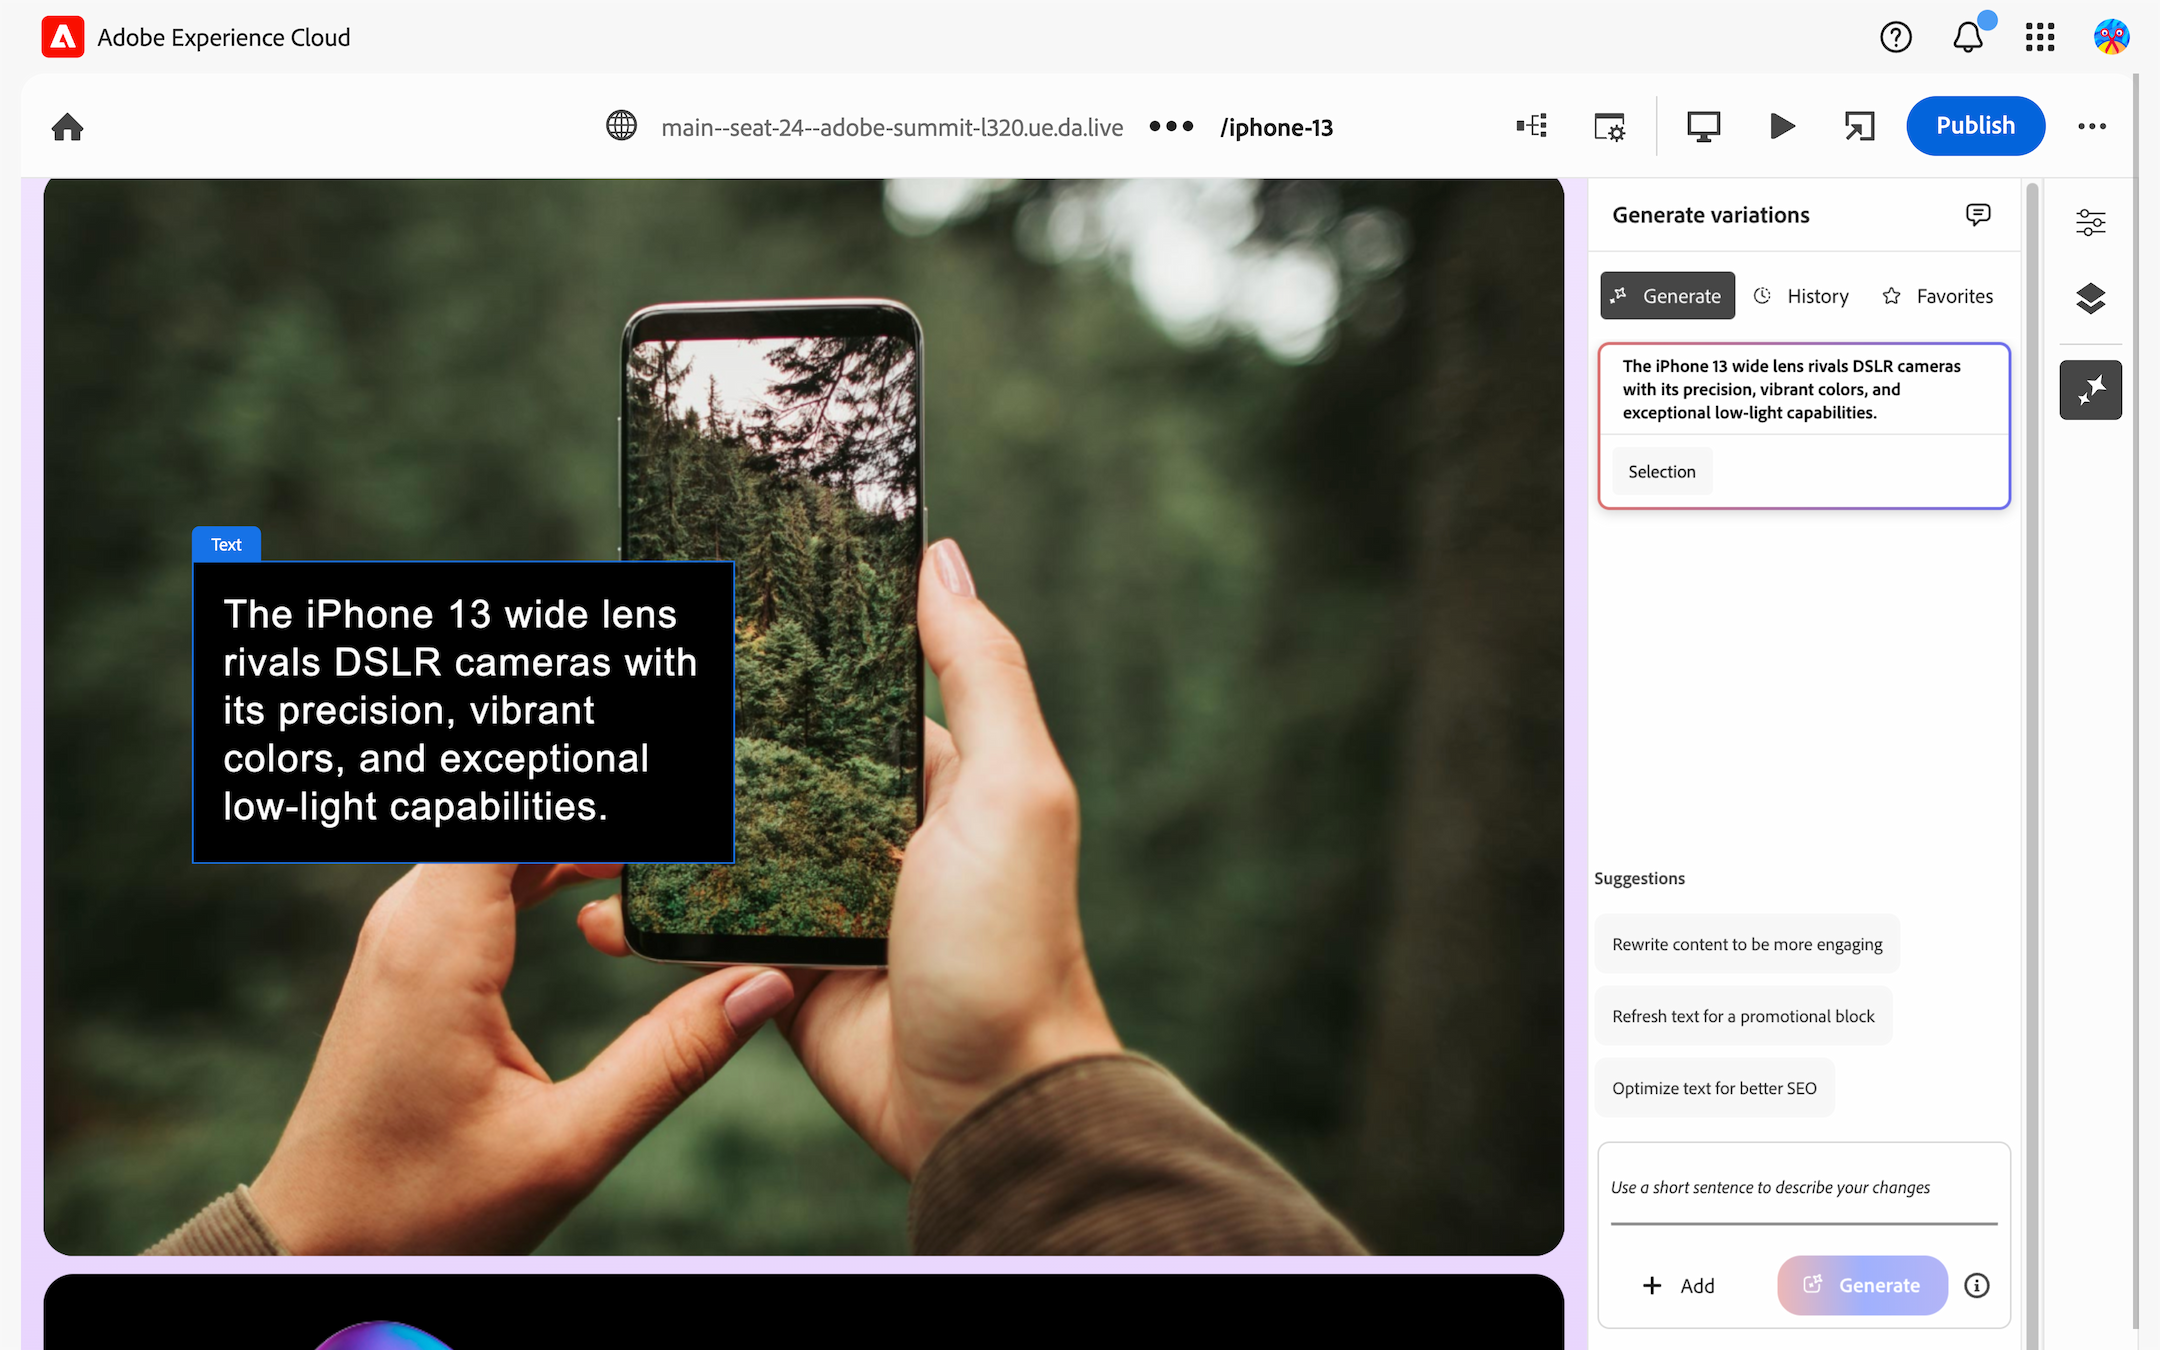
Update the Hero banner with GenAI
- Scroll to the Hero banner and select its Text block.
- Click AI Generate variations button from the right-side menu.
- View the selected Hero text in the AI panel followed by suggestions to rewrite the content.
- Select one of the suggestions and click the Generate button.
- Click the response you like to apply it to the Hero banner text.
- Publish the page.