Create a mesh
This page provides the basic steps for creating your first mesh.
Requirements
Before creating a mesh, create a project or a templated project and workspace for the mesh. For other requirements see Prerequisites.
Create a project
When you create a mesh, you must assign the mesh to a specific project. To create a new project, log in to the Adobe Developer Console and create a project.
Add a workspace to your project
If you are creating a templated project, you can add workspaces. Workspaces allow you to create separate environments. You can also create workspaces for each developer on your team.
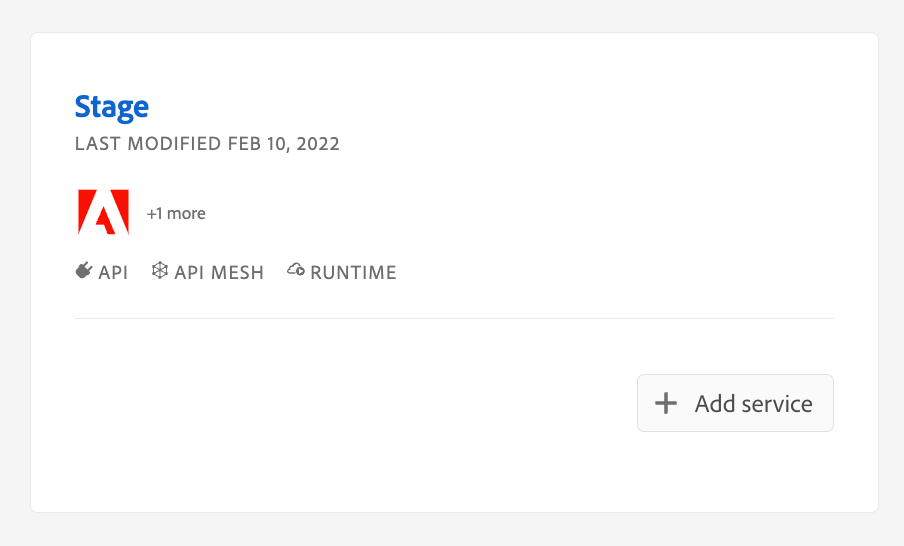
Workspaces that already have an API mesh will have "API Mesh" displayed on their workspace card in the developer console. To learn more about viewing, deleting, or selecting projects and workspaces, see Projects and workspaces.
Create a mesh
When creating or updating a mesh, the file to upload must have the .json filename extension.
Create and save a JSON configuration file that defines the properties of your mesh. Your mesh is defined by a combination of handlers and transforms. In this example, the file name is
mesh.json.The following mesh file can be used with minimal setup to access the endpoint of the Venia demo store.
Copied to your clipboard{"meshConfig": {"sources": [{"name": "Commerce","handler": {"graphql": {"endpoint": "https://venia.magento.com/graphql/"}}}]}}Run the login command and provide your credentials in the browser window.
Copied to your clipboardaio auth:loginRun the following command to create a mesh. In this example, the file name is
mesh.json.Copied to your clipboardaio api-mesh:create mesh.jsonIf you have not already selected a project and workspace manually, choose the organization, project, and workspace that you want to create the mesh in. If you do not have a project, see Create a project.
You must also indicate if you want to automatically select the specified organization and workspace in the future. If you answer Yes to either of these prompts and you want to select an organization or workspace other than the cached organization and workspace. You can use the
-ior-ignoreCacheflag to clear the cache, allowing you to select another organization and workspace. You can also manually modify the selected project or workspace.Note: Each workspace within a project can only have one mesh associated with it at a time.
When you are prompted to confirm that you want to create a mesh, select Yes. If you want to automatically confirm the creation, add the
-cor--autoConfirmActionflag to your create command.The
aio api-mesh:createresponse assigns you ameshId. Use theaio api-mesh:statuscommand to see the status of your mesh creation. You can run theaio api-mesh:describecommand to get yourapiKeyand a GraphQL endpoint that you can use to query your mesh.
Refer to the command reference for a detailed description of aio api-mesh:create.
Access the gateway
The aio api-mesh:create response automatically assigns you an API key and subscribes that API key to the mesh service. You can also retrieve the API key by viewing the project in the Adobe Developer Console.
After you create a mesh, you can access the GraphQL endpoint in any GraphQL browser by modifying the following URL: https://graph.adobe.io/api/<meshId>/graphql?api_key=<your_apiKey>
For security purposes, we recommend moving your API key from the provided link into a request header. The header key is x-api-key and the header value is your API key.
Create a mesh from a source
The aio api-mesh:source commands provide several prebuilt mesh sources that you can use to create your mesh file, for example mesh.json. Each source contains a mesh configuration file designed for a specific first or third-party source. Third parties can submit their sources as a pull request to the api-mesh-sources repo. Once approved, these sources will be available for selection in the CLI.
Currently, this feature serves as a way for you to quickly copy an example mesh.
To choose a prebuilt source from a list, run the following command:
Copied to your clipboardaio api-mesh:source:discoverNote: Alternatively, you can use the aio api-mesh:source:install command if you know the source you want to install.
Use the arrow keys to select which source you want to copy and press Enter. You can use the Spacebar to select multiple sources.
Confirm that you want to print the configuration in the console. The mesh configuration prints in your terminal and is automatically copied to your clipboard depending on your selections.
Review the mesh configuration. When you are ready to install the mesh configuration, run the
aio api-mesh:source:installcommand followed by the"<source_name>"you want to install, for example:
Copied to your clipboardaio api-mesh:source:install "AEM Assets API"
You can repeat this process multiple times to add sources to your mesh.
Alternatively, you can use the aio api-mesh:source:get command to print the source in the terminal or copy the source to the clipboard.
Refer to the Command reference flags to learn how to replace variables in the source mesh configuration.
Create a mesh from a template
You can also create a mesh automatically when bootstrapping a new app through the CLI:
Navigate to the location you want to initialize your project and enter the following command:
Copied to your clipboardaio app initSelect the desired organization, project, and workspace by using the arrow keys, or start typing to search.
Select the
generator-app-api-meshstandalone application.Indicate if you want this app to be a single-page application accessible through the Experience Cloud UI.
Indicate if you want to create a sample mesh.
After the process completes, you are provided a link to your API mesh endpoint.
When you are ready, you can deploy your app by running the following command:
Copied to your clipboardaio app deployAfter the process completes, you are provided a link to your app at
experience.adobe.com.
Mesh example
The following example adds both an Adobe Commerce instance (with Live Search enabled) and an Adobe Experience Manager instance to the mesh. The GraphQL endpoints for Commerce and Live Search are different, therefore you must configure them separately.
Copied to your clipboard{"meshConfig": {"sources": [{"name": "Commerce","handler": {"graphql": {"endpoint": "https://<your_commerce_site>/graphql/"}}},{"name": "AEM","handler": {"graphql": {"endpoint": "https://<your_AEM_site>/endpoint.json"}}},{"name": "LiveSearch","handler": {"graphql": {"endpoint": "https://<your_commerce_site>/search/graphql","operationHeaders": {"x-api-key": "search_gql","Magento-Environment-Id": "<your_environment_id>","Magento-Website-Code": "base","Content-Type": "application/json","Magento-Store-Code": "main_website_store","Magento-Store-View-Code": "default"},"schemaHeaders": {"x-api-key": "search_gql","Magento-Environment-Id": "<your_environment_id>","Magento-Website-Code": "base","Content-Type": "application/json","Magento-Store-Code": "main_website_store","Magento-Store-View-Code": "default"}}}}]}}
Update an existing mesh
If you make any changes to your mesh file, such as adding transforms, you must publish them before the changes will be reflected in your gateway. Additionally, if a source schema is modified, you must update your mesh to allow API Mesh to cache any changes.
The following command updates the mesh in the selected workspace with the settings specified in the update-mesh.json file.
Copied to your clipboardaio api-mesh:update update-mesh.json
Copied to your clipboard{"meshConfig": {"sources": [{"name": "Commerce","handler": {"graphql": {"endpoint": "https://<your_commerce_site>/graphql/"}}},{"name": "AEM","handler": {"graphql": {"endpoint": "https://<your_AEM_site>/endpoint.json"}}},{"name": "LiveSearch","handler": {"graphql": {"endpoint": "https://<your_commerce_site>/search/graphql","operationHeaders": {"x-api-key": "search_gql","Magento-Environment-Id": "<your_environment_id>","Magento-Website-Code": "base","Content-Type": "application/json","Magento-Store-Code": "main_website_store","Magento-Store-View-Code": "default"},"schemaHeaders": {"x-api-key": "search_gql","Magento-Environment-Id": "<your_environment_id>","Magento-Website-Code": "base","Content-Type": "application/json","Magento-Store-Code": "main_website_store","Magento-Store-View-Code": "default"}}}}]}}
View your mesh in the Adobe Developer Console
As an alternative to running the aio api-mesh:get command, you can view your mesh details by selecting the API Mesh section in the desired workspace in the Adobe Developer Console.
On the API Mesh Details screen, you can use the tabs to view different segments of your mesh.
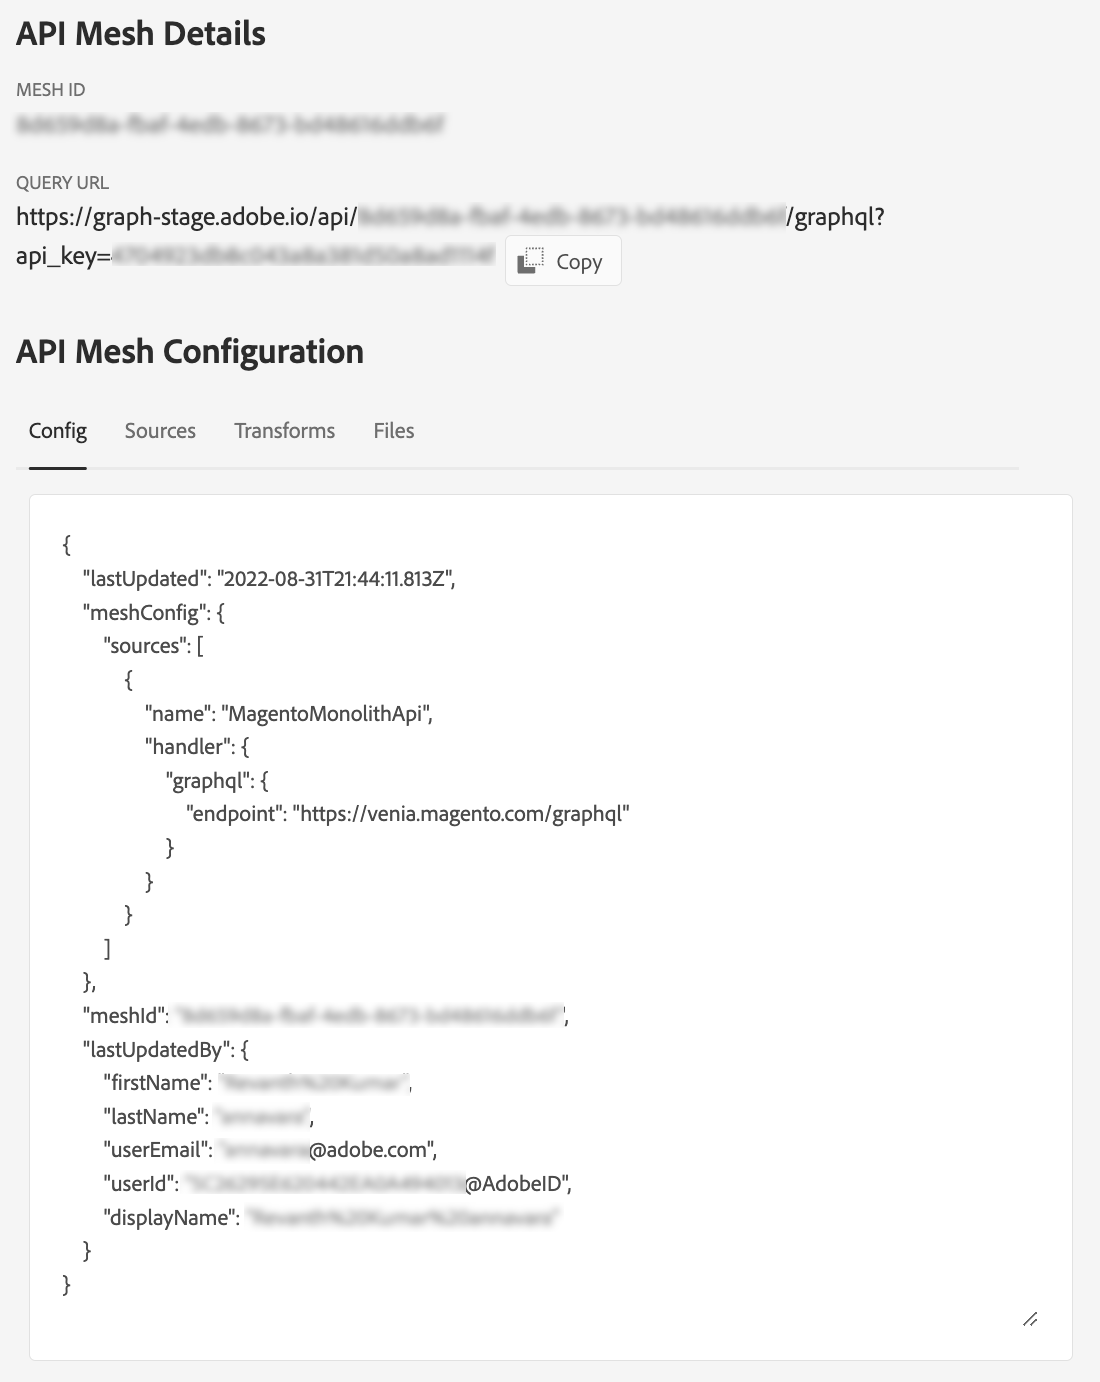
To download a copy of your mesh file, click the Download Mesh Schema button at the top of the API Mesh Details screen.

Manually create an API Key (optional)
API keys are now automatically generated and associated with your project as part of the mesh creation process. Use the following process if you need to manually add an API to a project.
Only mesh owners can create API Keys. If you do not have access to Adobe Developer Console, contact your mesh owner.
To access the gateway and perform GraphQL queries, you need to provide an API Key to authorize access to your mesh. To create your API Key:
In Adobe Developer Console, select the desired organization from the dropdown in the top-right corner.

Select an existing project or create a new one.
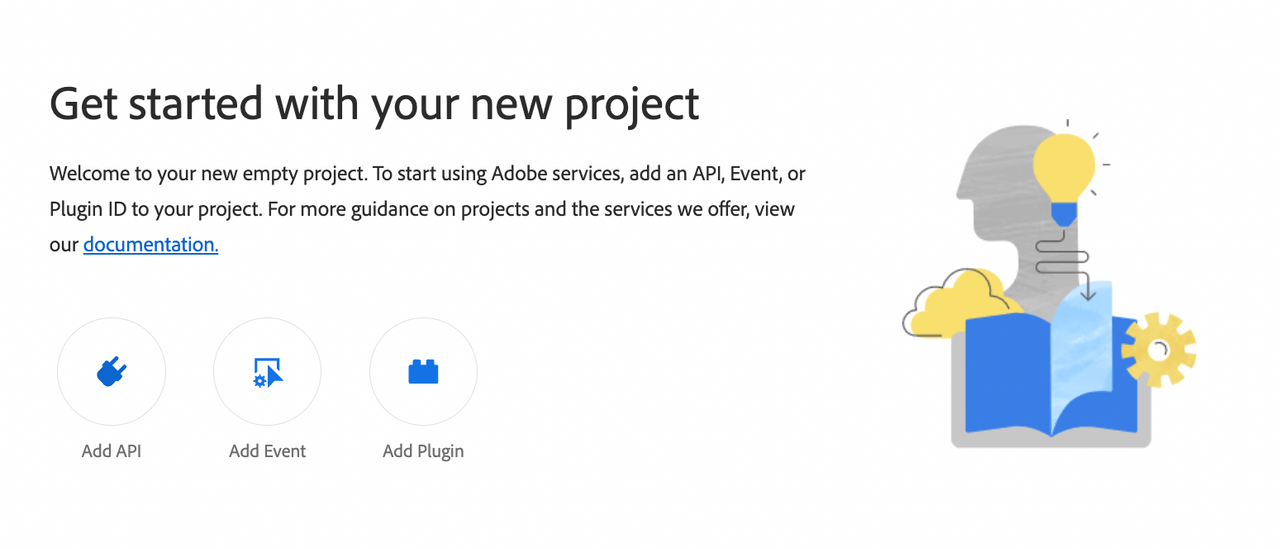
Inside the project, click Add API.
Select API Mesh for Adobe Developer App Builder and click Next.
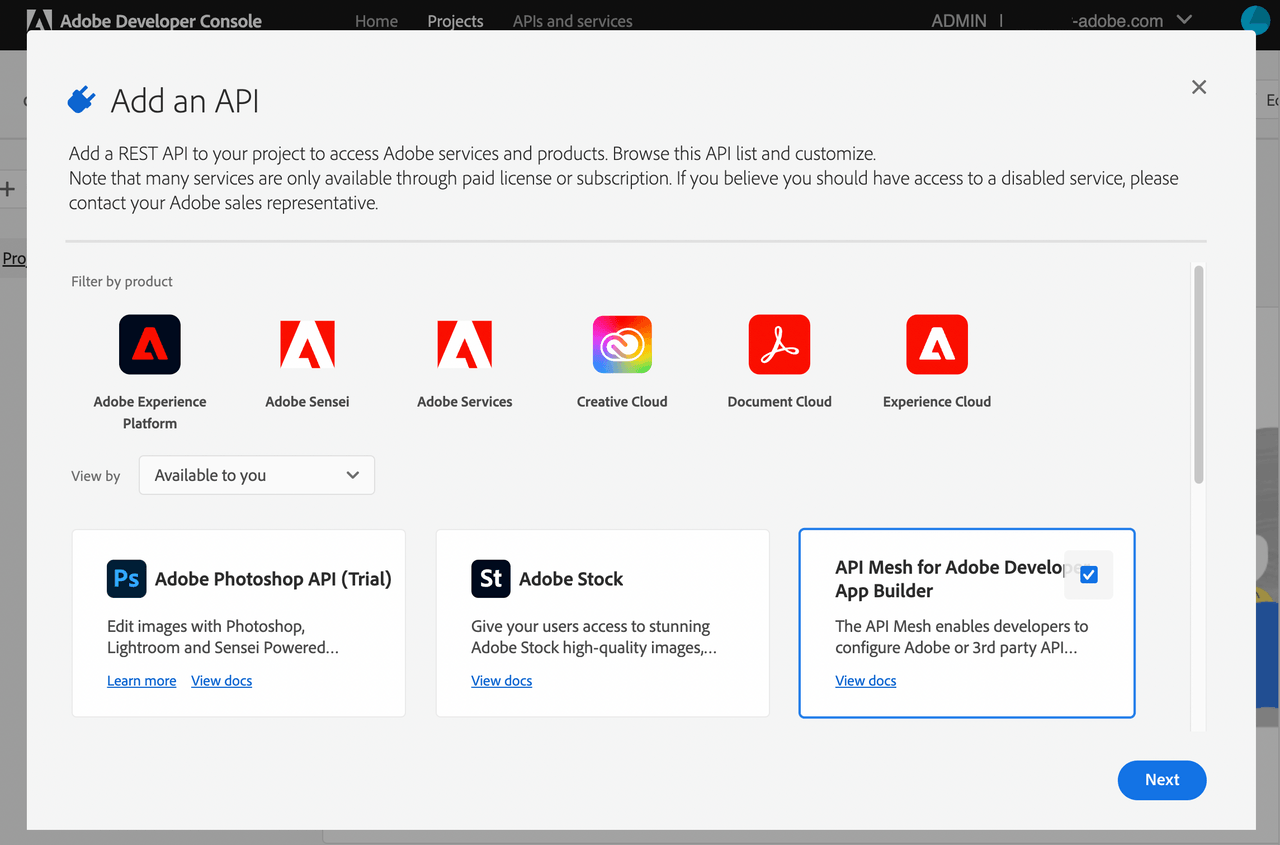
The Allowed Domain field is not currently enforced. Enter any valid test domain to proceed.
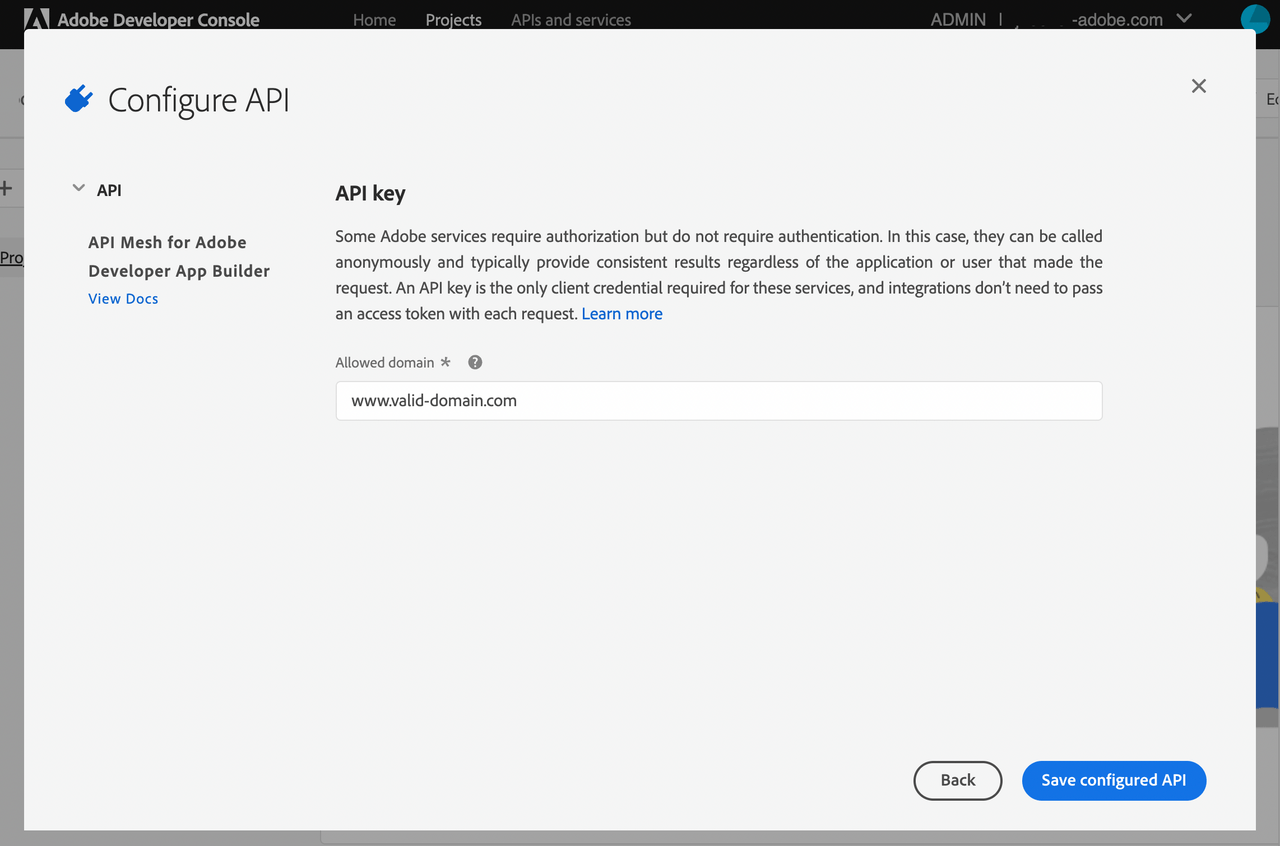
Click Save configured API. Copy your API Key from the Project Overview page.

You can return to the Project Overview page whenever you need to retrieve your API Key.

